
Custom Name Keychain

This tutorial explains how to make custom name keychains using birch plywood and a laser cutter. It's a relatively simple process to design, laser cut, and then apply wood finish to. Great to make as a gift for someone or just make for yourself!
Necessary Parts:
- Birch Plywood
- Keychain ring
- Wood stain
- Wood finish
- Sandpaper
- Glue
Tools:
- Laser cutter
- Paint brush
- CAD Program
Step 1 - Designing and Laser Cutting
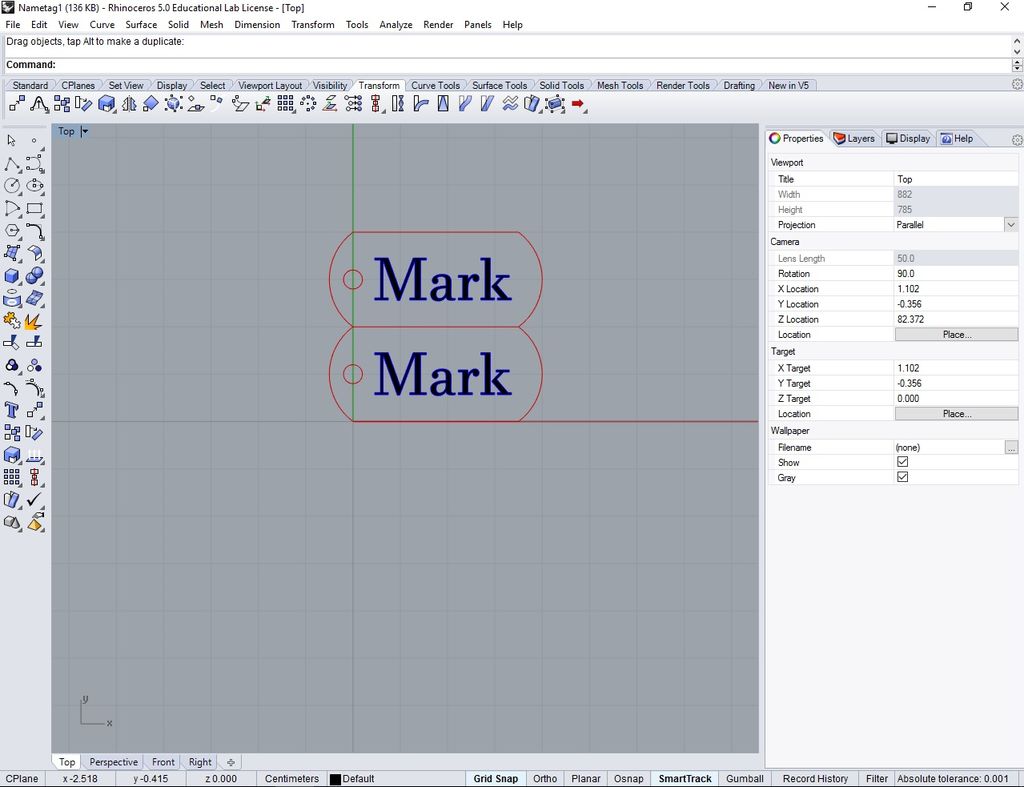
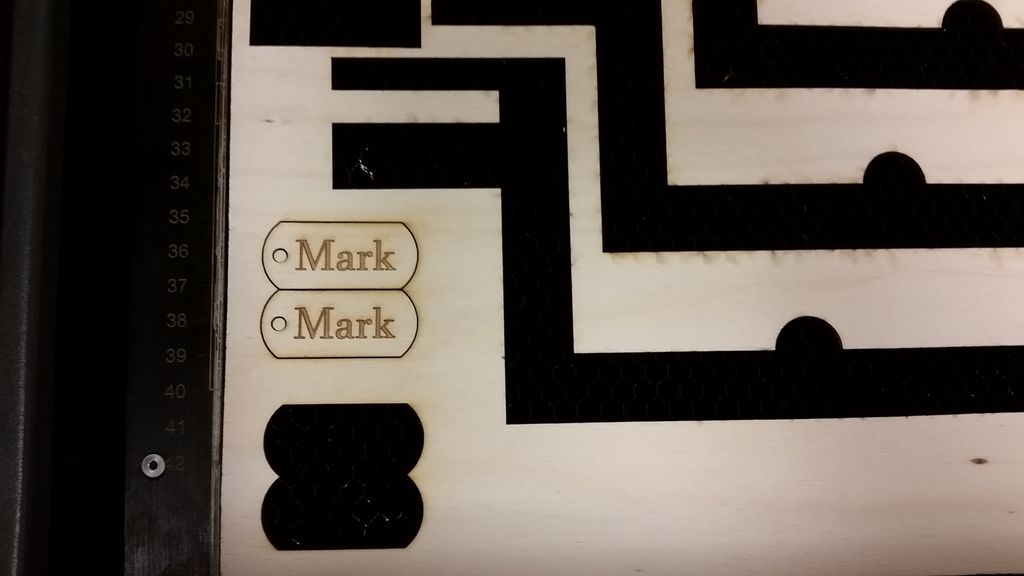
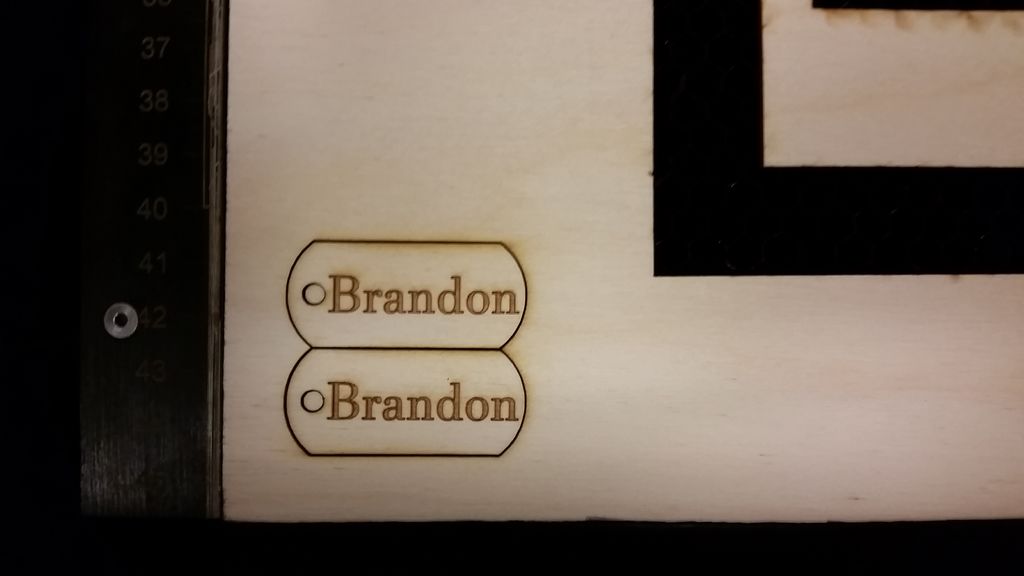
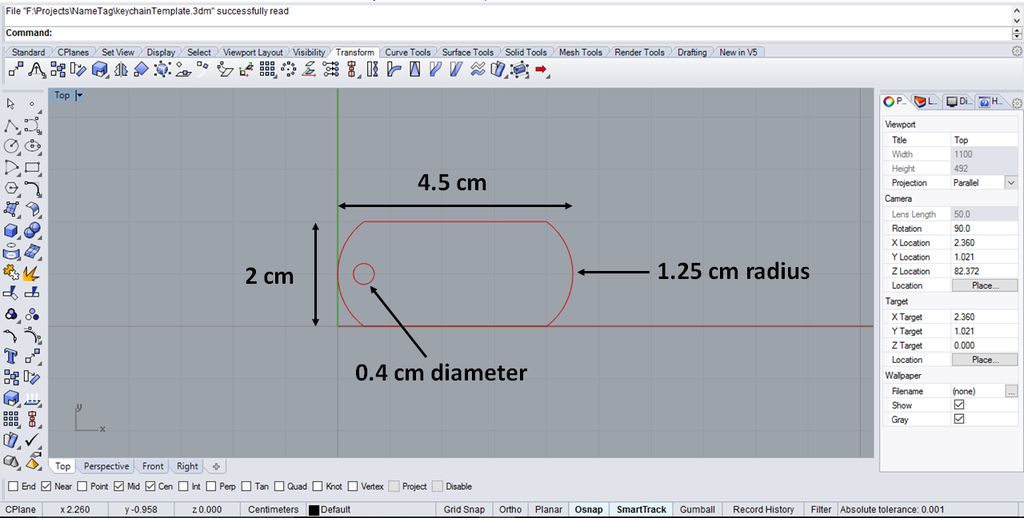
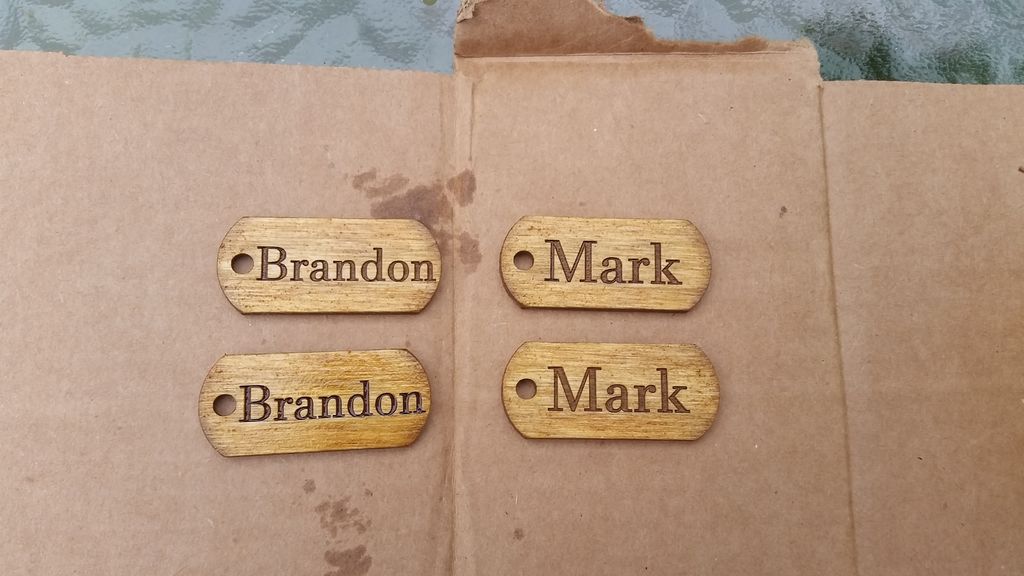
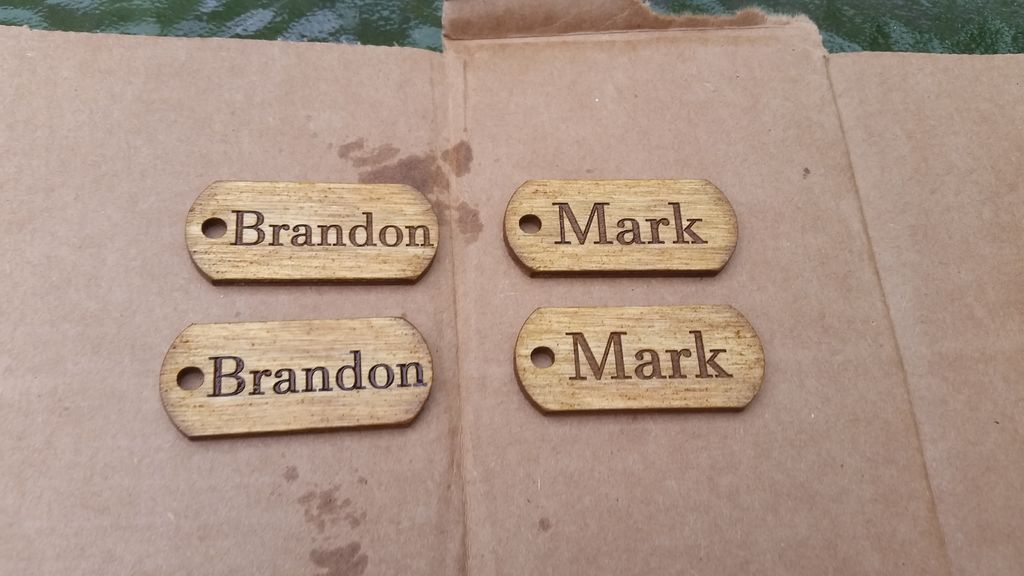
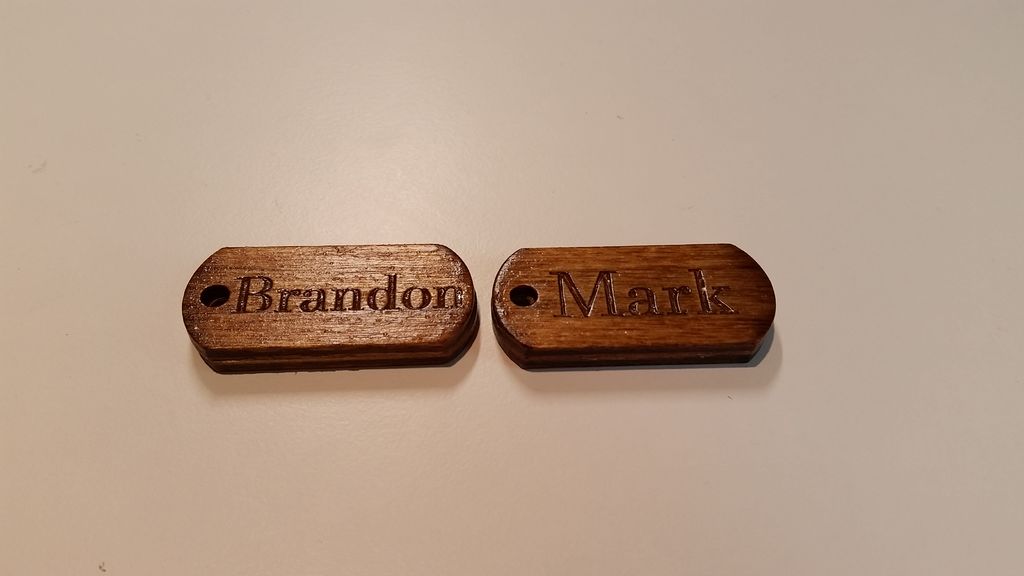
The first step is designing what the outline of the keychain looks like, which I already did so you don't have to. I used Rhino to create and design the keychain, but you may be using a different CAD or art program. I included multiple file types (all the same template) so that you can find the one that works best for you. You also may need to scale the template if the units don't go through correctly (dimensions included in first picture in that case). I decided to cut out two pieces so that it would be thicker (and more structurally sound). You can engrave both sides of a single piece, but I would be a little worried about it breaking myself. My two favorite font styles are Monotype Corsiva (more cursive like) and Javanese Text (a bolder font, and the one that I used for the two heychains that I made in this Instructable).
For instructions on how to do this in Rhino, I used TextObject to create the text, modifying the text height until it fit well into the keychain template. Then I centered the text vertically in the template using the Align command, selected all of the text and used the hatch command to make the inside surface of the text black, and finally selected the text outline and made it blue (which can be done in layers). Then to make the two pieces, I copied and pasted a second one next to the first.
You want the outline and hole to be red (already done in the template), and the text outlined in blue, and filled with a black surface (which is done using the hatch command in Rhino). The black laser engraves the black surface, and outlines (but doesn't cut through) the blue lines. Once done, you can laser cut the pieces.
Step 2 - Sand and Stain
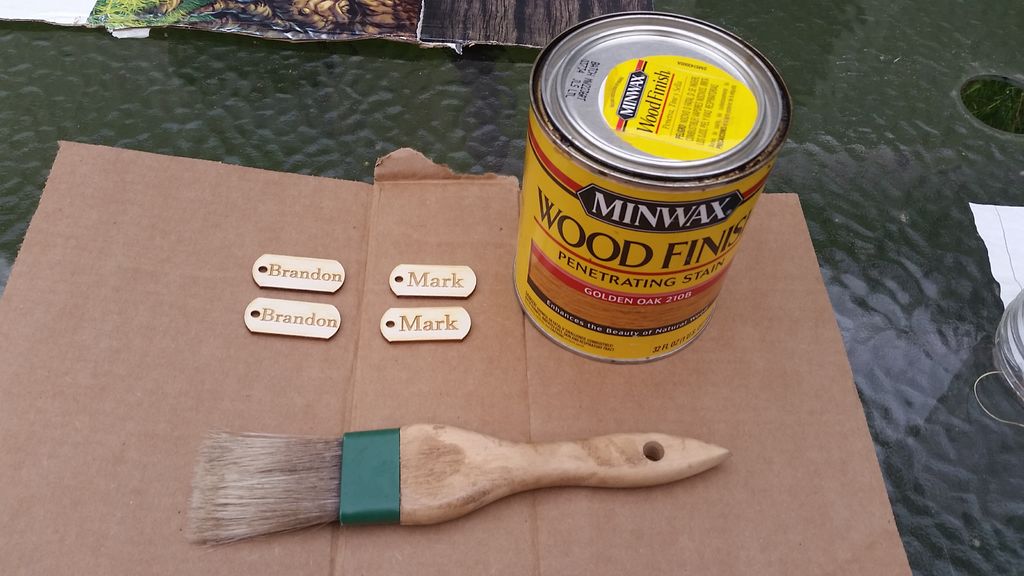
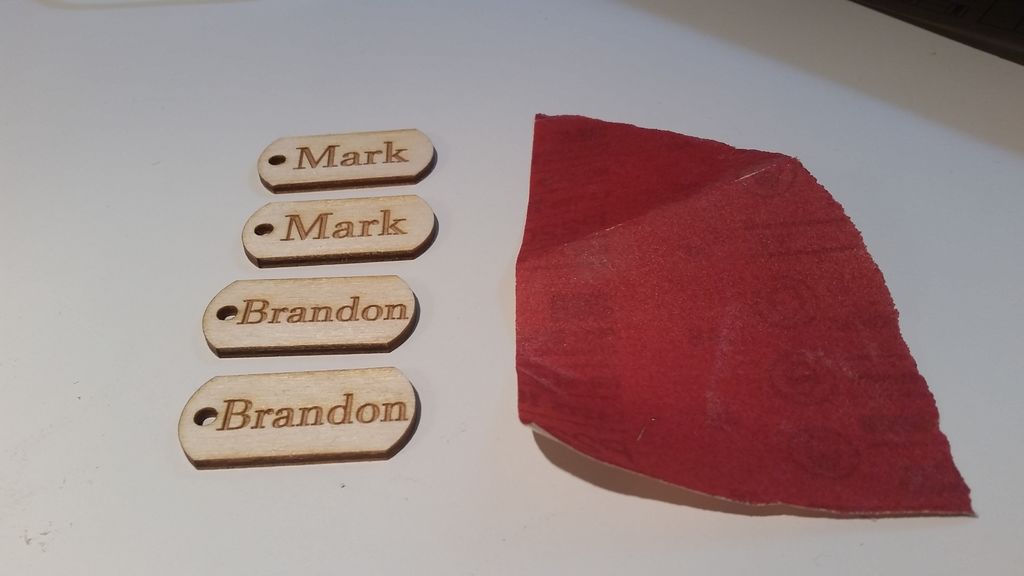
Here I lightly sanded the surface and edges with 200 grit sand paper. Once done, apply your wood stain, allowing it to dry between coatings. I would recommend 2 or 3 coatings (I did 2).
Step 3 - Glue Together
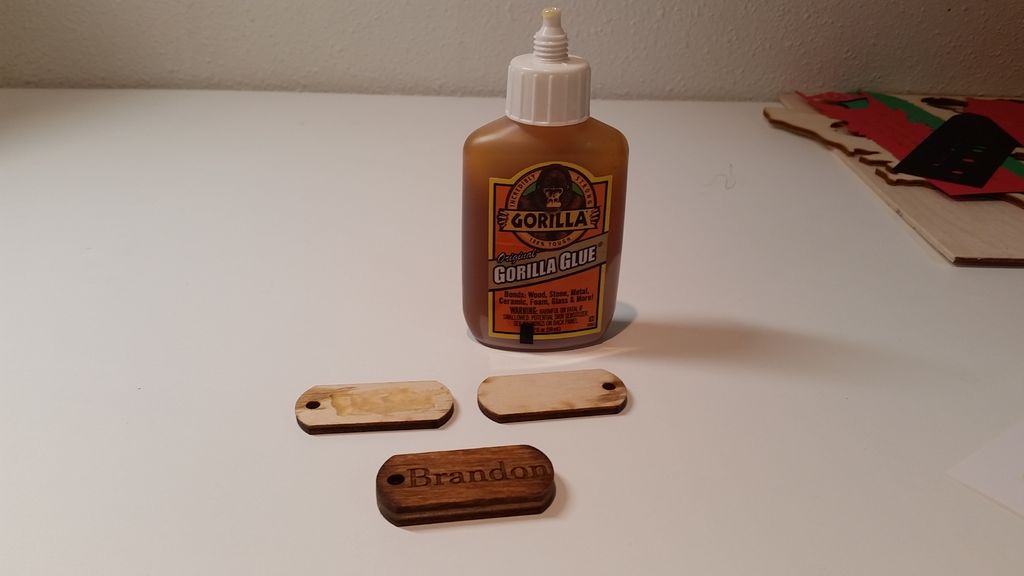
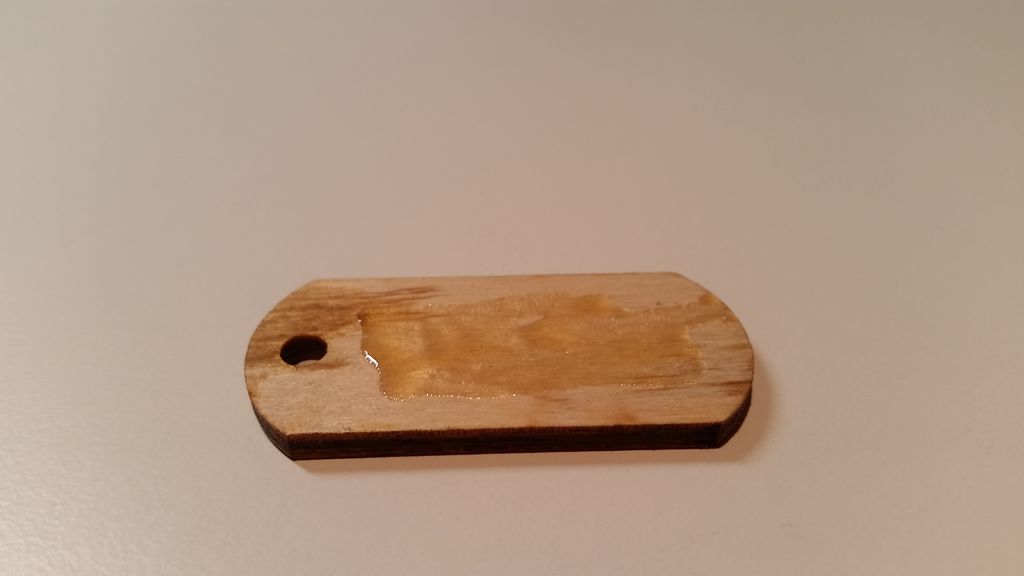

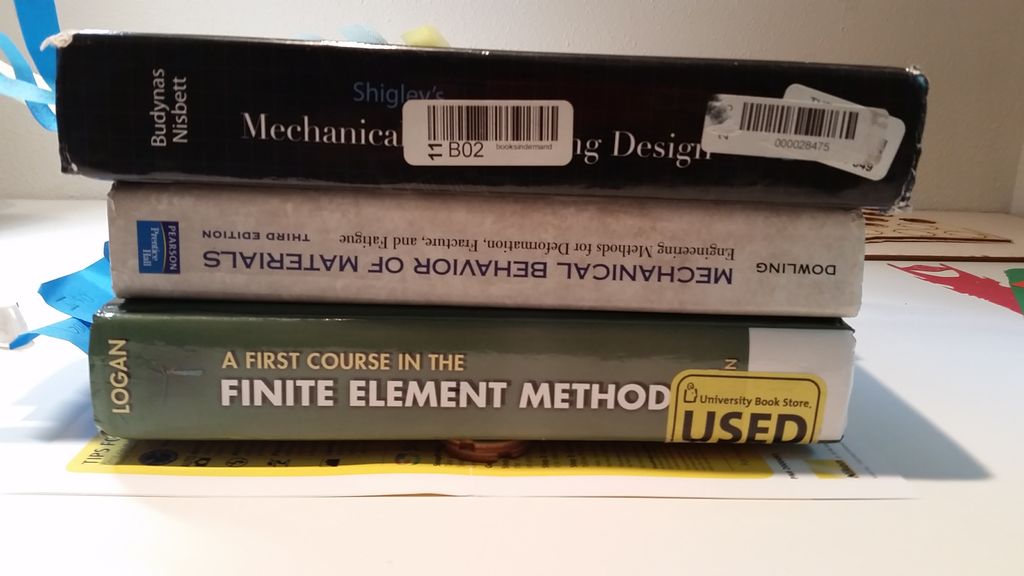


The next step is gluing the two pieces together. I used a glue that dries slowly (a couple hours) and expands as it dries, so the process you use might vary if you use a faster drying glue. Once glued together, use a clamp (or a couple hundred dollars worth of textbooks you have lying around) to hold the two pieces together while drying. Make sure that the pieces are in line and don't slip. You can notice that one of the pieces that I glued together did slip a little bit, and so dried off center. If any of the glue expanded out of the piece you can use a knife to carefully remove it.
Step 4 - Finish
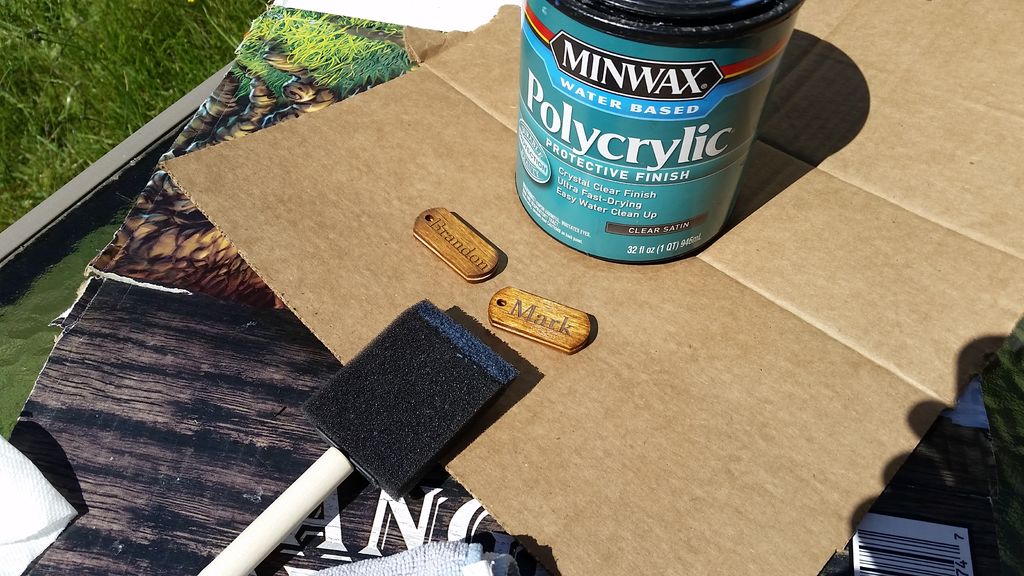
Next apply a protective finish. I used a polycrylic finish, which if you use I would again recommend 2-3 coatings on both sides, allowing it to dry between coatings. Be careful when the protective finish is drying, especially if in the sun (because it dries faster); the text can collect bubbles in the text when you paint it on, and if it dries too fast some of the bubbles might stay which gives it a less desirable appearance.
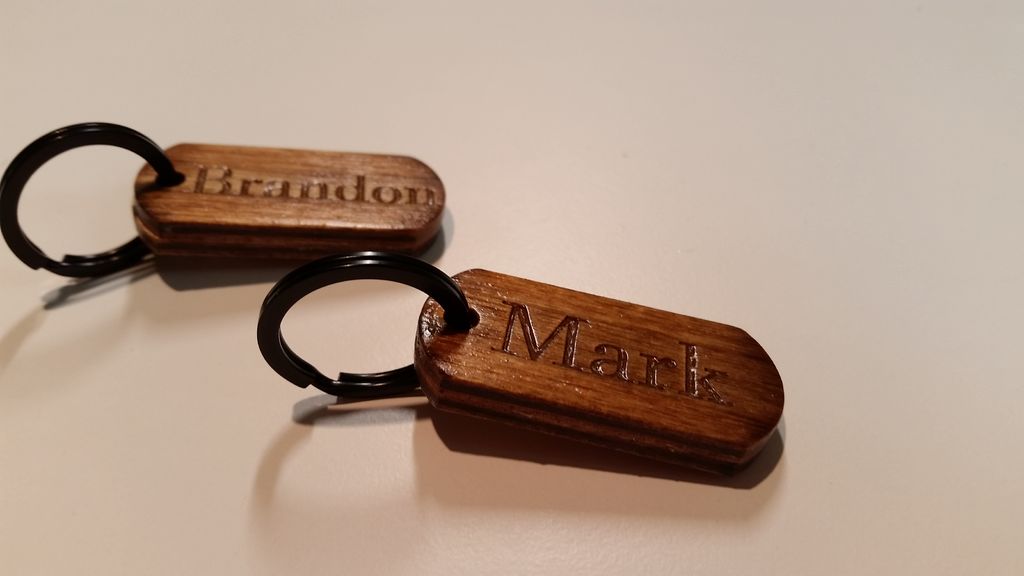
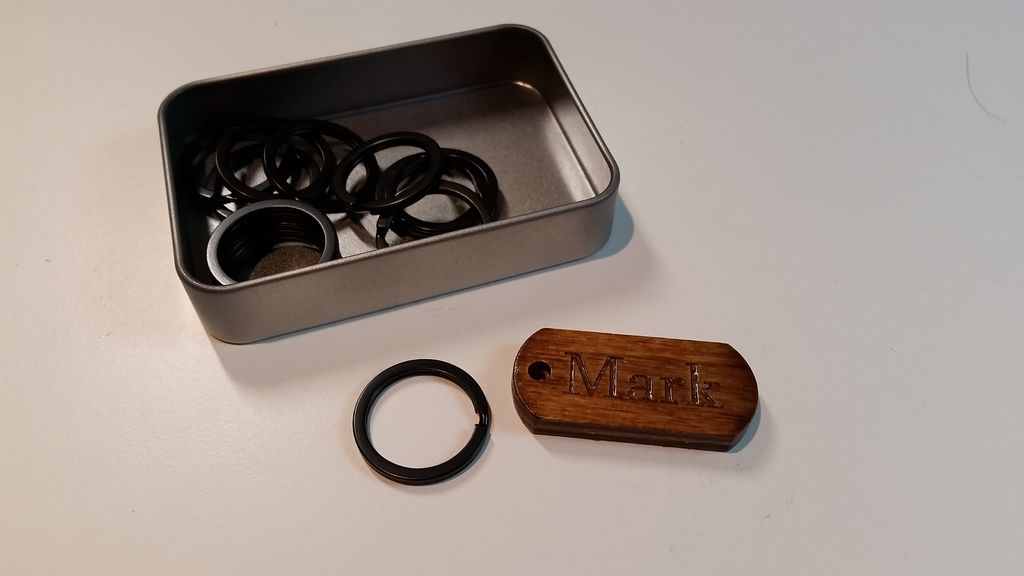
And the last step is to put on the keychain ring. I purchased black keychains because I thought it looked good with the wood stain I chose. BE VERY CAREFULL when putting the keychain ring on. If the end of the ring drags along the wood, you can scratch the finish here. And then you're finished!