
3D Printed Solar Filter Attachment
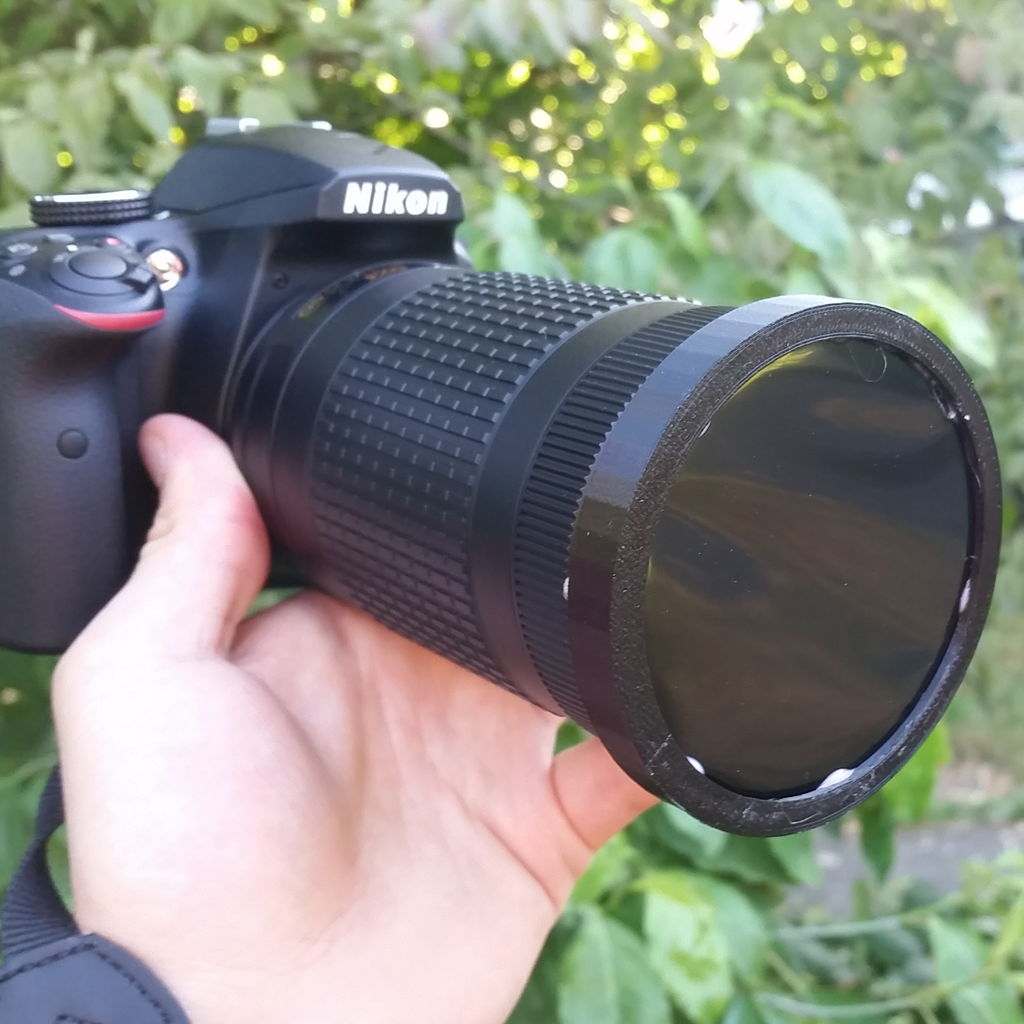
Made in preparation for the upcoming eclipse in August, I created a solar lens attachment which can be screwed onto my camera lens so that I can take pictures of the sun. I've seen plenty of ways to make DIY solar lens, but they were mostly designed so that they could be used only once, our were pretty fragile. This lens attachment has been designed so that it can be 3D printed, and is sturdy enough to be both easily put on/taken off the lens and can be used many times.
This was made to fit the Nikon 70-300mm VR DX AF-P lens. If you want to make it for another lens/brand, you will probably have to modify the inner diameter of the design, but the other parts of the lens attachment will likely not need to be modified. My first step will be on how I designed the part, so if you plan on modifying the design to fit your lens, you should read that, but otherwise you can skip that step.
Parts:
Tools:
Step 1 - Designing the Attachment


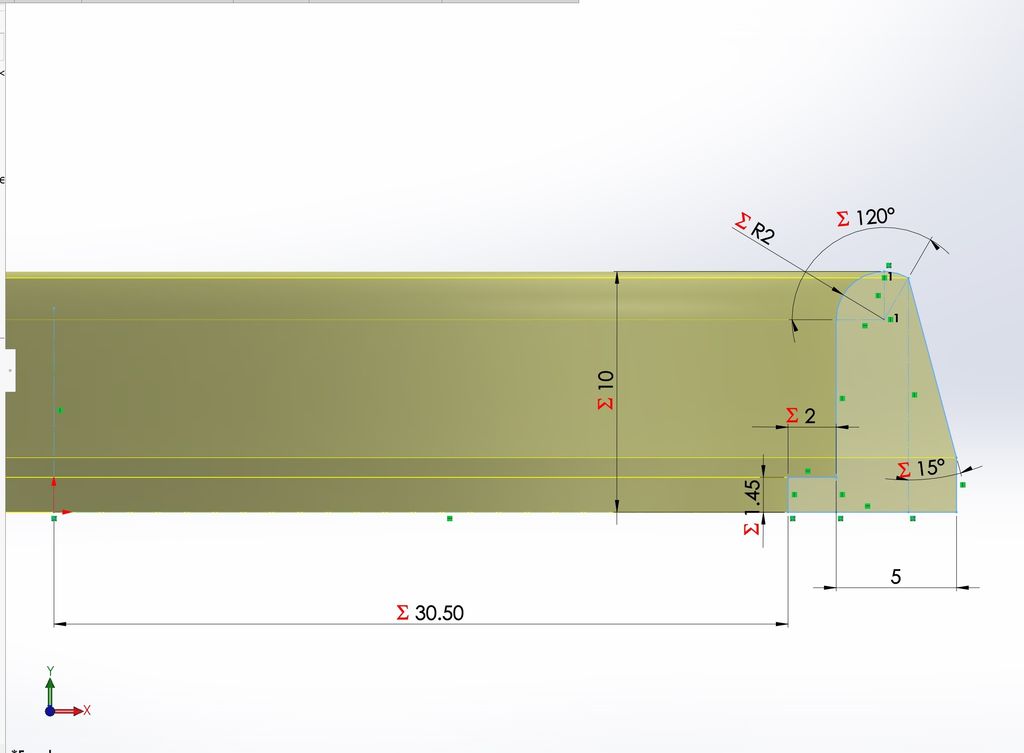

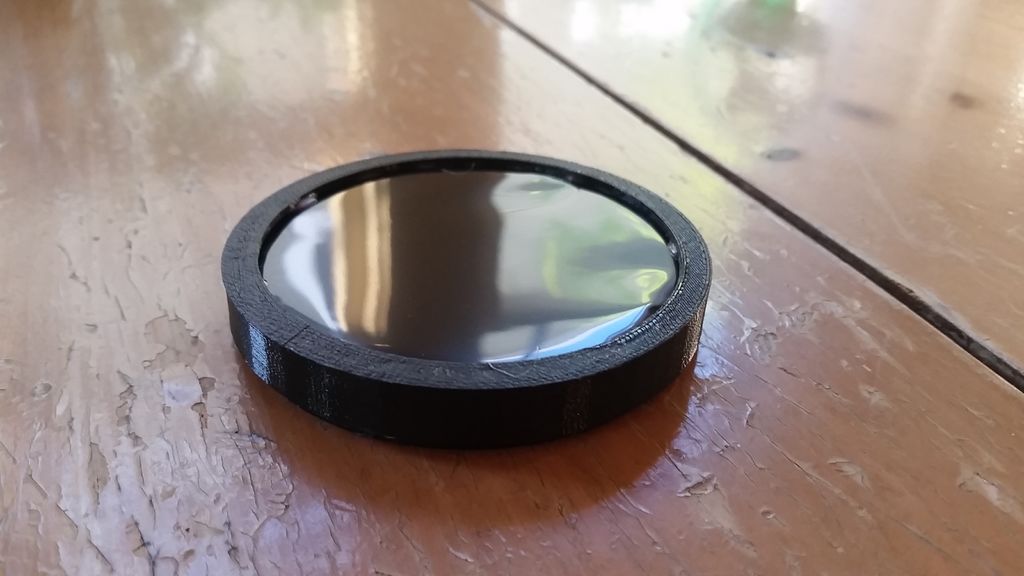
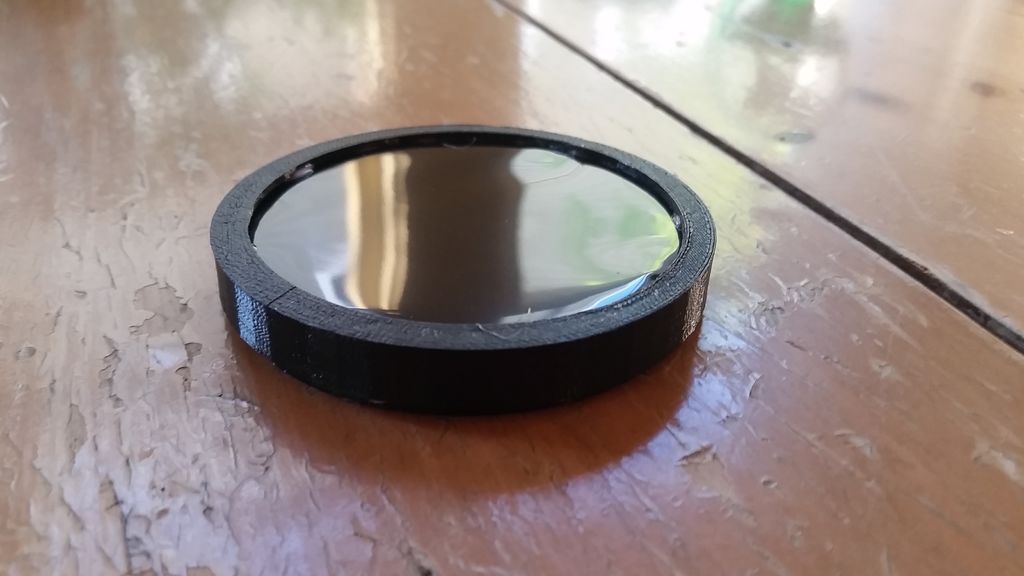
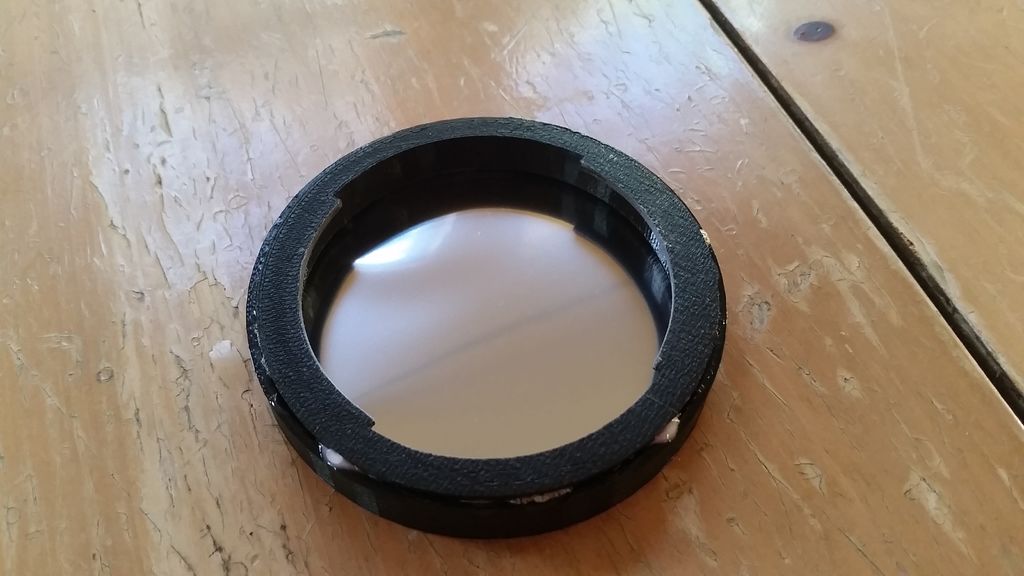
I designed the attachment as two pieces, so that the solar film would fit in between the pieces which would be glued together. I used Solidworks, so I will go through the basic process that I used to make each piece. The units in the pictures are in millimeters.
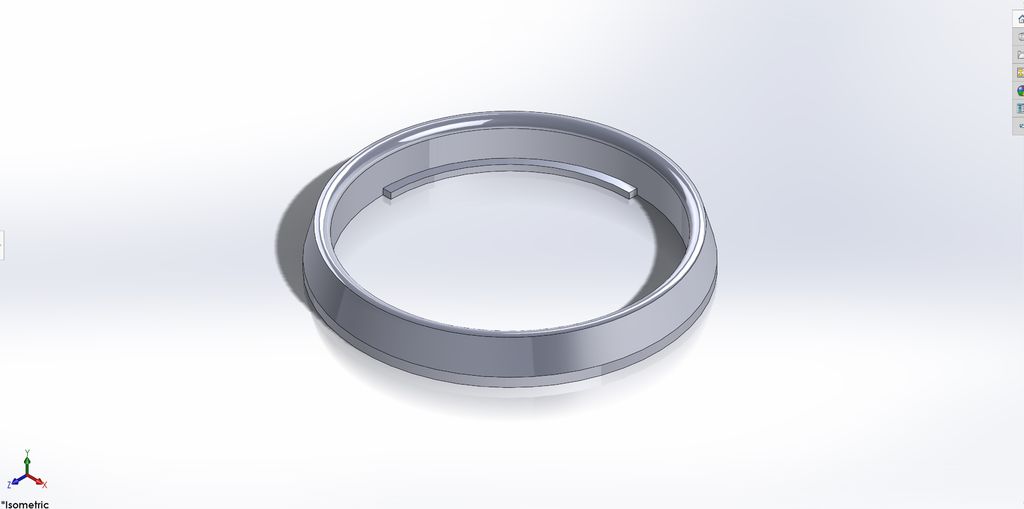
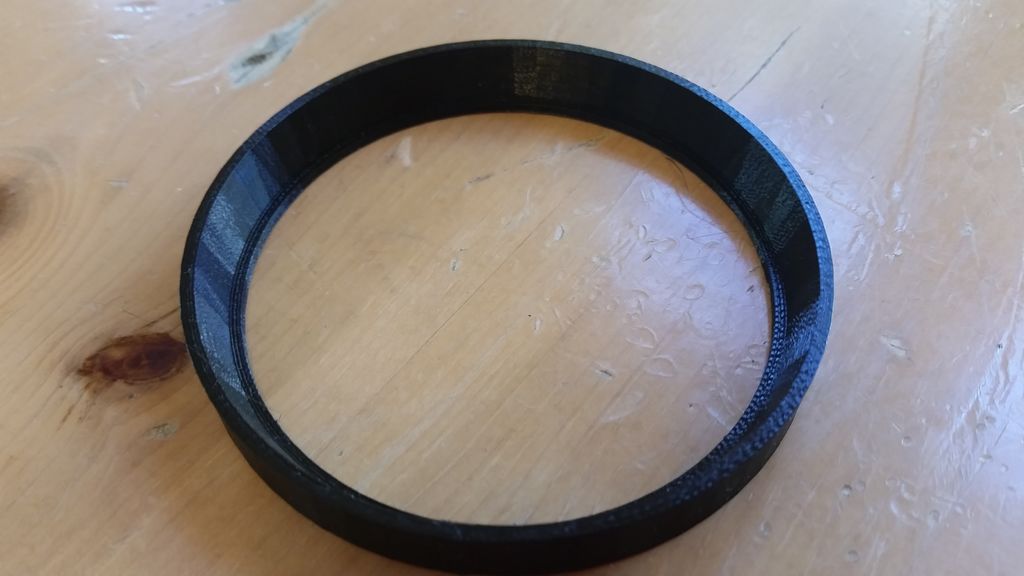
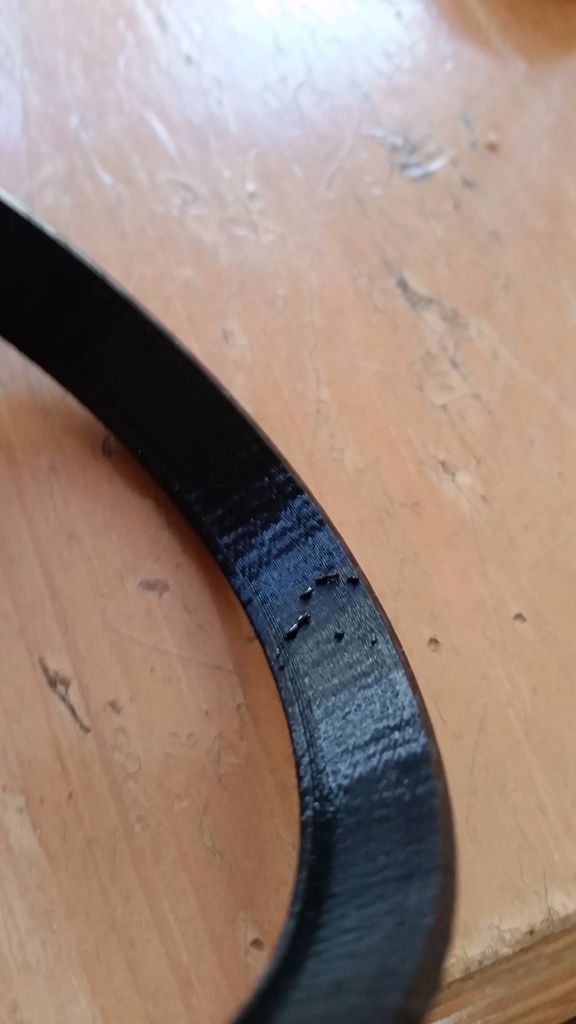
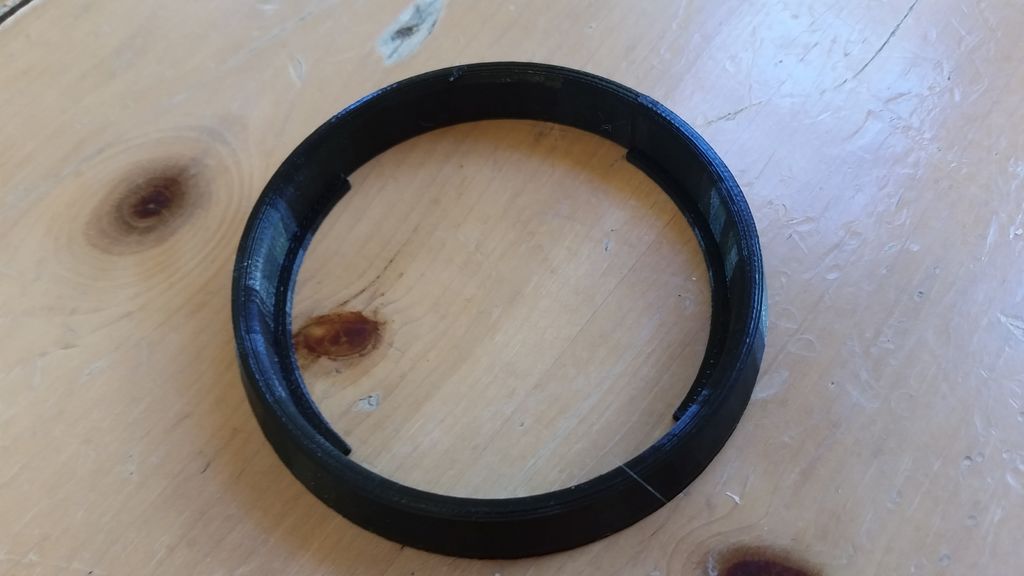
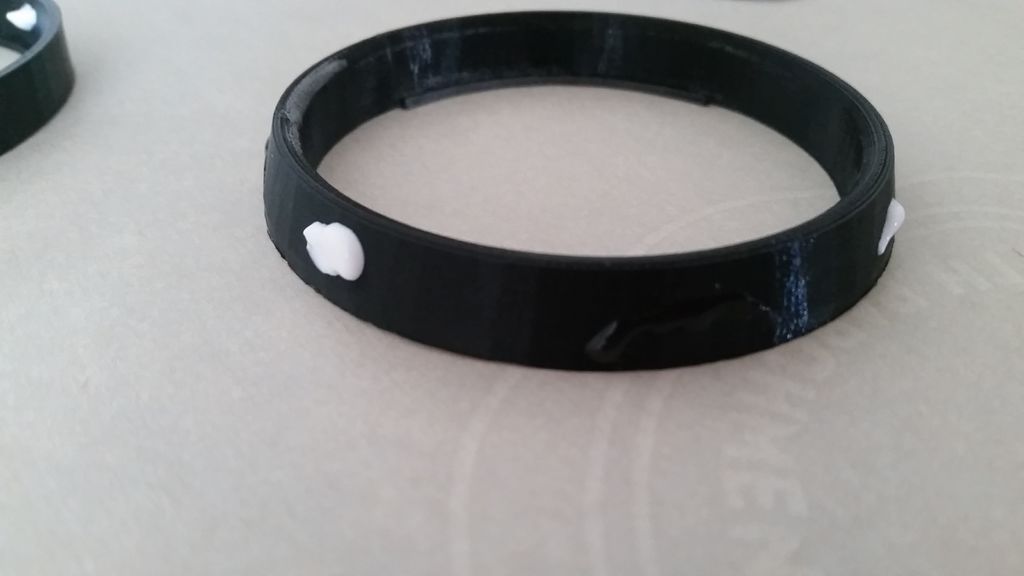
The first piece is the piece on the bottom, which directly touches the camera lens. The outer diameter of where your lens has the attachment slot (shown in first picture two pictures) is the inner diameter of the bottom piece. In the design, there is a small piece jutting out of the bottom that will fit into the slot of the lens. Because the inner diameter of the piece and the outer diameter of the lens are the same, you will likely need to sand the first piece until it fits; but doing this will ensure that you can sand it down until the piece screws correctly into the lens attachment slot, and is not too loose or too tight. Besides that, the top is circular for the solar film to rest on, and the outside is sloped so that the second piece can sit on top of and be glued to the bottom piece. I designed this in Solidworks. To make it, I started by revolving the first drawing, and then doing an extrude cut to remove 1/2 of the slot sticking out from the inside so that the part can slip onto the lens.
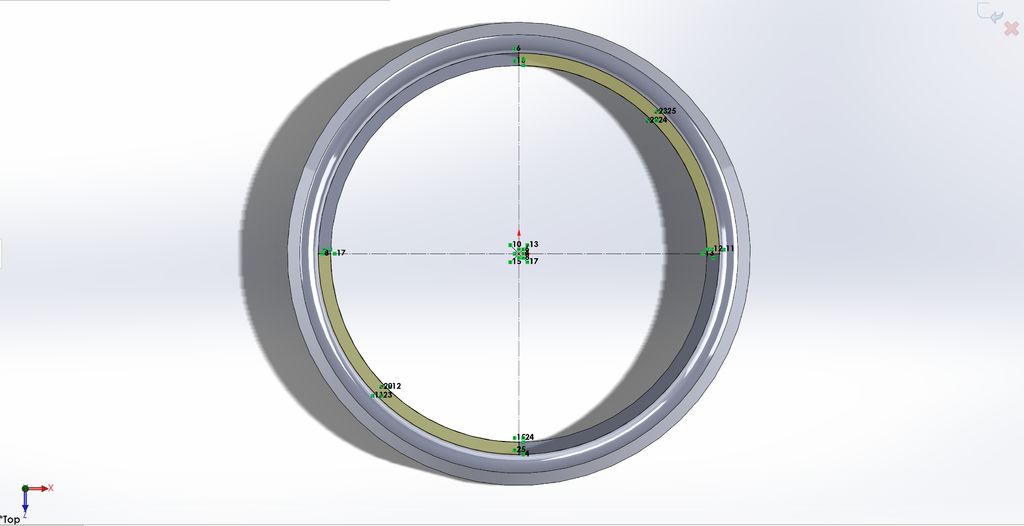
The second piece fits on top, and was made with a 0.5 mm offset from the bottom piece so that the solar film could fit in between the two pieces and glue could be applied. To do this in Solidworks, I turned all of the lines in the first piece to construction lines, and used offset to create the 0.5 mm gap, then added a top and side that I thought would make the part thick enough to close the loop. Included in the last picture is a picture of the cross section of the two pieces when they are together.
Attached below are the two Solidworks files if you want to edit them; if you're using a different CAD program, it shouldn't be too difficult to follow the drawings and make them from scratch.
Step 2 - 3D Printing and Sanding
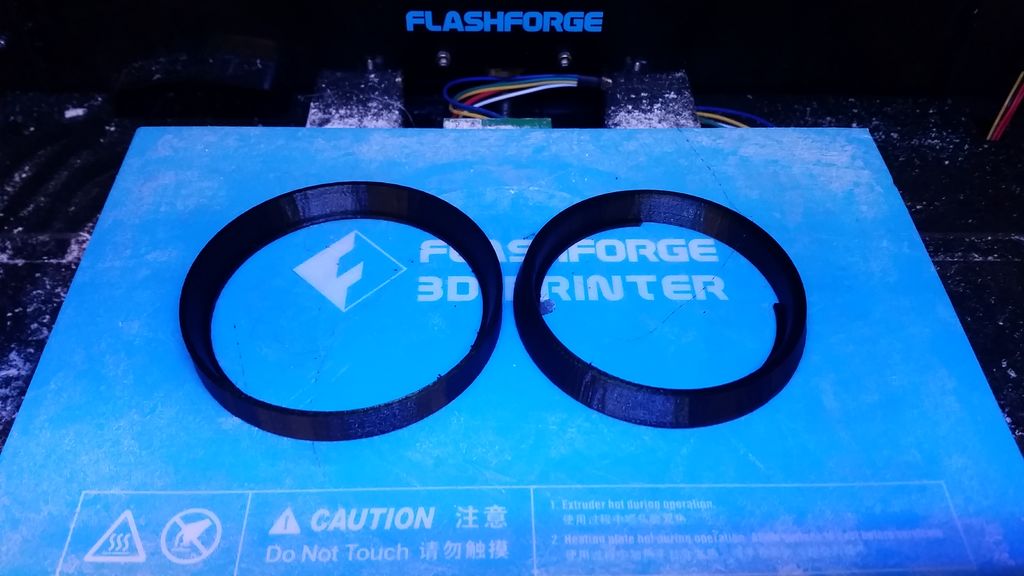
Attached below are the STL files for 3D printing if you are using my design. The two pieces were designed with 3D printing in mind, so they shouldn't be difficult to 3D print.
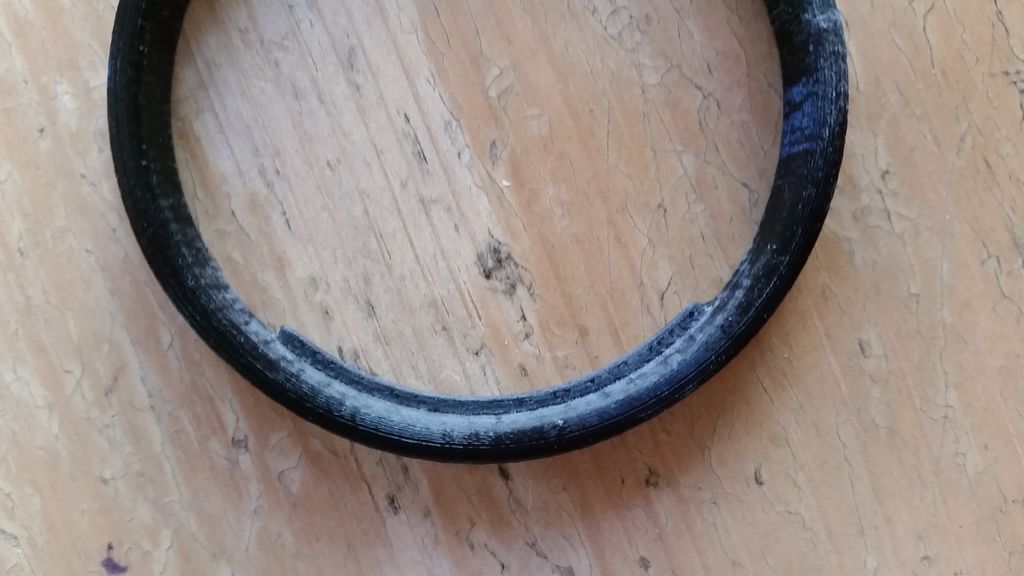
Once the two pieces are printed, you are going to want to sand the inside of the bottom that screws into the lens slot. I did this by alternating sanding and trying to put it onto the lens until if fit snug. If there were any irregularities/bumps on the pieces from the 3D printing, now would be the time to sand them smooth.
Step 3: Cutting the Film and Gluing It All Together

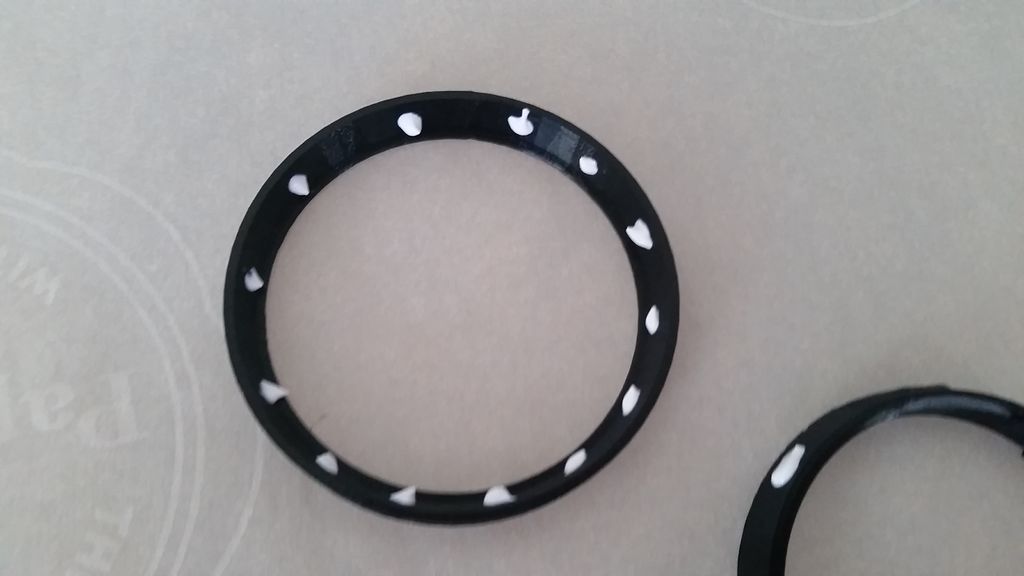
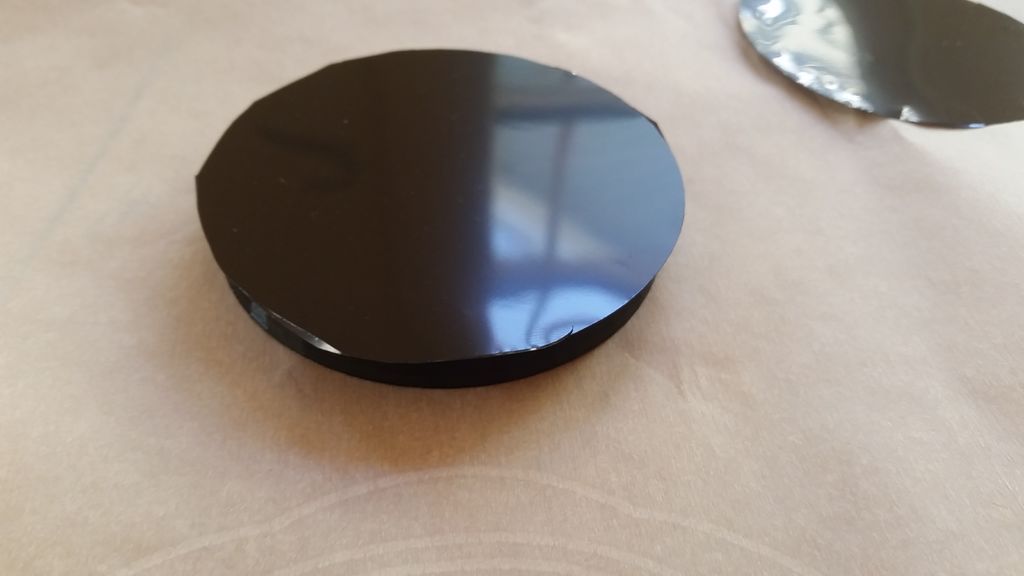
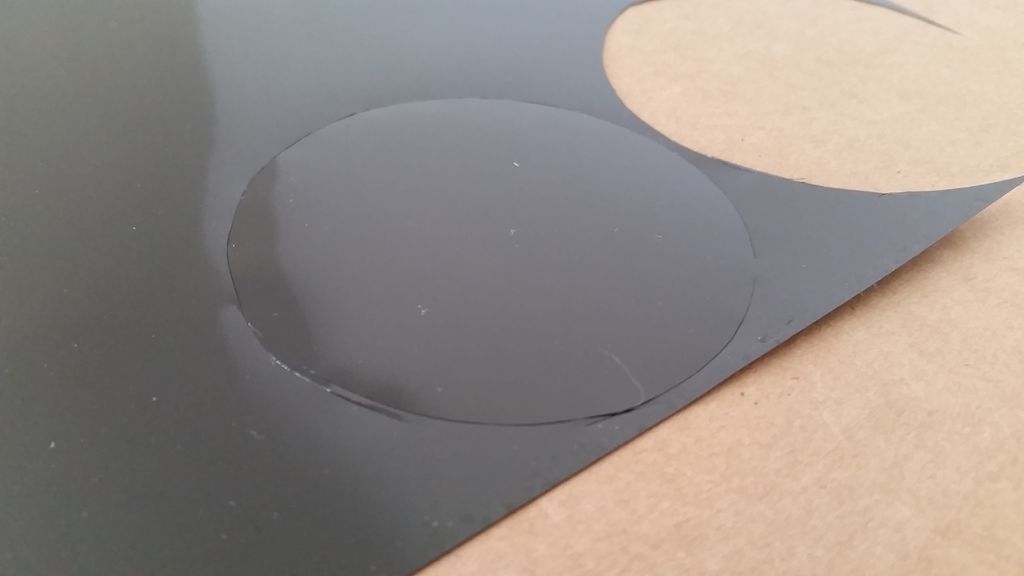
To cut the film, I used the top piece (which has a slightly larger diameter) to trace the outline. Then once cut out, add glue around the edges of the two pieces (I probably used a bit too much on the top piece), carefully center the film on the bottom piece, then push the top piece in place. This is the hardest part; you have to be careful to keep the film centered and not make too many wrinkles. Once you have it in position, keep it pressed down using books or any other heavy flat object, and leave it there until the glue is dried (depending on what type of glue you used). I found the more you mess with the film before clamping it down, the more creases you get in the film, which increases the wrinkles. So try to do this while messing with the film as little as possible. Some wrinkles or warping isn't bad-it won't show up when you take pictures-but too much can start to affect the image.
Done!
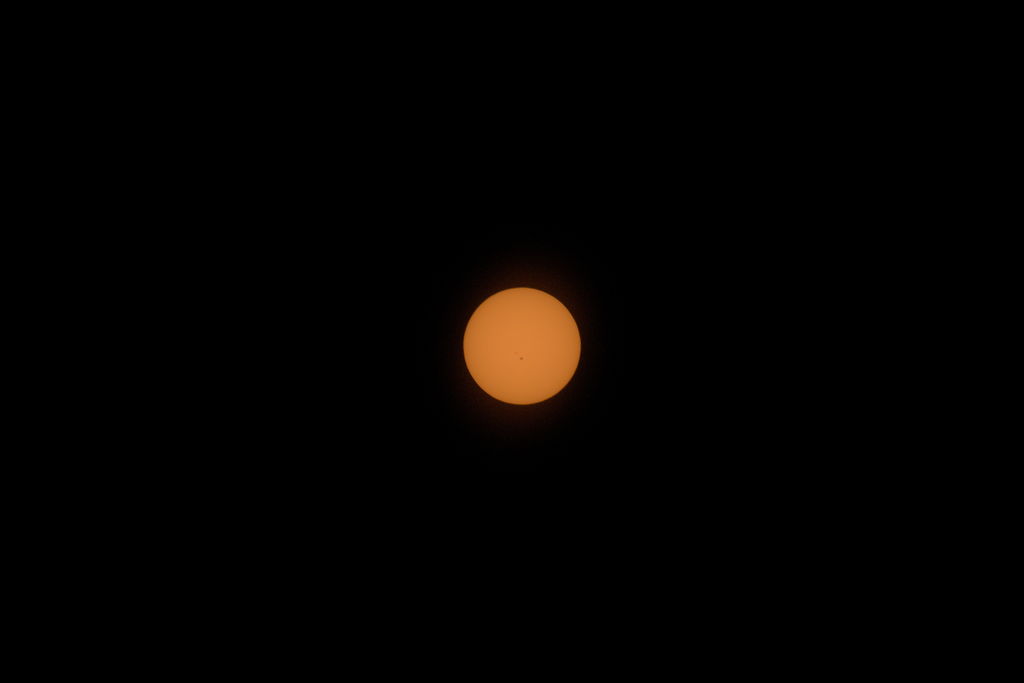

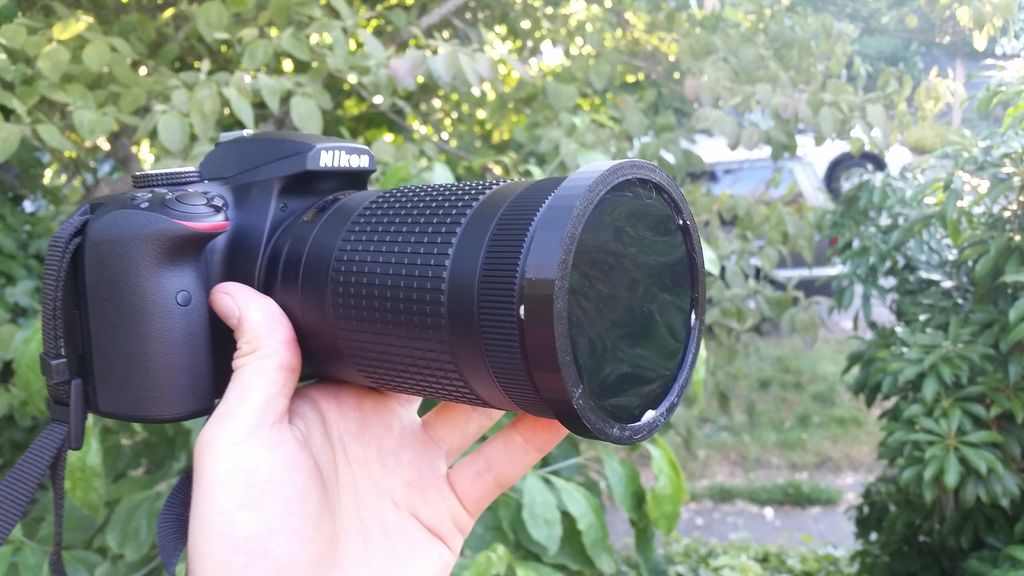
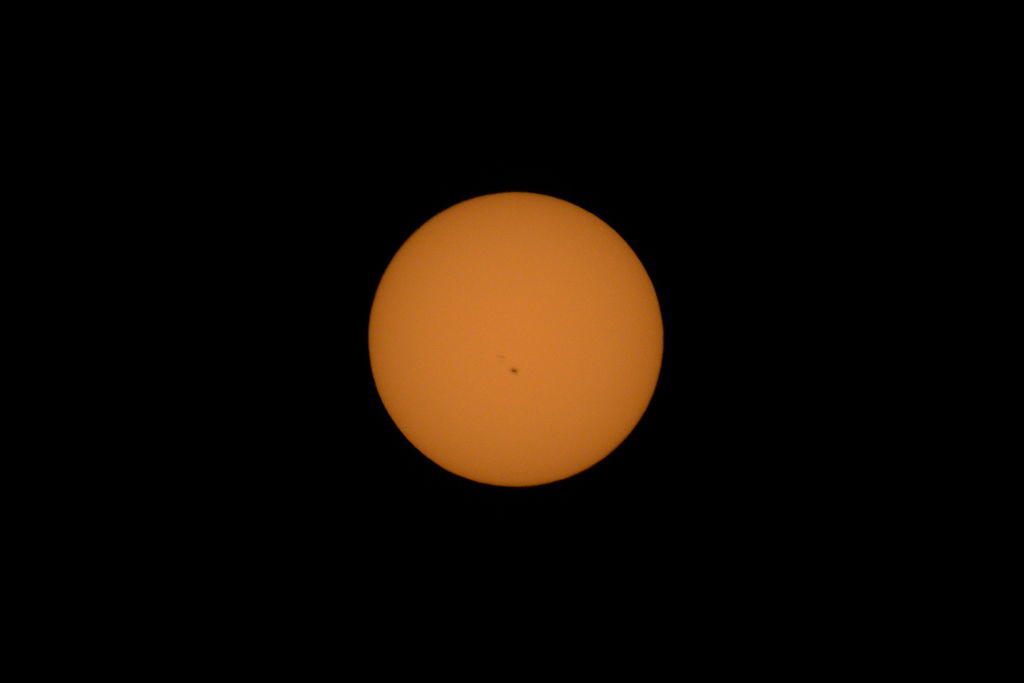
And you're finished! Add the attachment to your lens, and go out and take some pictures of the sun. I included a picture I took, both cropped and cropped. You can see a sunspot in the picture. I was pretty happy with the results. For reference, the picture was taken using a Nikon d3400 camera with f/6.3 1/640s and ISO 800 at max zoom.