
Constellation Lamp
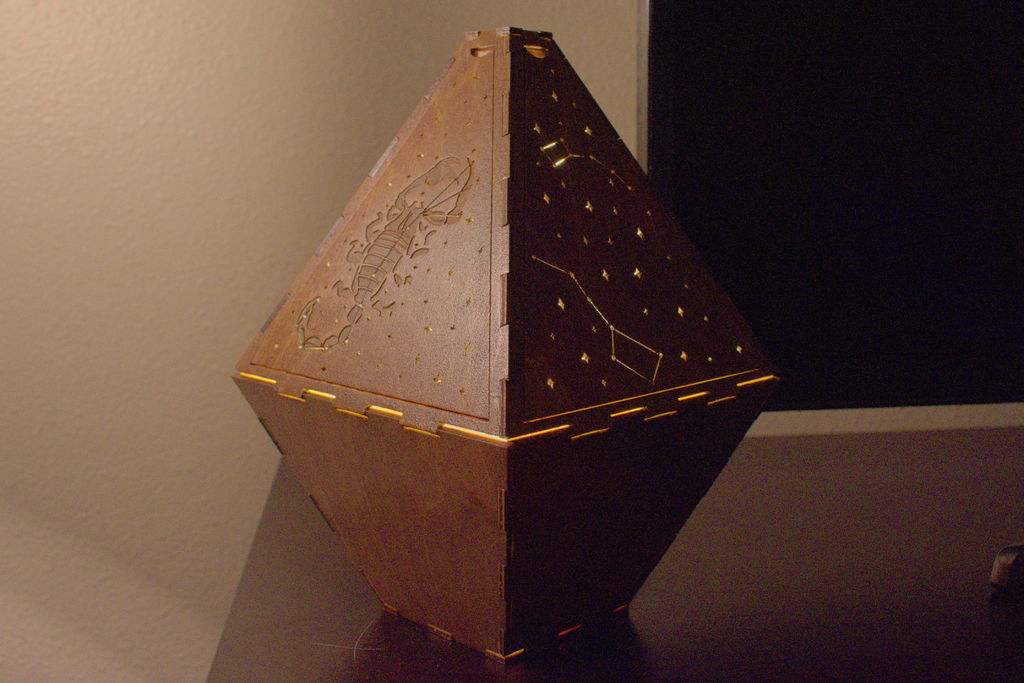


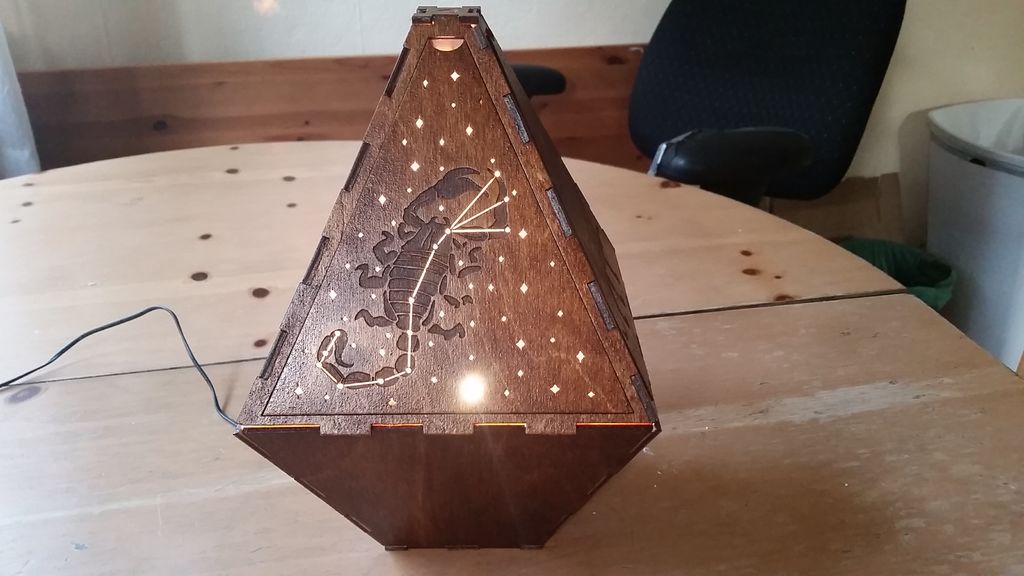
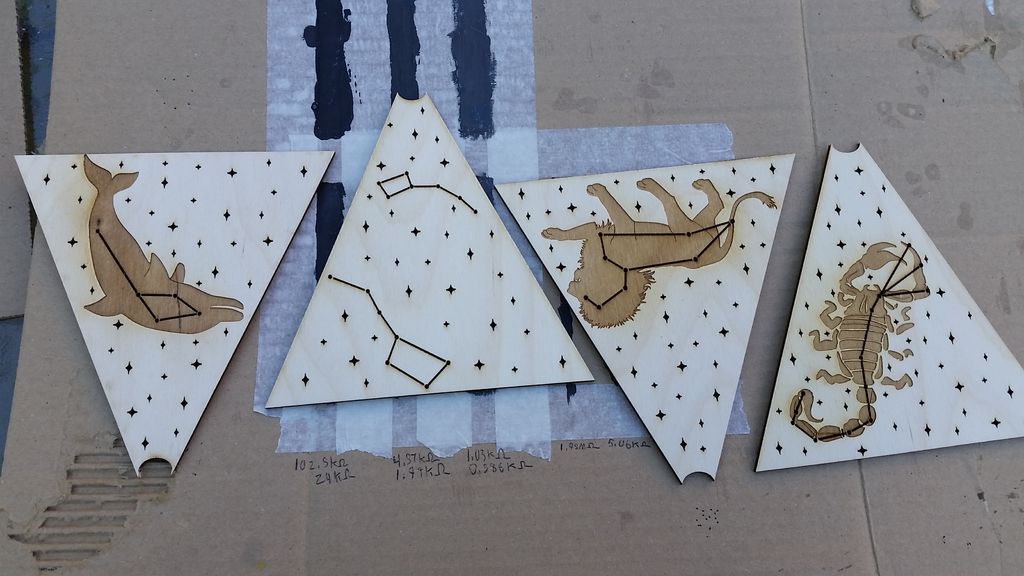
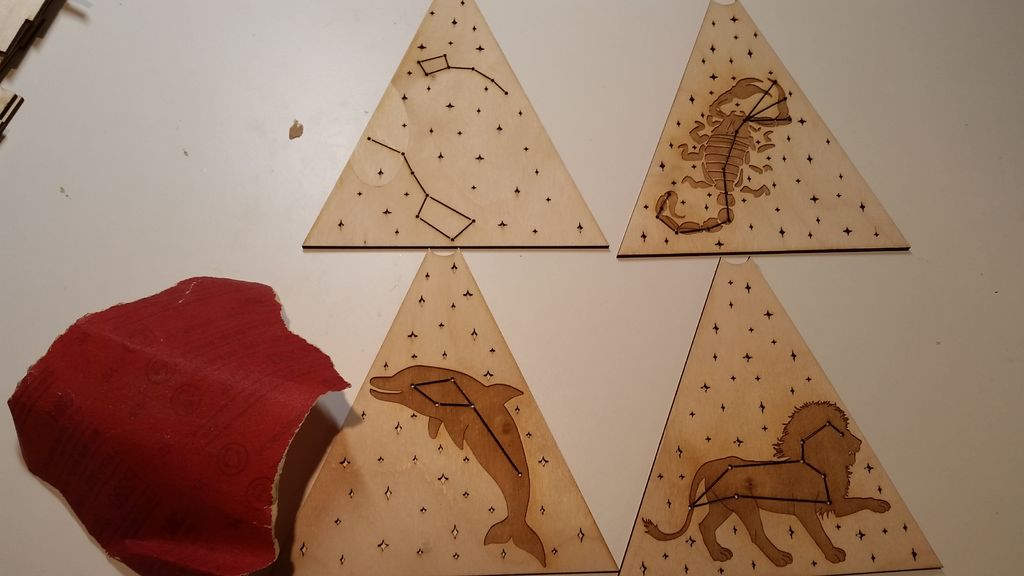
A friend and I had drawn up a basic design for a lamp with constellations that we wanted to make using a laser cutter. Over the summer I finally had the time to build the structure in a CAD program, and create the constellation art so that it can be built. After a couple versions of the lamp, I've come up with a pretty good process for constructing it.
I bought most of these parts in semi bulk, but the rough estimate that I would give for the cost of building this lamp was around $20.
I've added links to the parts I purchased to give you an example of what the parts look like.
Parts Needed:
- 1/8 inch birch plywood (this is made to fit on an 18x24 inch sheet)
- MR11 bulb around 200 lumens with a 120 degree beam angle
- Socket bases that fit MR11 bulbs
- Power jack adapter (you only need the female piece)
- 12V power supply adapter
Tools:
- Laser cutter
- Quick drying super glue (plus optionally a tacky glue and an expanding glue)
- Wood stain and wood finish (I used polycryilic finish)
- paint brushes
- 220 grit sandpaper
A couple important notes about the parts:
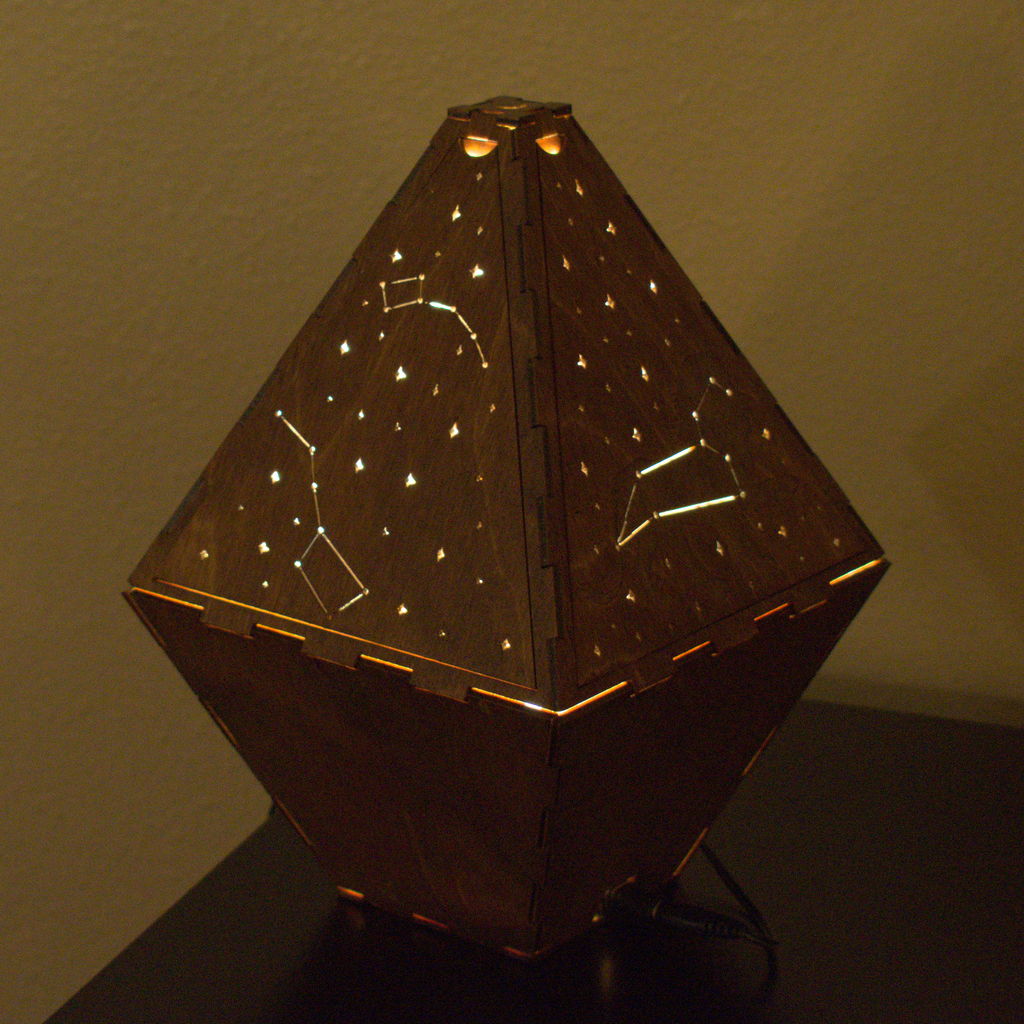
- I designed the lamp so that the beam angle (120 degrees) will allow the light to directly hit all parts of the constellations. If you choose a bulb with a smaller beam angle, not all of the holes will be directly lit; this will result in a slightly dimmer glow (after testing, I found this was that big a deal). Also, it is ideal if you can find a bulb that only has one LED/light source on it. This would allow the lamp to cast accurate shadows of the constellations on a wall. I was only able to find MR11 bulbs that had multiple LED lights on each bulb.
- If you get a socket base with a diameter that is different than the one that I used (17mm), you are going to want to adjust the corresponding diameter to the part that the socket glues to in the laser cutter file. You want a snug fit, because the socket glues directly on to the piece.
- The super glue needs to be quick drying because you need to hold pieces in place. Other glues I used but are optional are a tacky glue to seal cracks in joints to keep too much light from leaking from them, and an expanding glue to help hold the socket base in place.
Step 1 - Laser Cut the Lamp
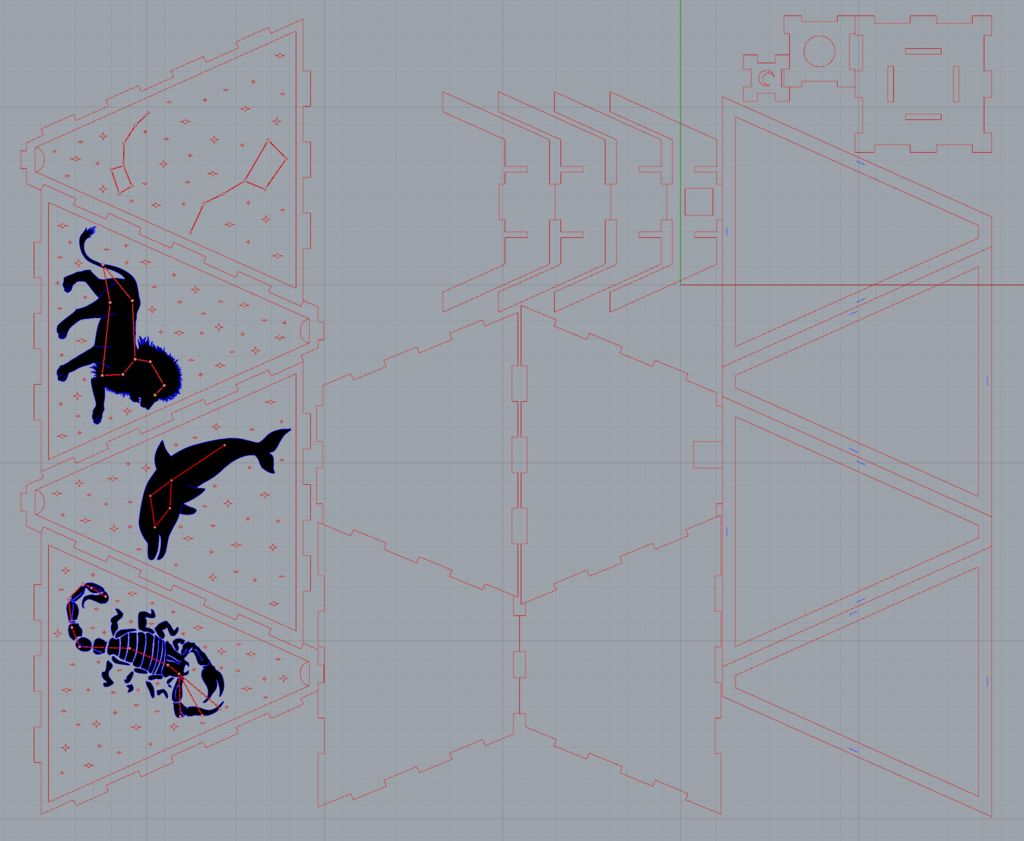
I built this assembly in Rhino, so I included the original file type here, but also exported it to ai and dxf. Make sure the imported file matches the first picture in this step. Let me know if you have trouble importing the file, and I'll see if I can fix it on my end.
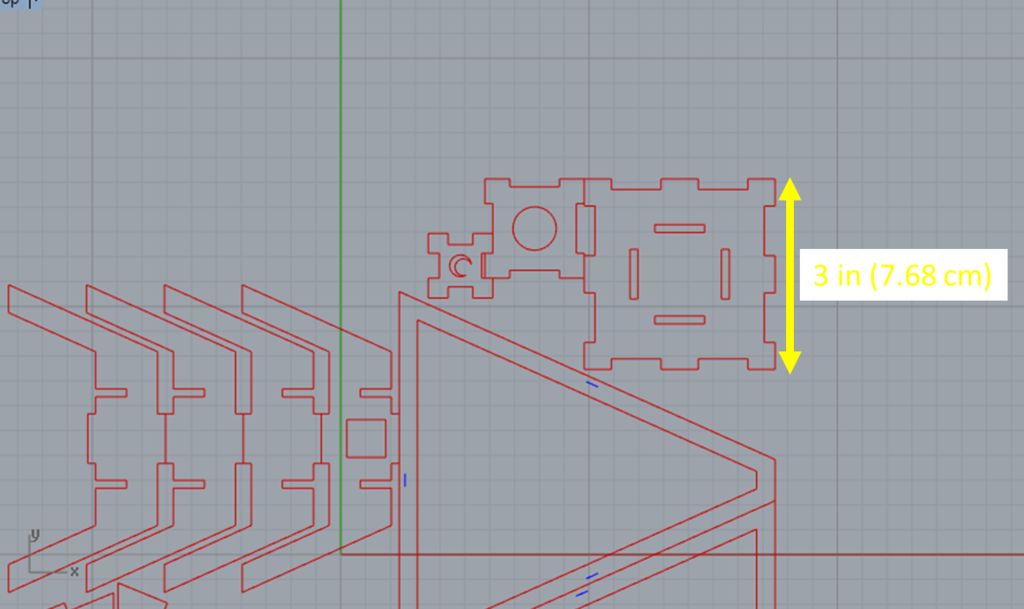
To check and make sure the scale is correct when you import it, the length of the top right piece in the assembly should be about 3 in/7.68 cm (picture 2).
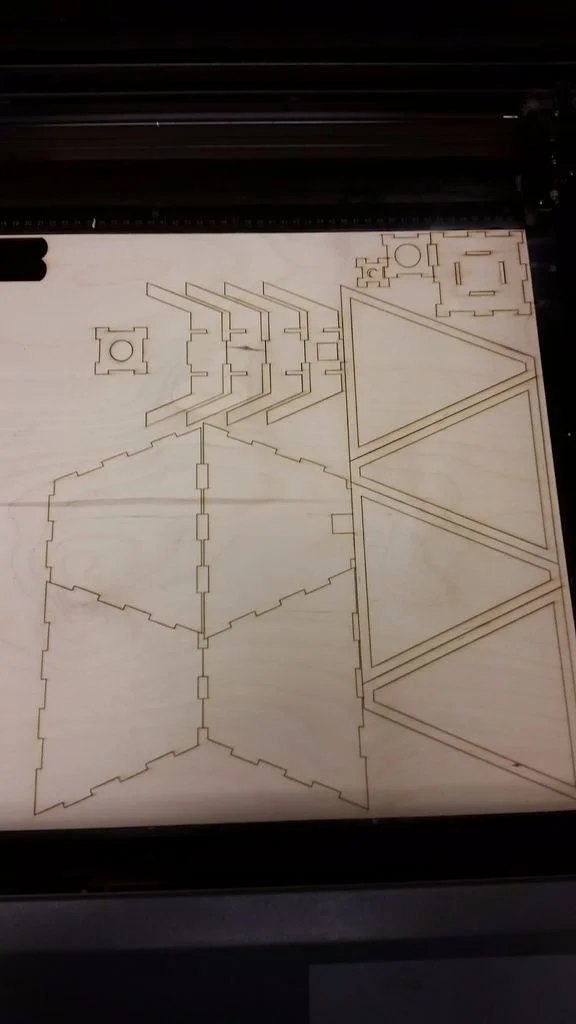
Once you have the file correctly imported, laser cut the assembly. The part file is made to fit an 18x24 inch piece of birch plywood.
Step 2 - Laser Cut, Sand, and Stain
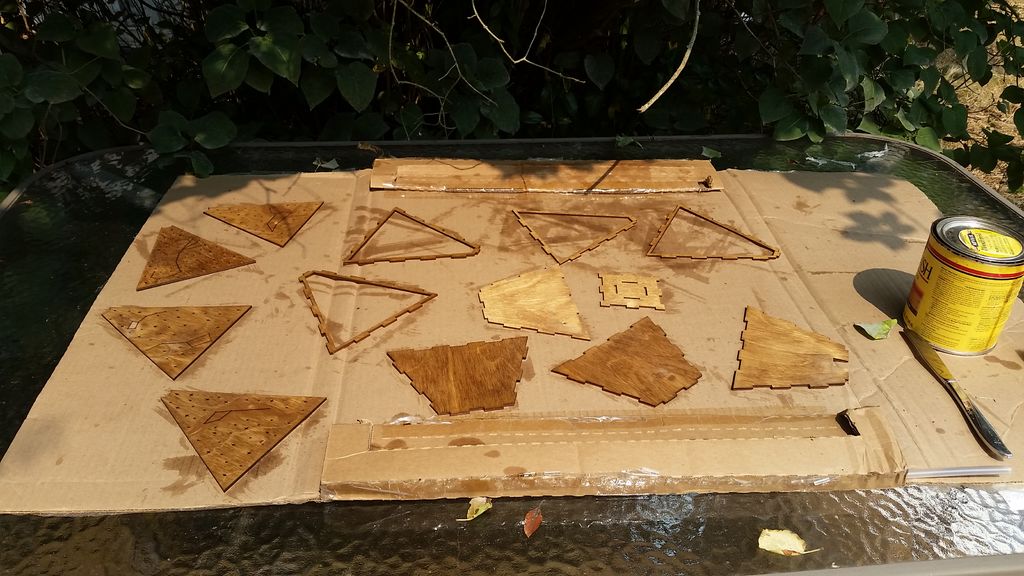
The order I recommend for the lamp is staining the pieces --> assembling the lamp --> applying the wood finish. I recommend this order because I found that if you assemble the lamp first, the glue can keep the stain from soaking in the wood, which can result in a splotchy stain.
After laser cutting the pieces, you may want to sand all of the pieces you intend to stain using a reasonably fine sand paper (I used 220 grit), which will help smooth the birch plywood.
Next, apply the stain to the outside pieces of the lamp, using 2-3 coats (I used 3).
Step 3 - Glue Socket Base
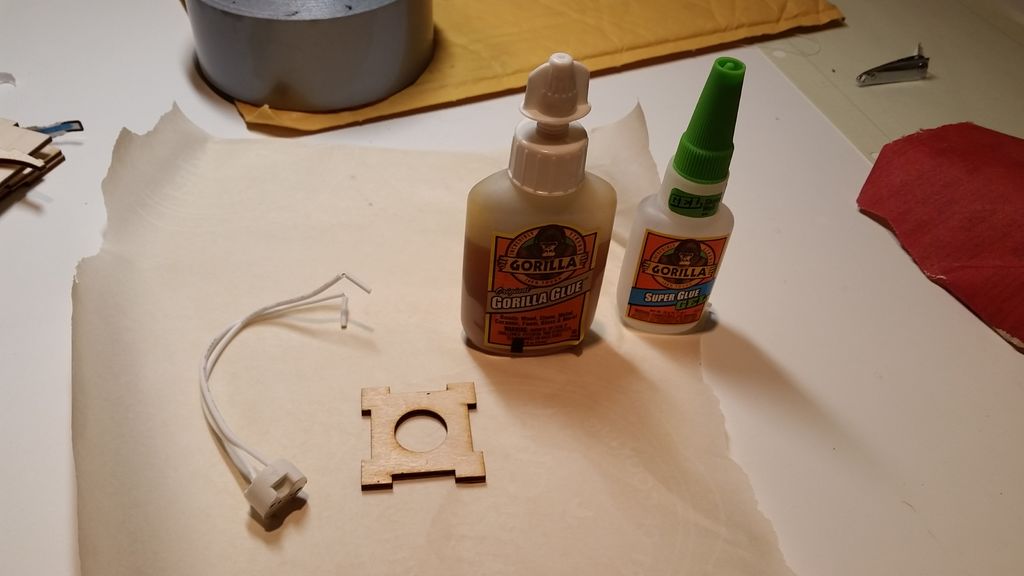
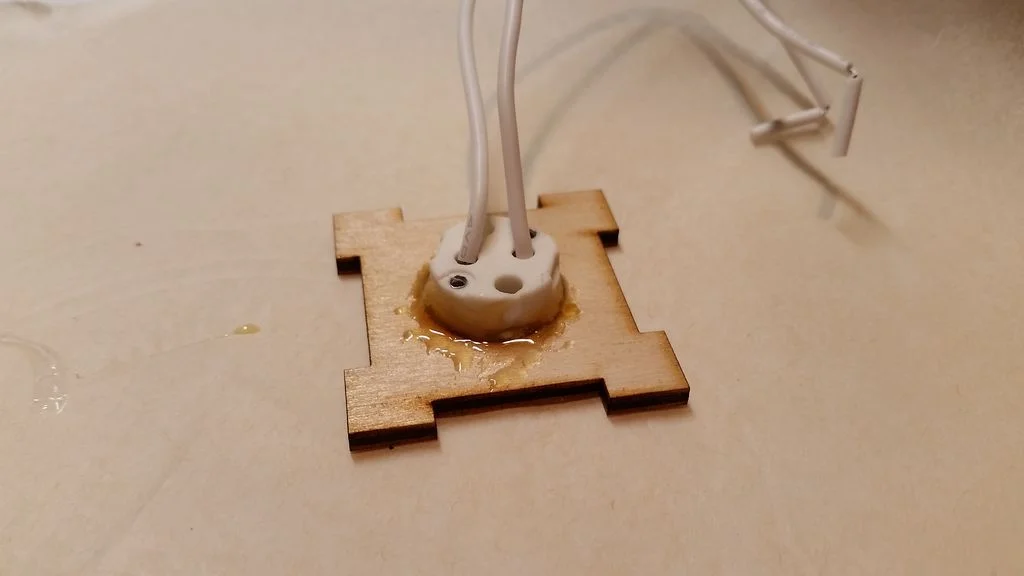
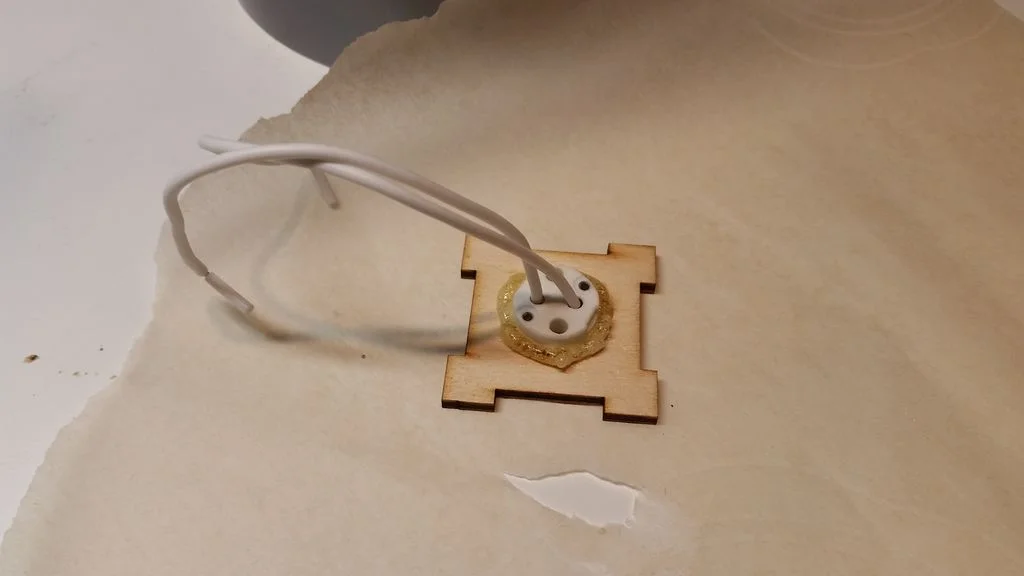
Then glue the socket base to it's corresponding piece by laying it onto a flat surface (so the socket will dry level), and gluing around the edges. If you want to use an expanding glue at this point, you can apply it around the edges now too.
I found that wax paper works reasonably well for gluing on, as it doesn't stick to the glue too readily.
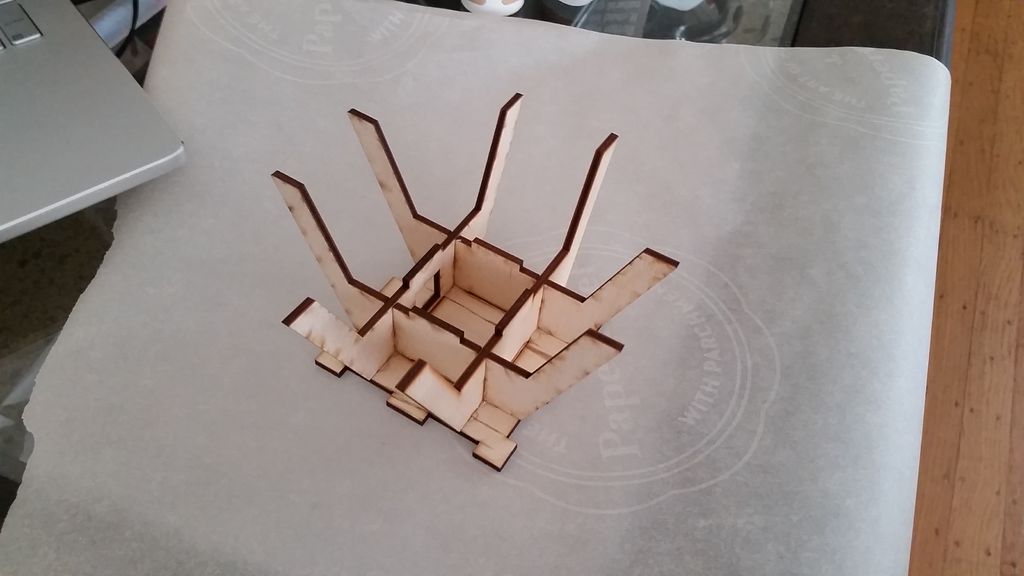
Step 4 - Assemble Base
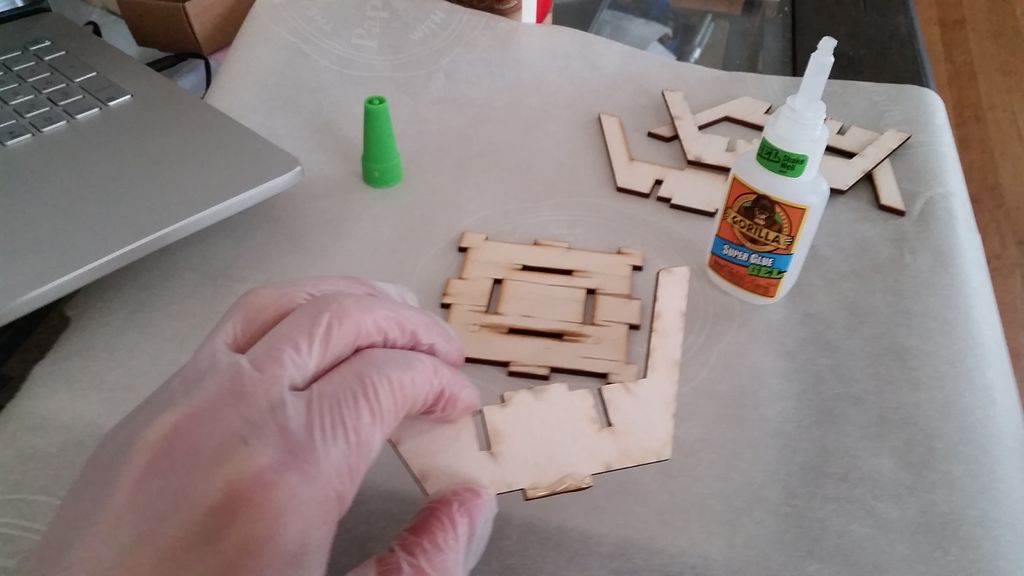
Note I'm using disposable latex gloves here; I found out from first-hand experience that the super glue will gladly stick to your fingers, and peeling your fingers off the wood isn't particularly enjoyable.
Also, I will be using the word "joint" throughout the Instructable, which is referring to the edges and slots of many of the pieces that allows them to mesh together.
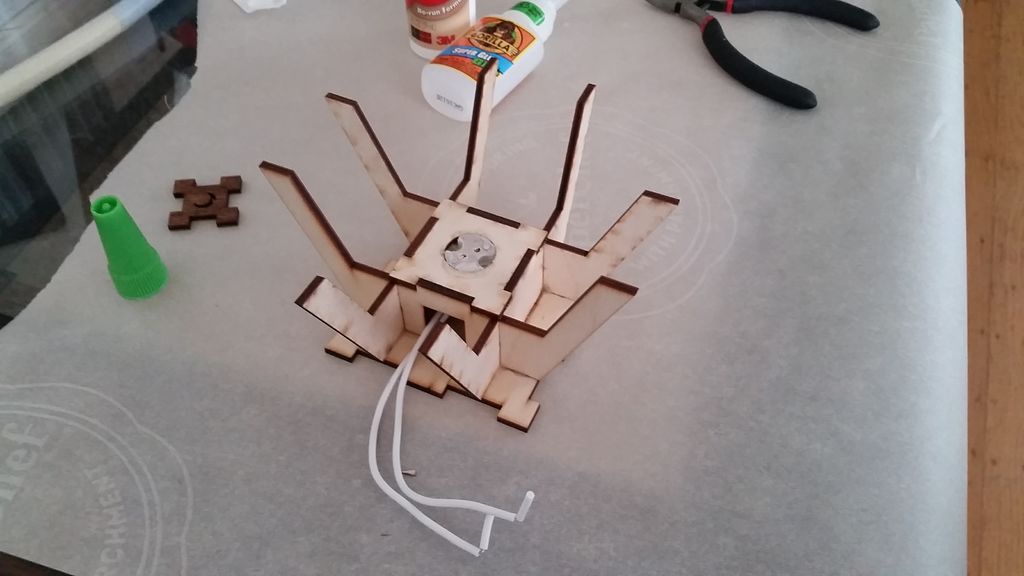
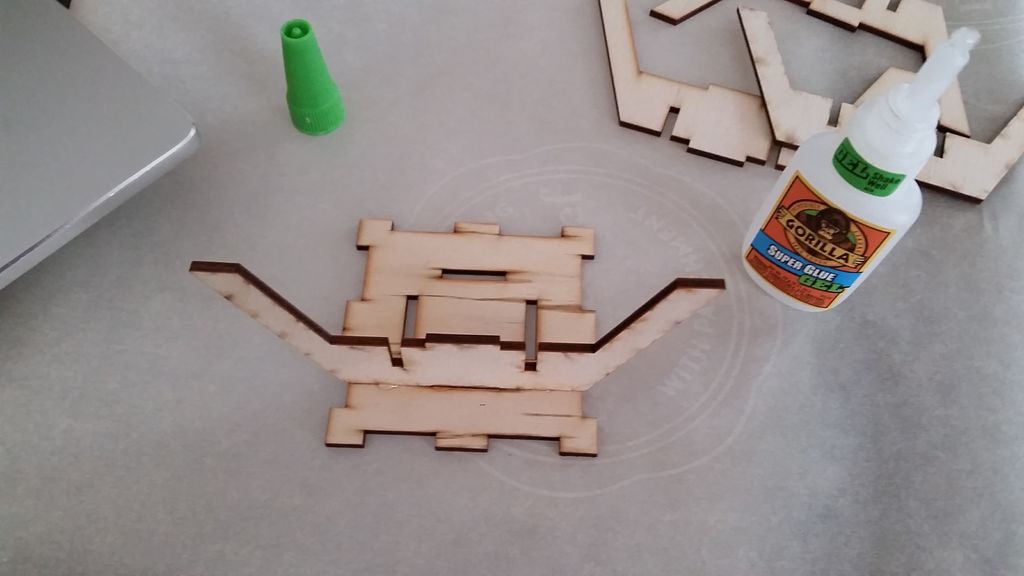
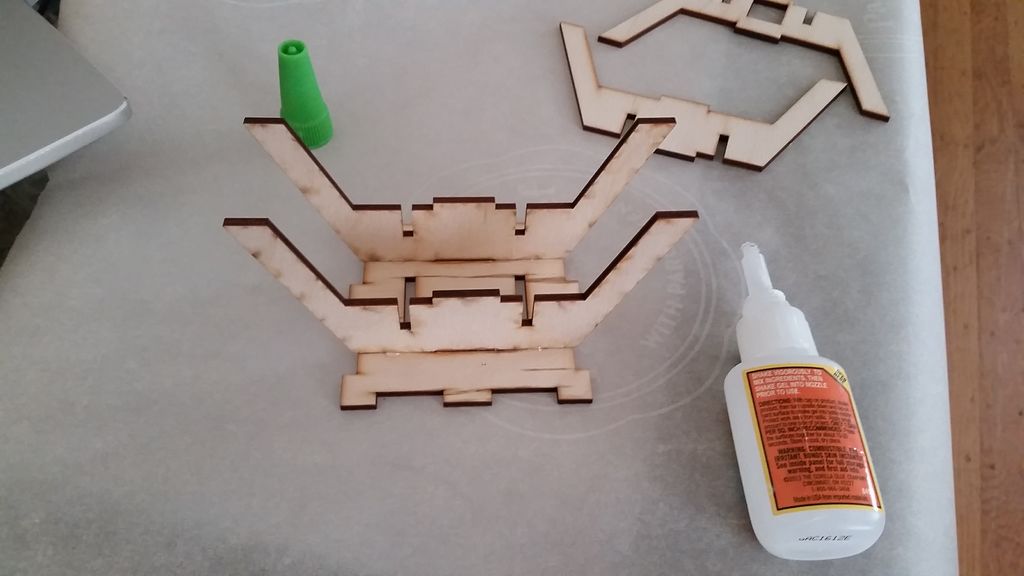
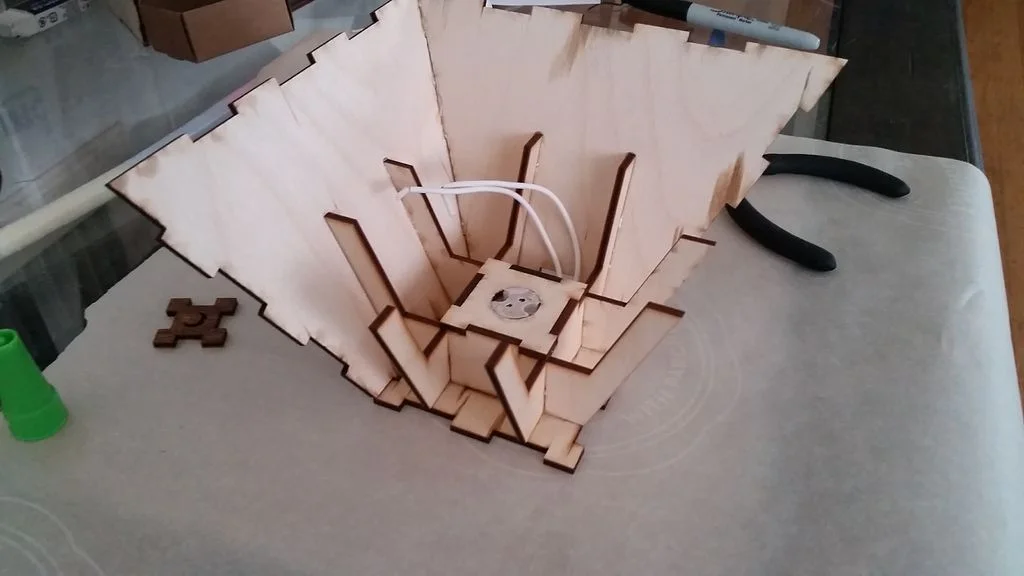
Start by gluing on the 4 pieces with long bent arms to the base, and make sure you do the two that go on the bottom first. I put super glue in all of the joints that meshed the pieces.
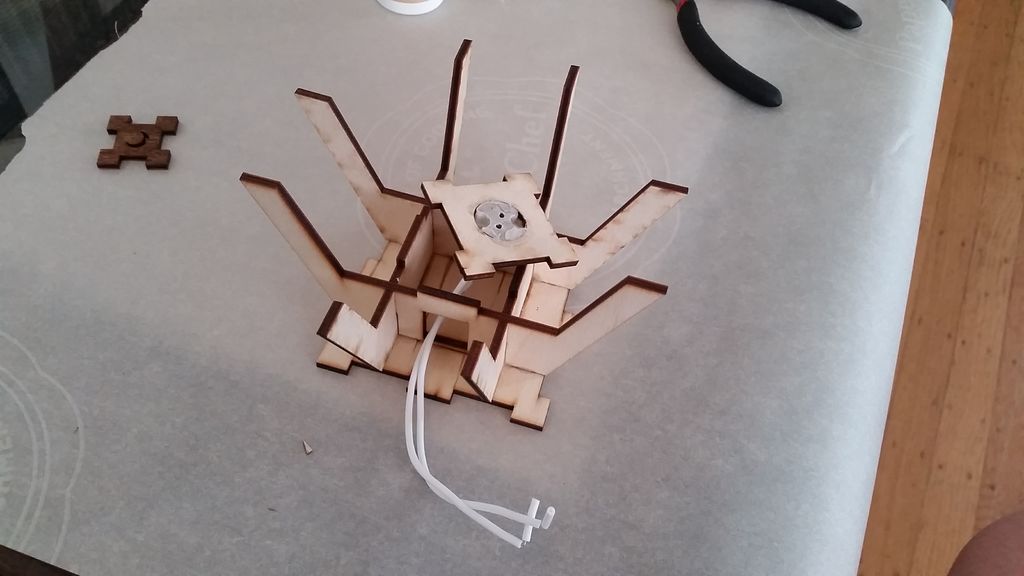
Then, put the piece that now holds the socket on, sliding the wiring through the hole
Step 5 - Glue the Bottom Sides
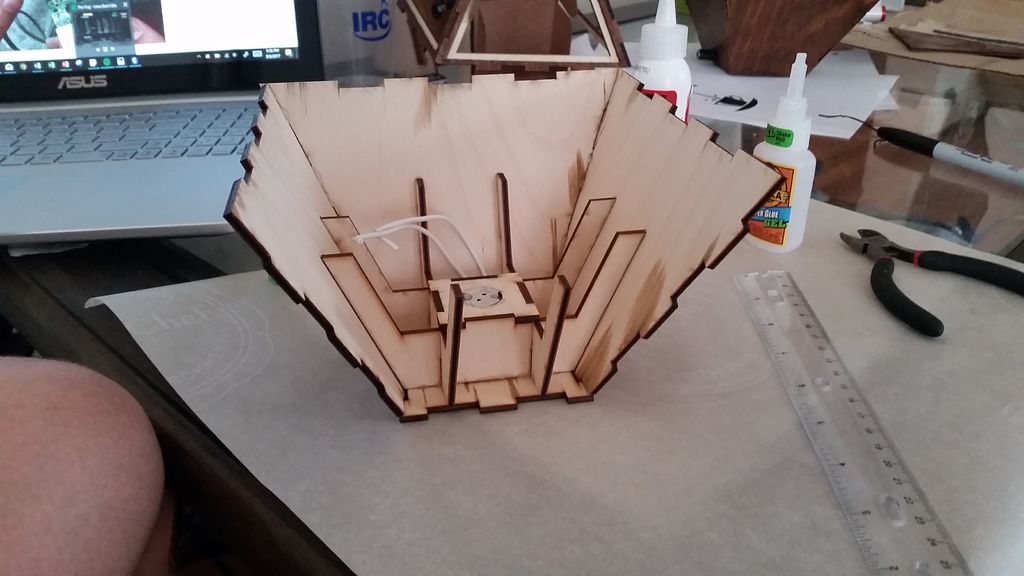

Note: Make sure that the side with the hole in it is in line with the other hole in the bottom assembly.
Next, glue the sides on. When gluing the sides, make sure you push the side down and against the base so that each piece is sitting correctly before the glue dries. Also, the 4 side pieces have two different types of joints mesh, so make sure that the two sides mesh together before applying the super glue and trying to stick them together.
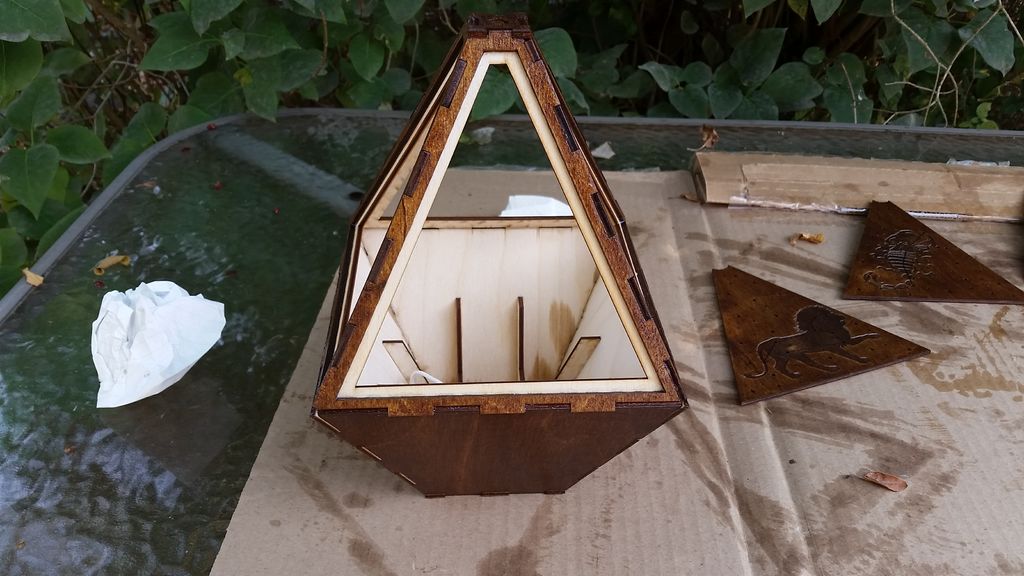
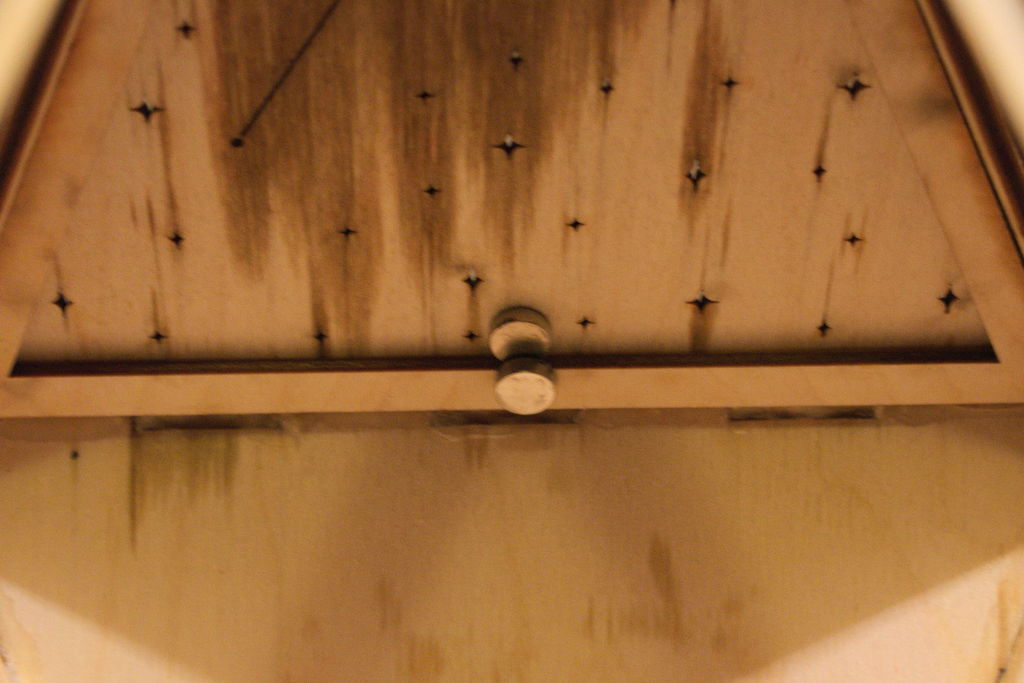
Step 6 - Assemble Top
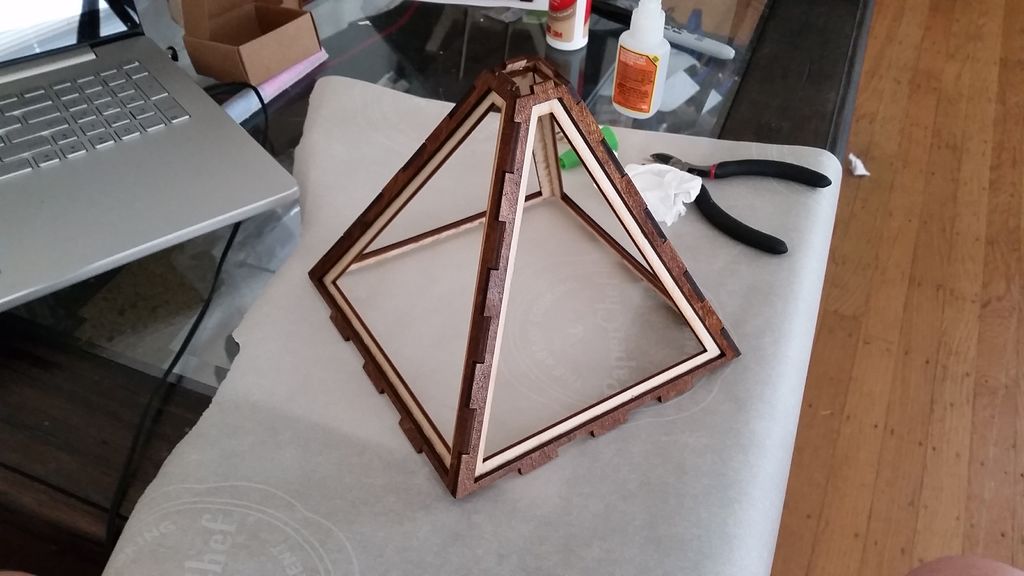
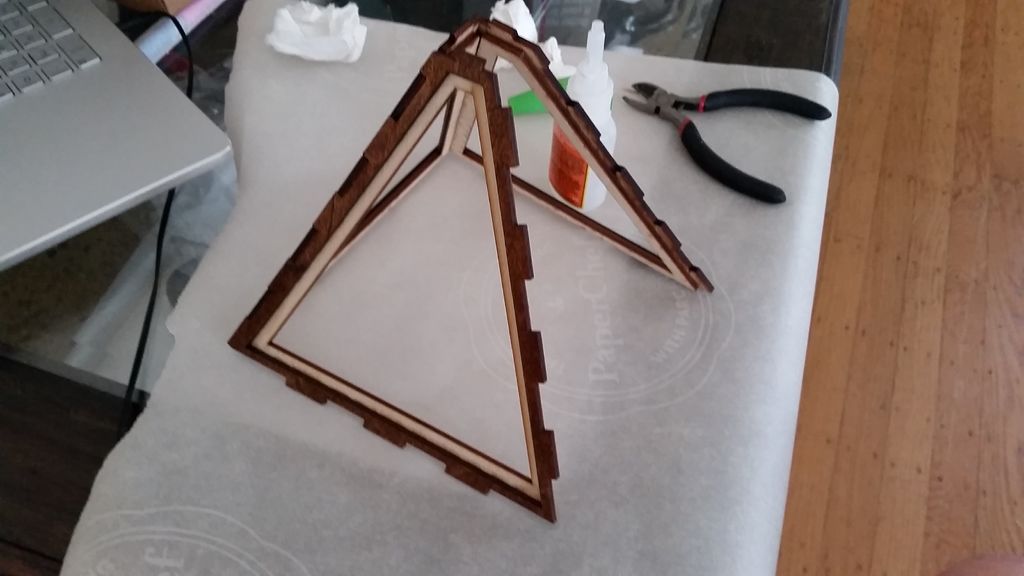
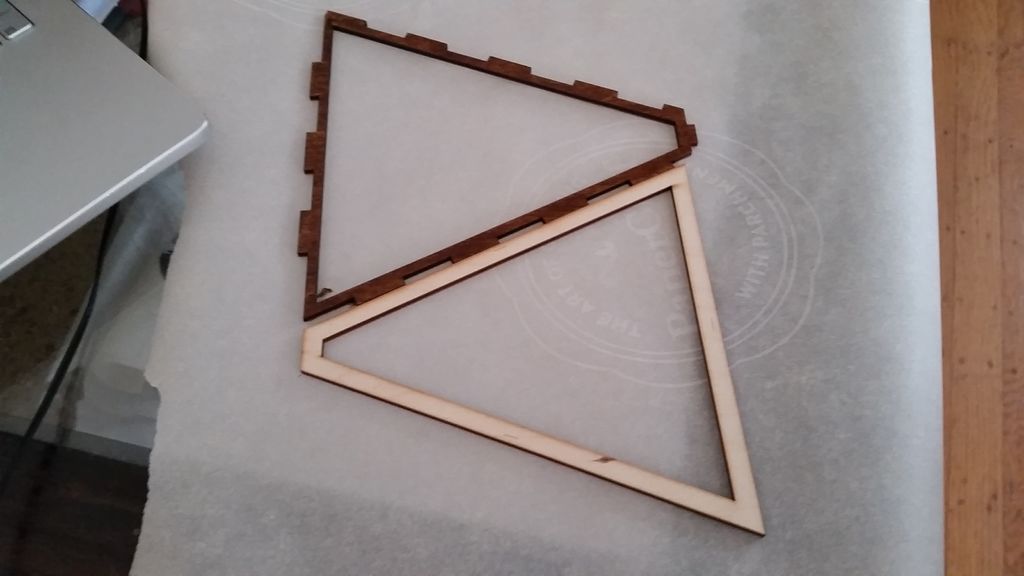
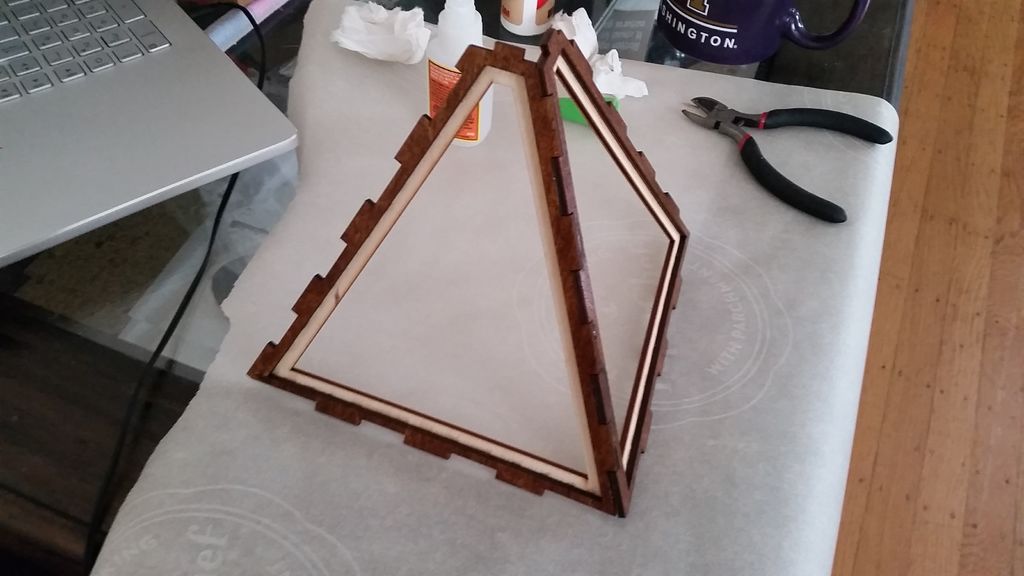
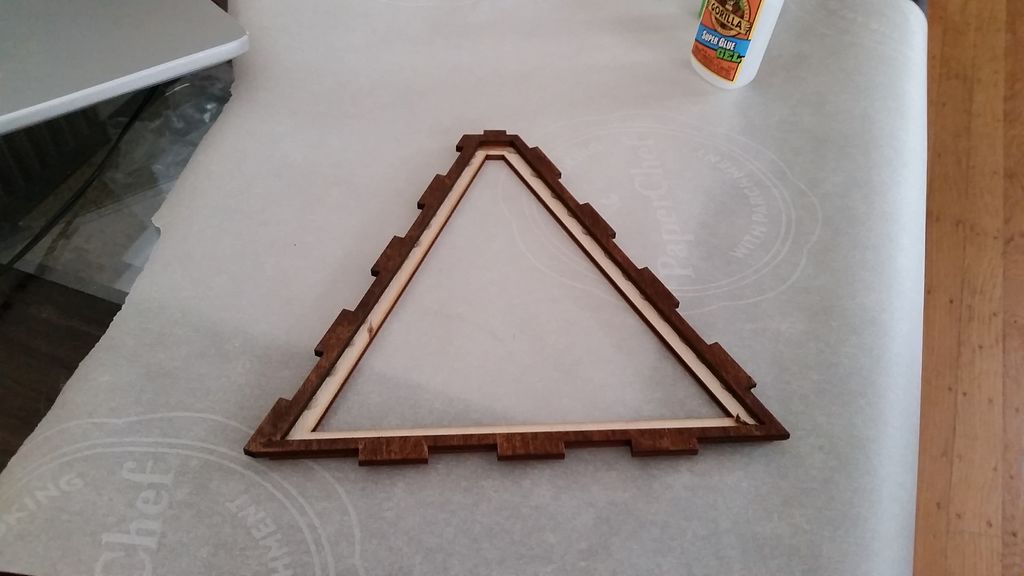
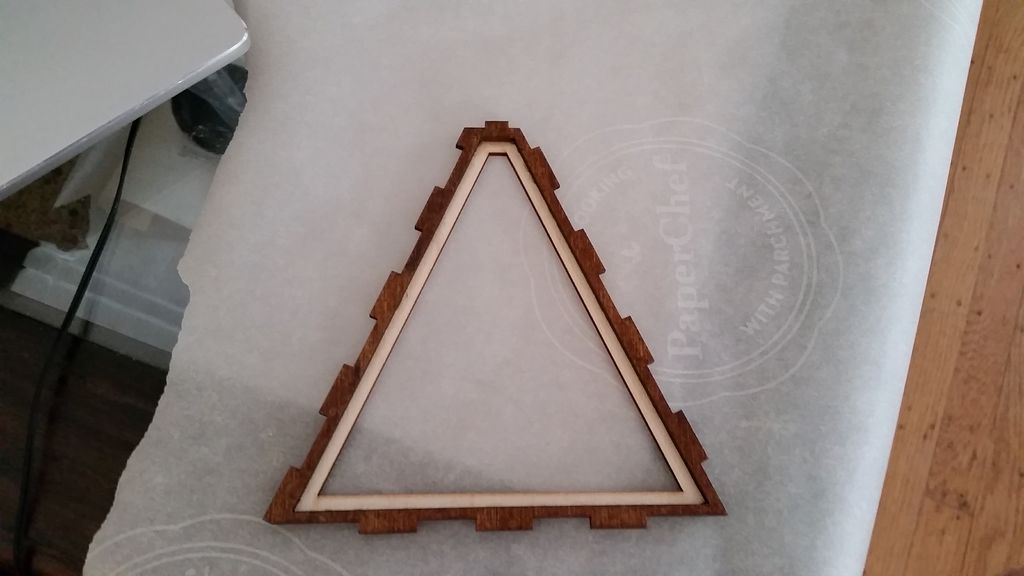


Next, put together the top assembly. Do this by gluing the inner and outer triangular pieces together (first 4 pics). There should be 3 lines on the 3 sides of the inner triangle that were etched in when they were laser cut; these correspond to where the inside edges of the outer triangle go when you glue the pieces together. Once you glue them together, make sure to wipe off any residual glue (3rd pic), because you don't want that drying where the constellation panels are going to go (else they won't sit right).
Then glue the combined triangular pieces together by putting glue in the joint and holding the two pieces together perpendicular to each other until the glue is dried. Do this for all four pieces, and once that is done, glue the piece with a crescent moon to the top.
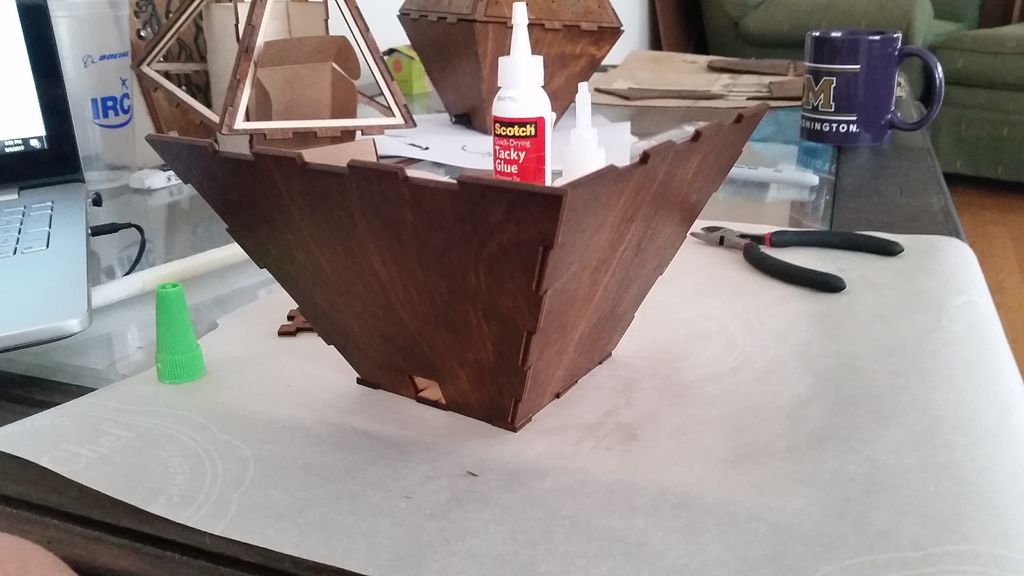
Step 7 - Join Top and Bottom Assemblies
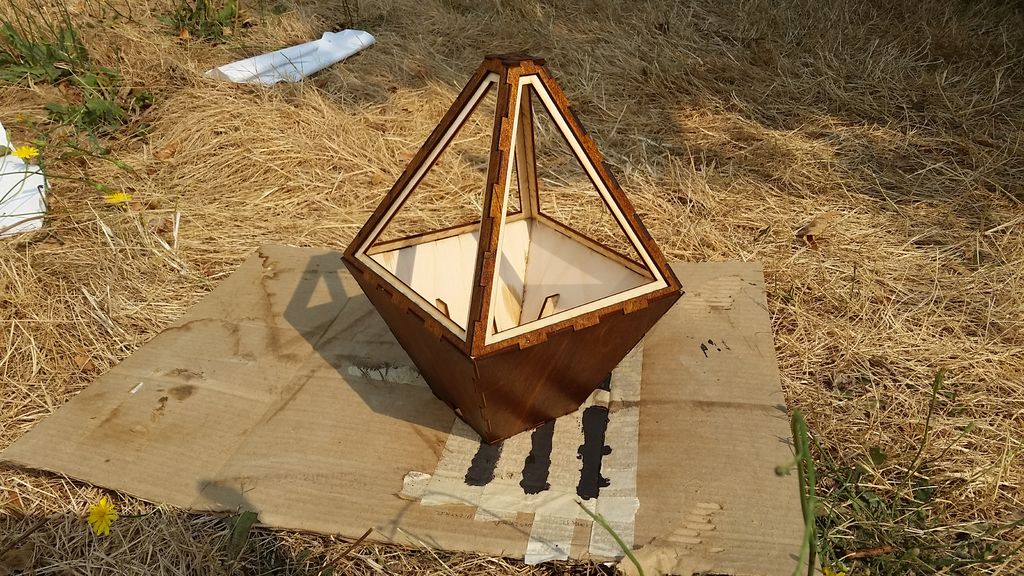

Now join the top and bottom assemblies of the lamp. When doing this, try to make sure that the glue is on all of the sides of the joints, because it is important to maximize the surface area that is glued.
Step 8 - Apply Wood Finish
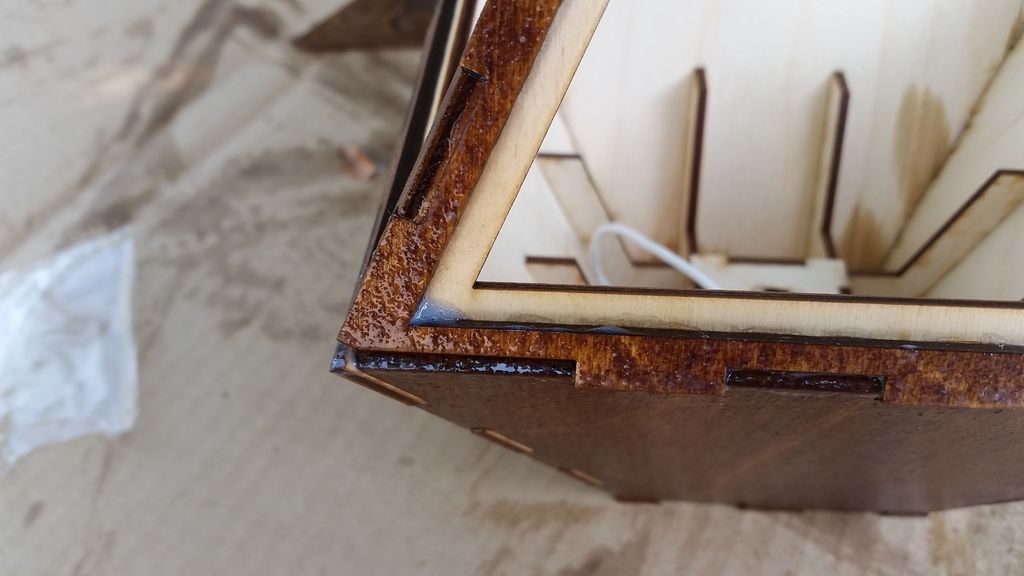
Next apply wood finish to the lamp if you plan on using finish. I used two coatings on the lamp structure, and just one on the constellation panels. I only did one on the panels because I had to use a toothpick to make sure that the finish wasn't getting into the holes and lines that were a part of the constellation pattern (this would dim the light, which I didn't want). Also make sure to wipe up any wood finish that pools up on the inside edges of the lamp (pic 3).
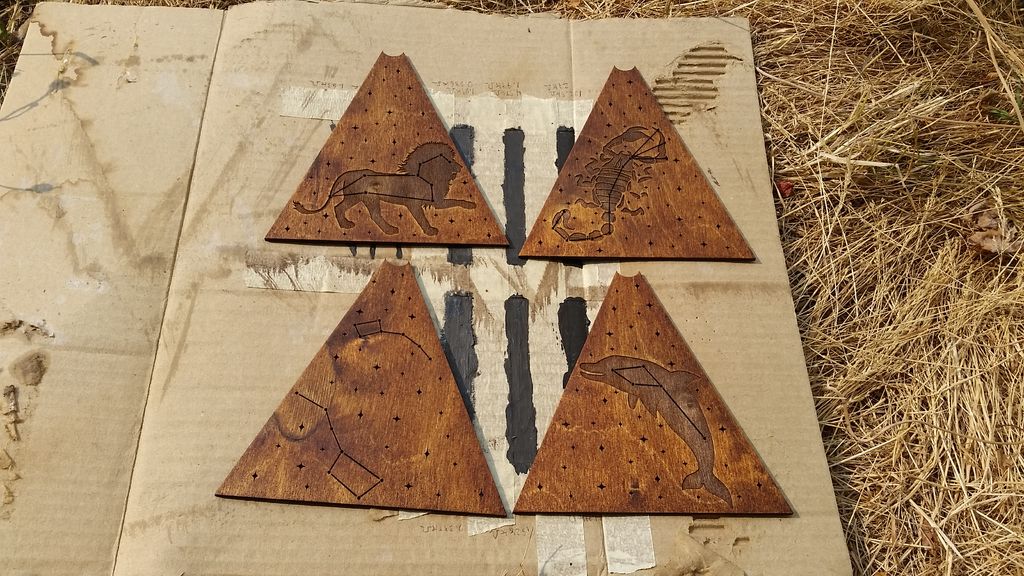
Step 9 - Glue Adapter and Panels

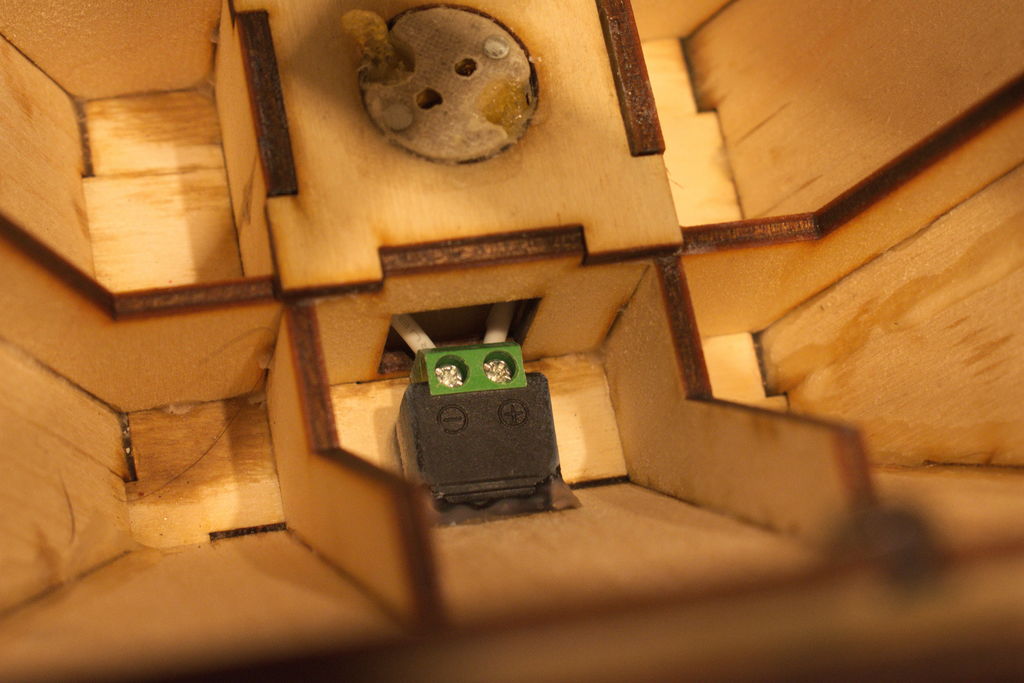
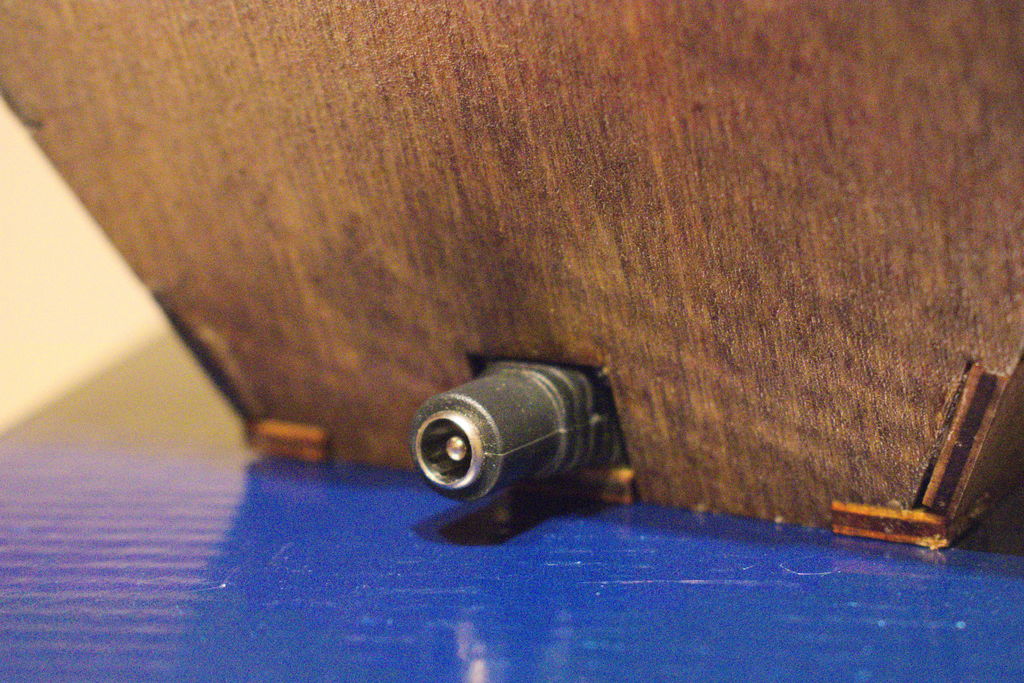
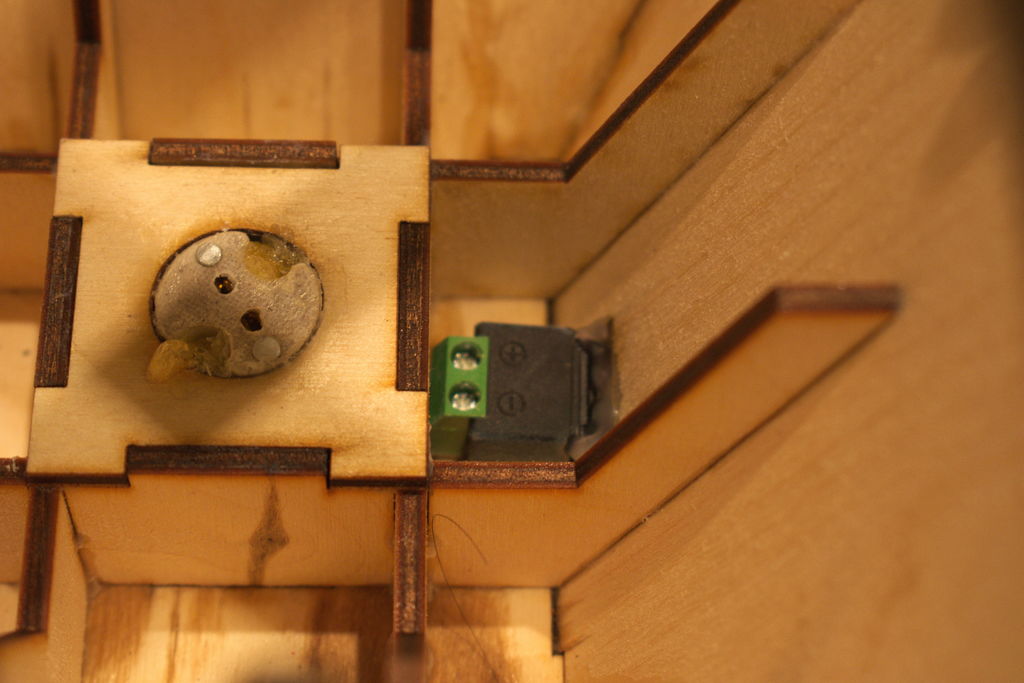
Attach the wires from the socket base to the adapter, and then glue the adapter into place in the hole on the side. This might be another place where using a glue with a thicker viscosity (like tacky or expanding glue) would help setting the piece in place.
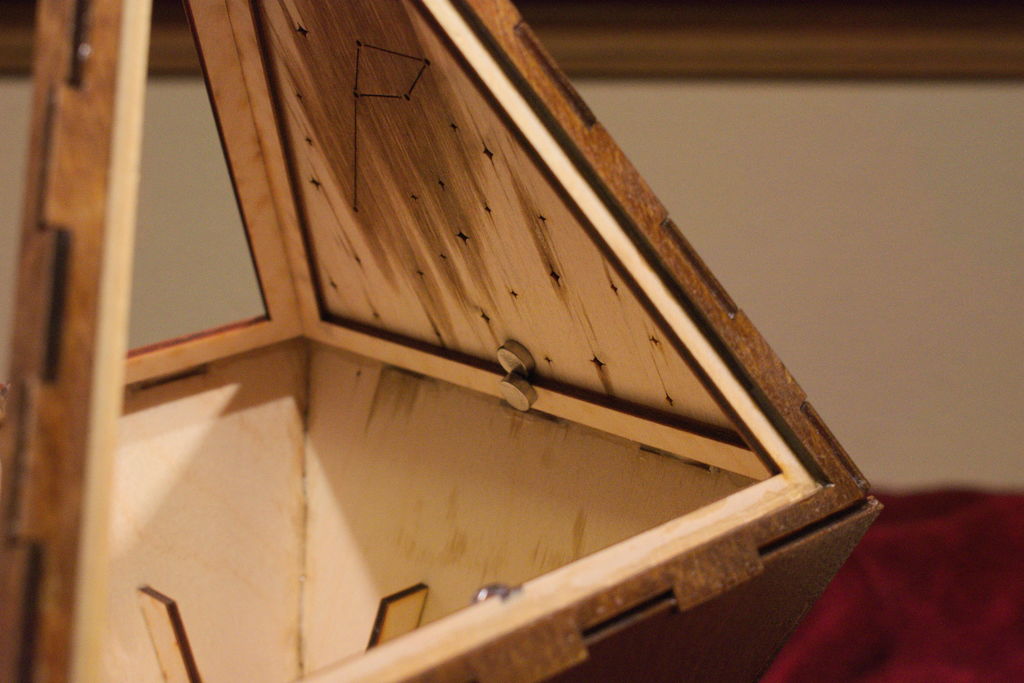
Finally, you will want to put the constellation panels onto the lamp. I used magnets to hold the panels in place, because I wanted to leave the option open for making different types of panels that I could put into the lamp later. However, if you only plan on using these ones, I would recommend gluing the panels on (with the possible exception of one of the panels, so you can access the inside).
