
Minimalist Docking Station

This is a project that I made as a Christmas present for a couple family members. I had seen plenty of docking stations that you could purchase online, but after some research, I decided that I could make my own for a fraction of the cost (plus you get brownie points for giving family members homemade gifts). So, I set out to create a design that was simple enough that I could easily make using the wood working tools and supplies that I had available.
Supplies and Schematics

Tools:
- Miter Saw/Band Saw/Table Saw
-You just need a method for cutting the wood - Drill
-To drill the pilot holes for the key hooks - Ruler
-To measure cuts
Supplies:
- Wood
-I used 1"x10" common wood for this, but plywood (or even nicer wood) can work too - Key Hook
- Wood Stain
- Wood Finish
- Sandpaper
-I used 100, 150, and 220 grit - Glue
-I used a slow drying, expanding glue - Paint Brush
-For applying stain and finish
You May Also Need:
- Clamp
- Tape
-Both for if a piece breaks and you need to glue them back together
I only spent ~$6 for the wood, ~$3.50 for the key hooks, and already had the other supplies handy. The wood was enough for me to make 3 of these docking stations, so depending on what you need to purchase, this project can be quite inexpensive.
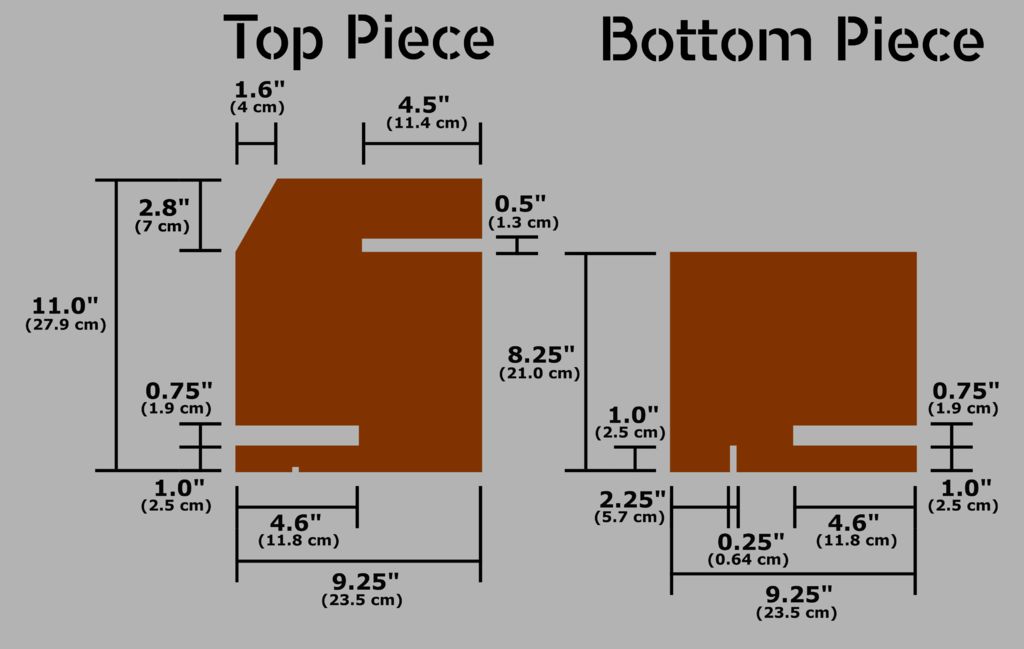
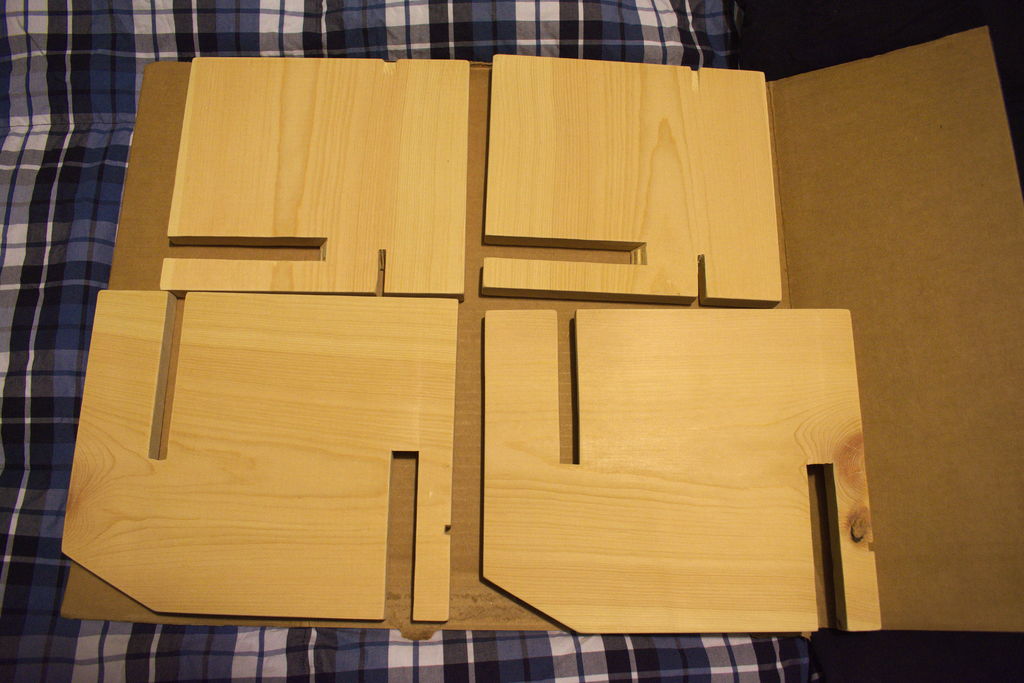
The various cuts needed to make the docking station are shown in the second picture for this step. You may want to customize these dimensions to your own needs depending on what kind of docking station you want.
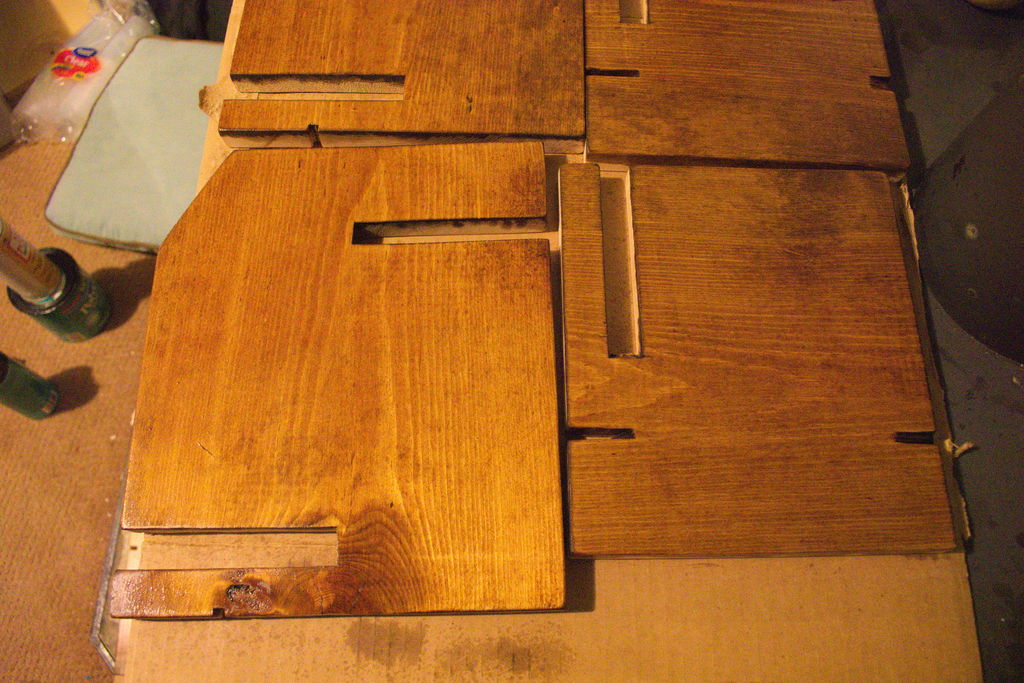
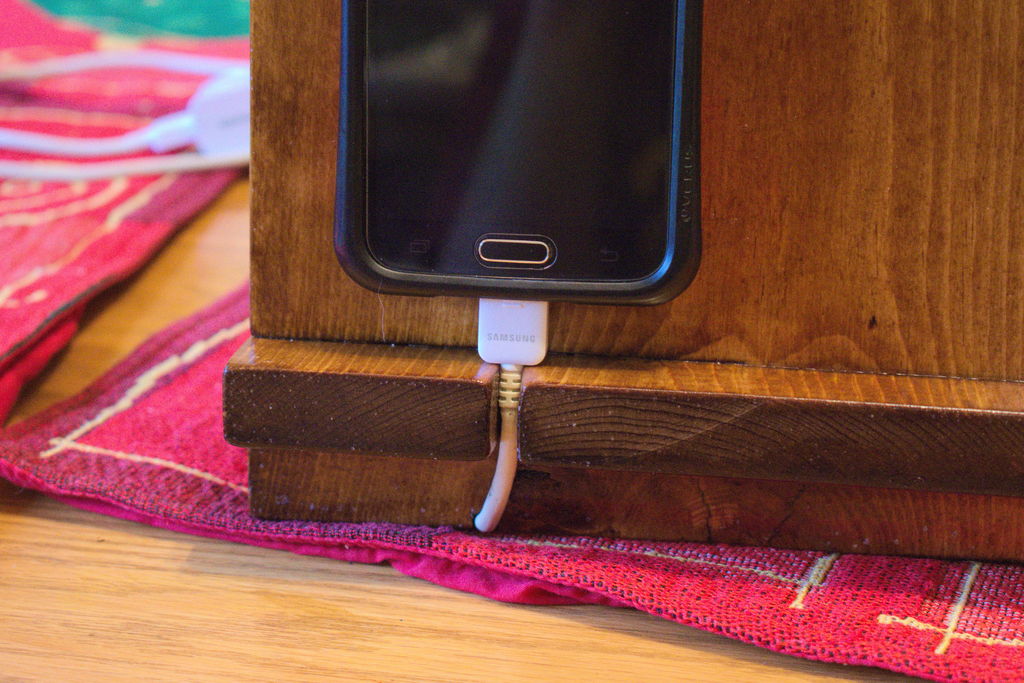
Only partially shown in the schematics (because I eyeballed the actual dimensions based on the charging cord I was using), but helpful when using a charger, is a cut on the bottom strip of the top piece, and the back portion of the bottom piece (You can see them in step 4). This allows the charger cord to slide under the docking station.
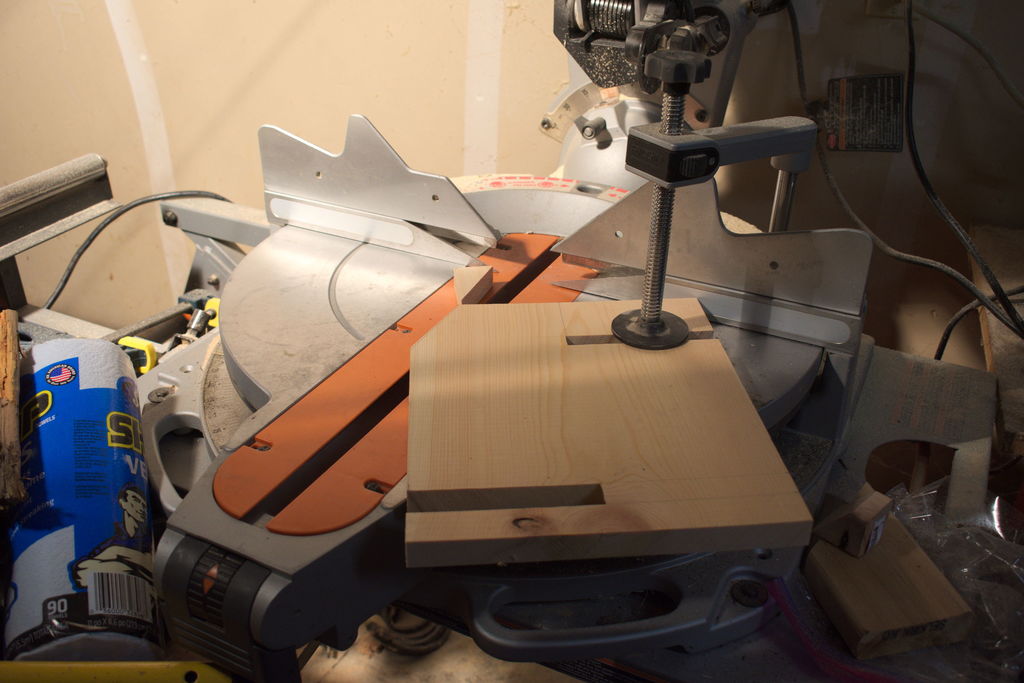
Step 1: Measure and Cut Pieces
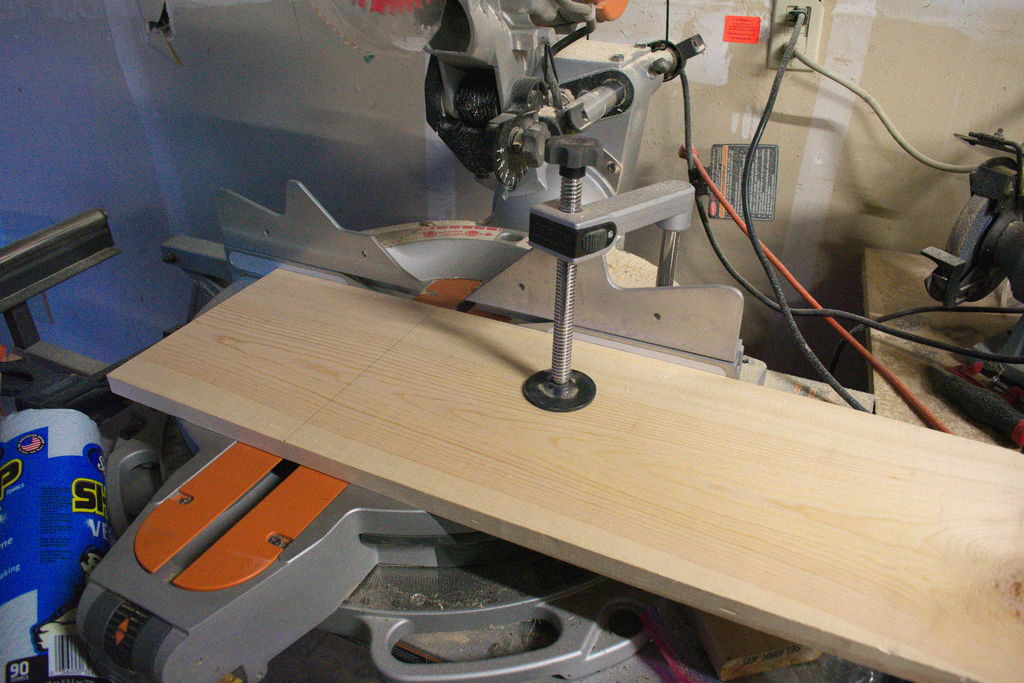
Measure out and cut the top and bottom pieces of the docking station.
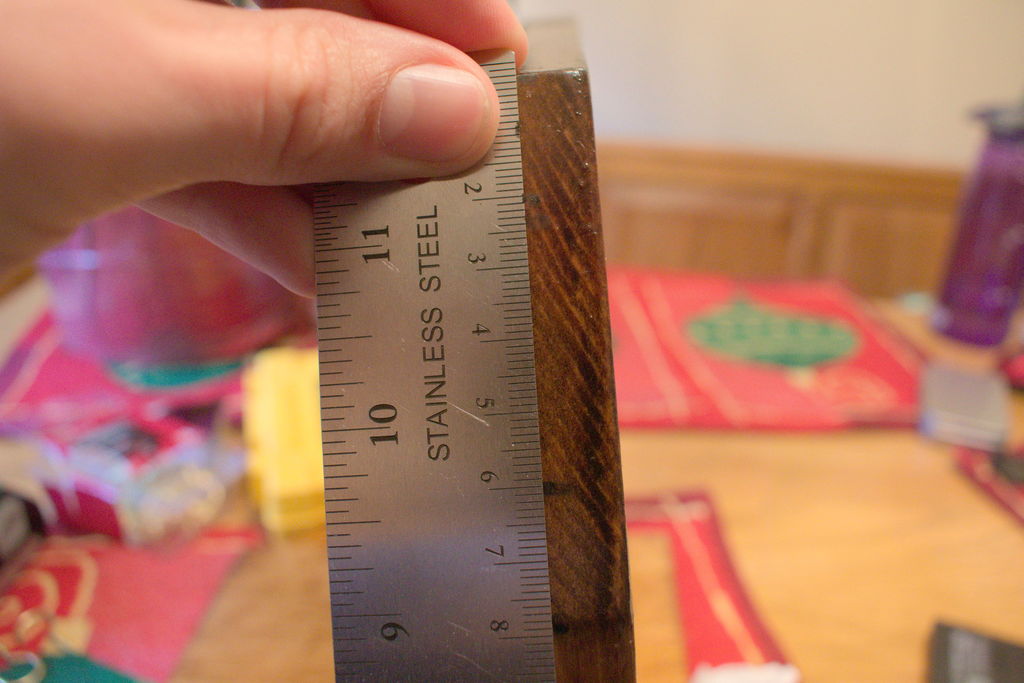
-I got a 1 in. x 10 in. x 6 ft piece of lumber from Home Depot to use as the wood. I decided that I liked that width (9.25” true width), so I only needed to cut the pieces to the length required.
-I used the miter saw for this cut because I have an easier time getting a straight cut with it.
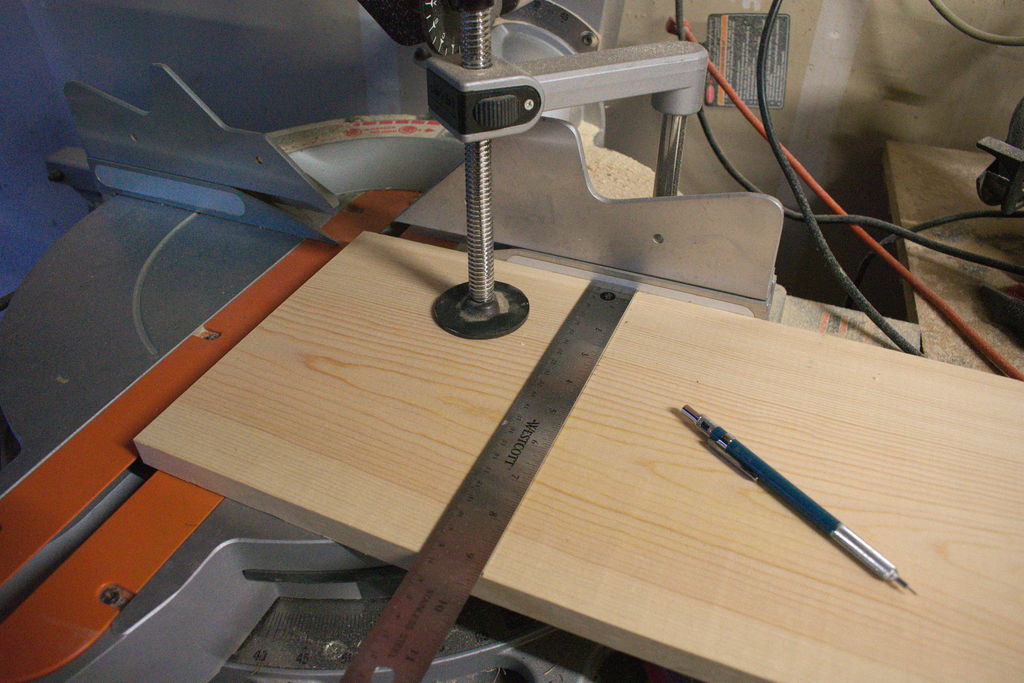
Step 2: Measure Out and Complete Finer Cuts
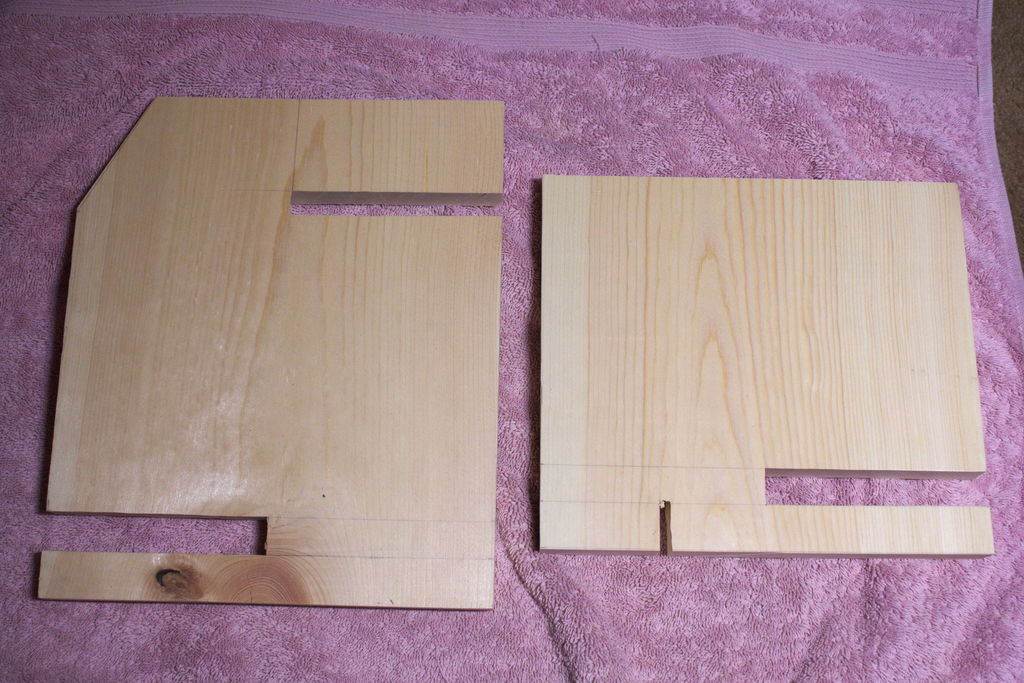
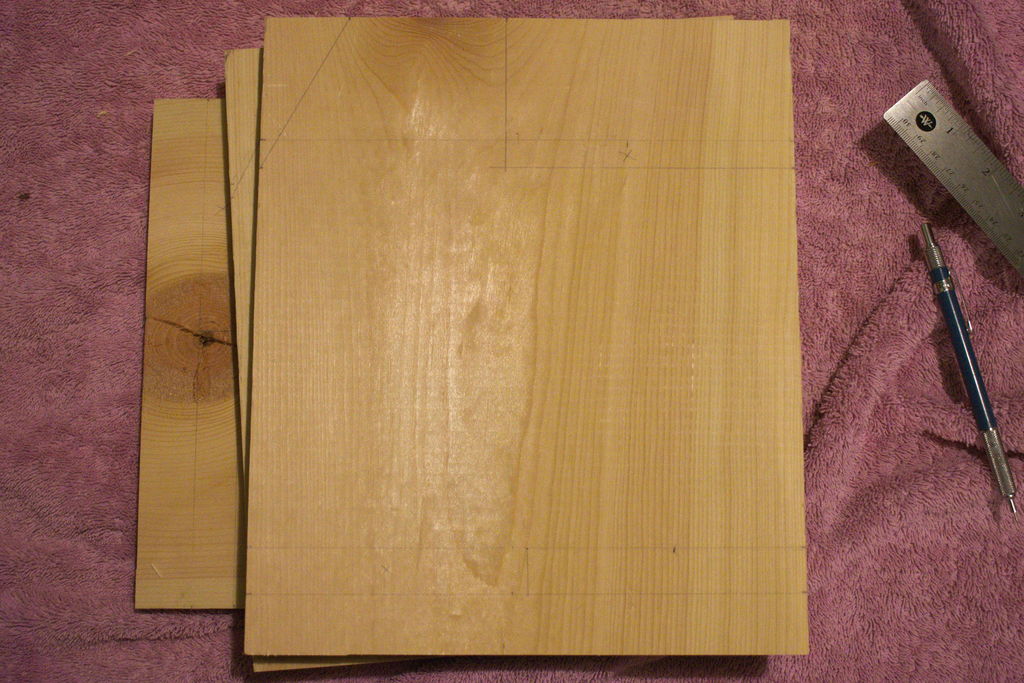
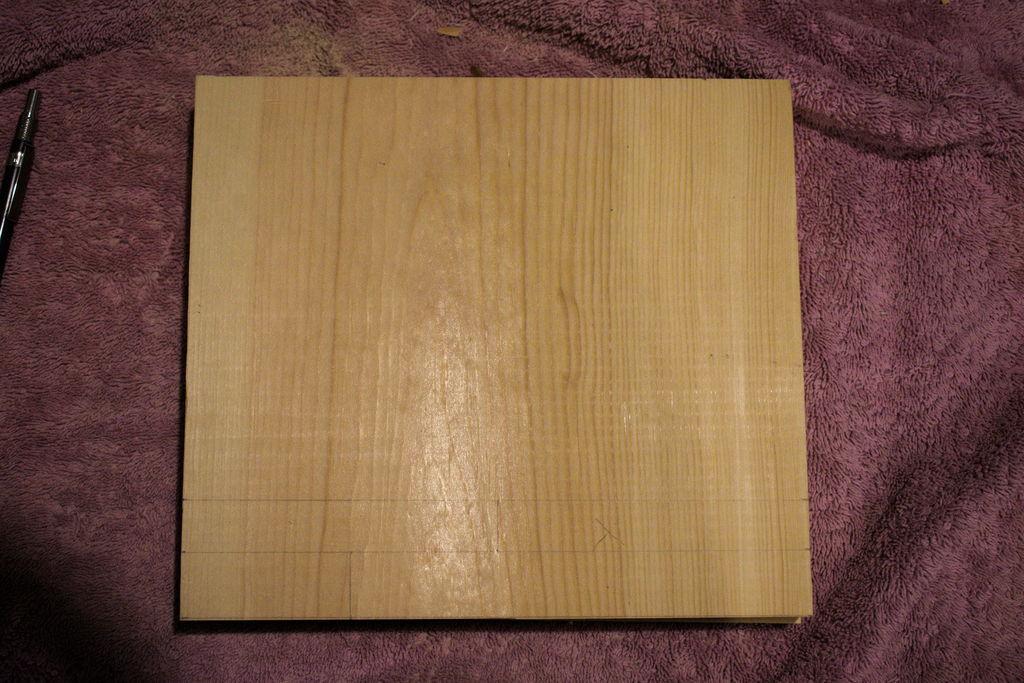
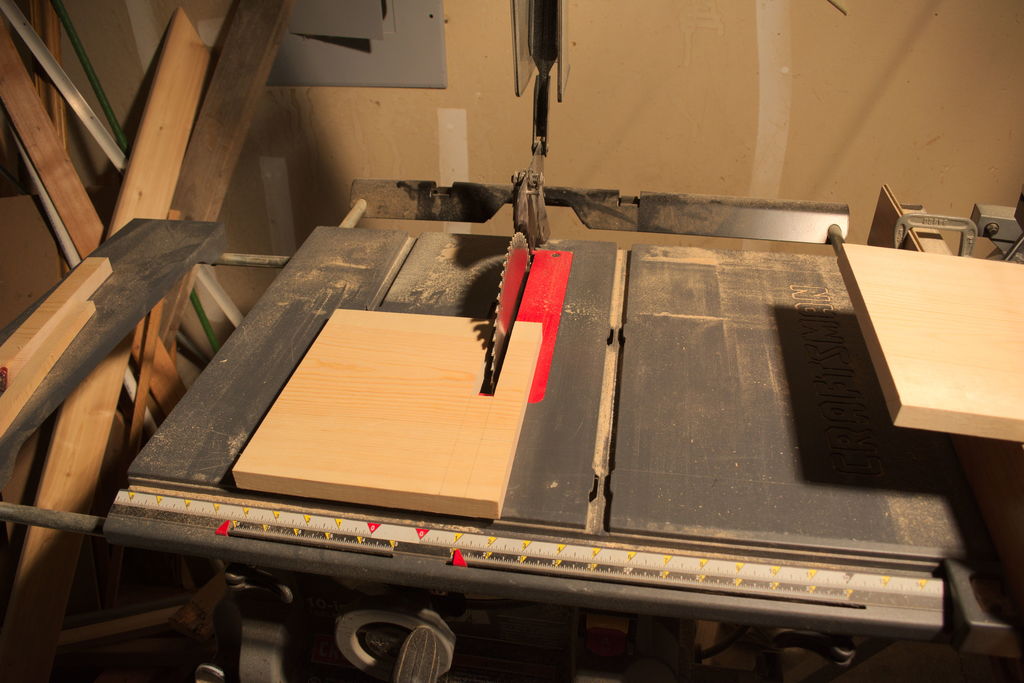
Mark out the finer cuts on the two pieces (it's hard to notice in the first 2 pics because I only lightly marked with a pencil), then complete the finer cuts
-I should note, in this part I forgot two cuts (the small cuts on the bottom strip of the top piece, and the back portion of the bottom piece which allow the charger cord to slide under the docking station), and did those after the sanding (which you can see in step 4).
Step 3 - Sand Pieces

Sand the edges lightly to round them off, and the flat portions to try to smooth them out to help the stain apply more evenly. I used 100 -> 150 -> 220 grit sandpaper for the process.
-Because I used cheap common wood, some of the pieces had rough spots that I was not able to fully smooth out for the stain. But depending on the look you are going for, that’s just fine; it gives it a bit of a rugged weathered appearance.
Step 4 - A Piece Broke! Now What?!
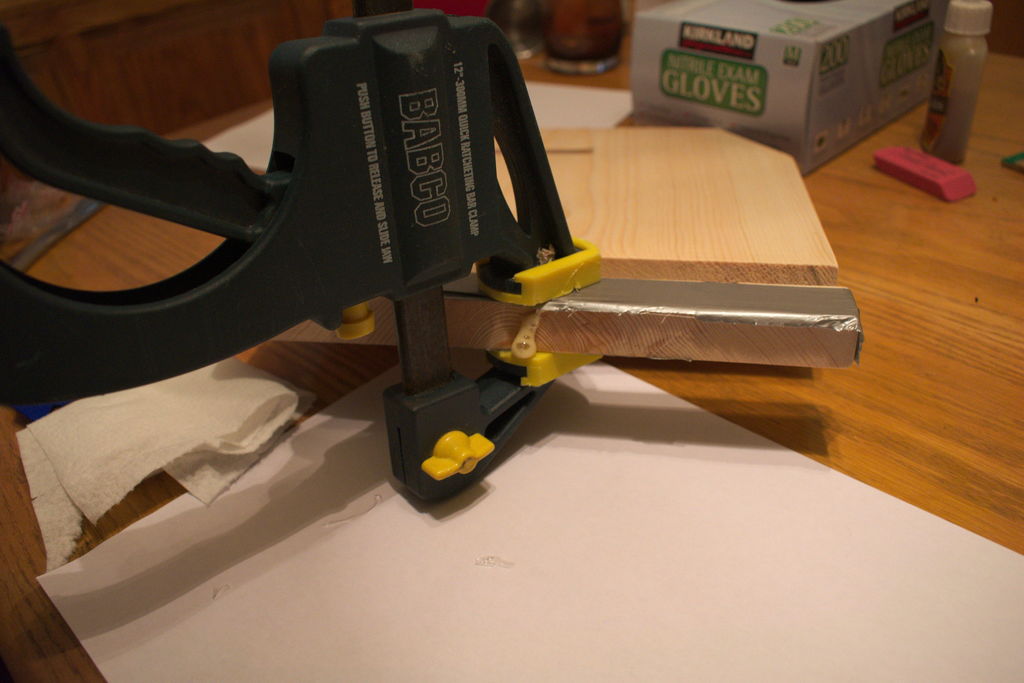
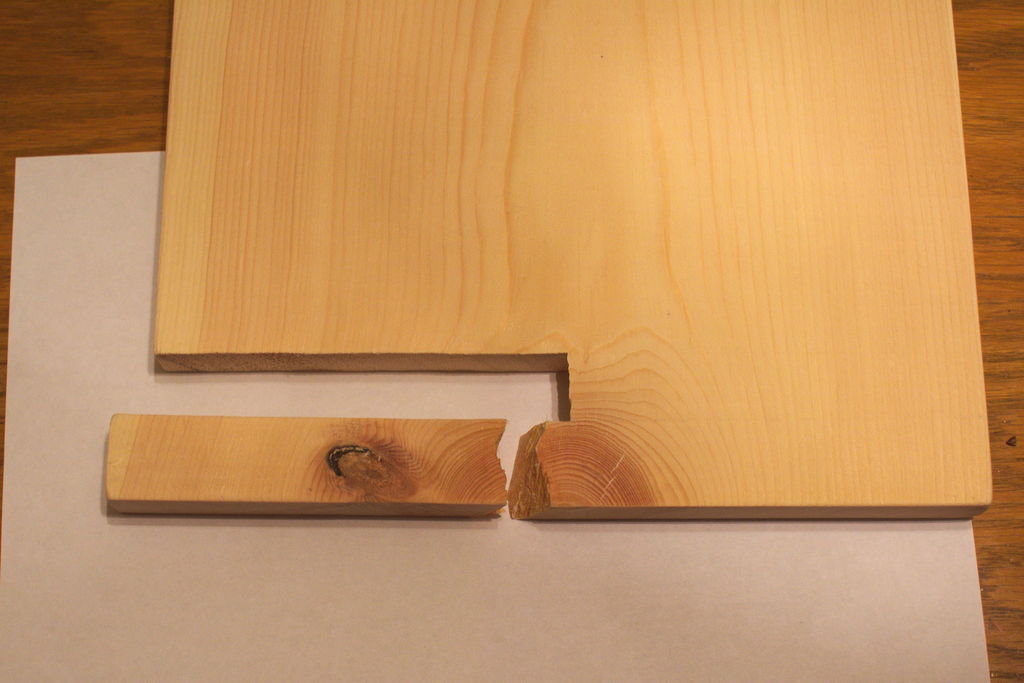
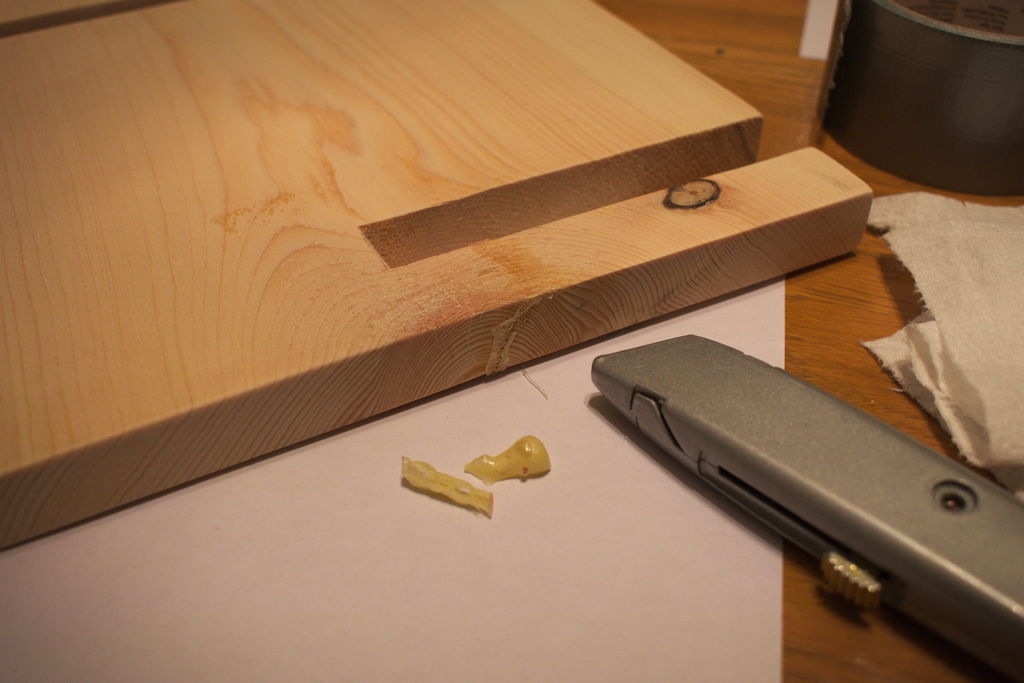
Oh no, a piece broke off! What do I do? Glue it back together!
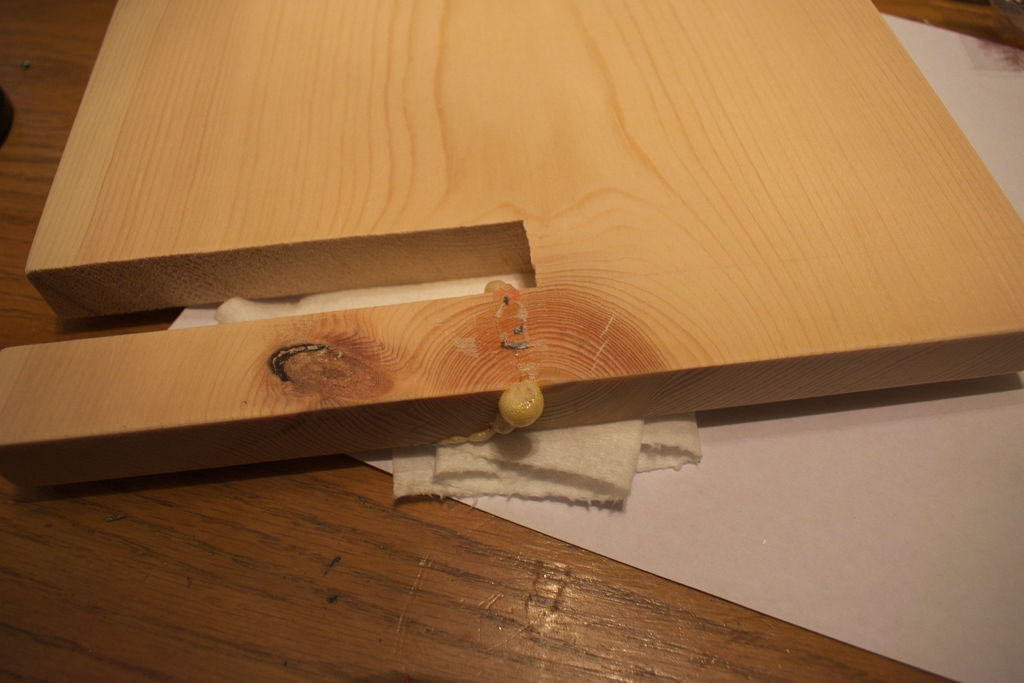
-Because some of the cuts leave the wood pretty thin before you join the two pieces, you might have some pieces break or crack along the weak spots. This is an easy fix. I used an expanding glue to put the two pieces back together.
-Put it back together by applying the glue, putting duct tape on the front and back sides (to help prevent leakage from the expansion), and then clamping the two pieces together.
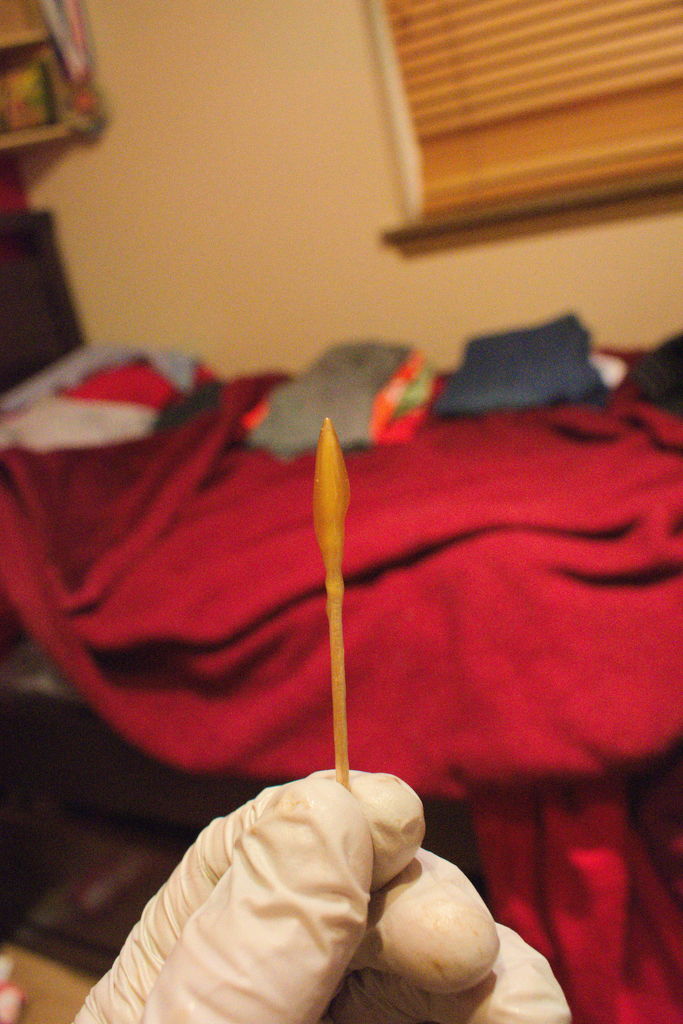
-Once the glue is done expanding, you can use a utility knife to cut off the extra glue, and then sand it smooth.
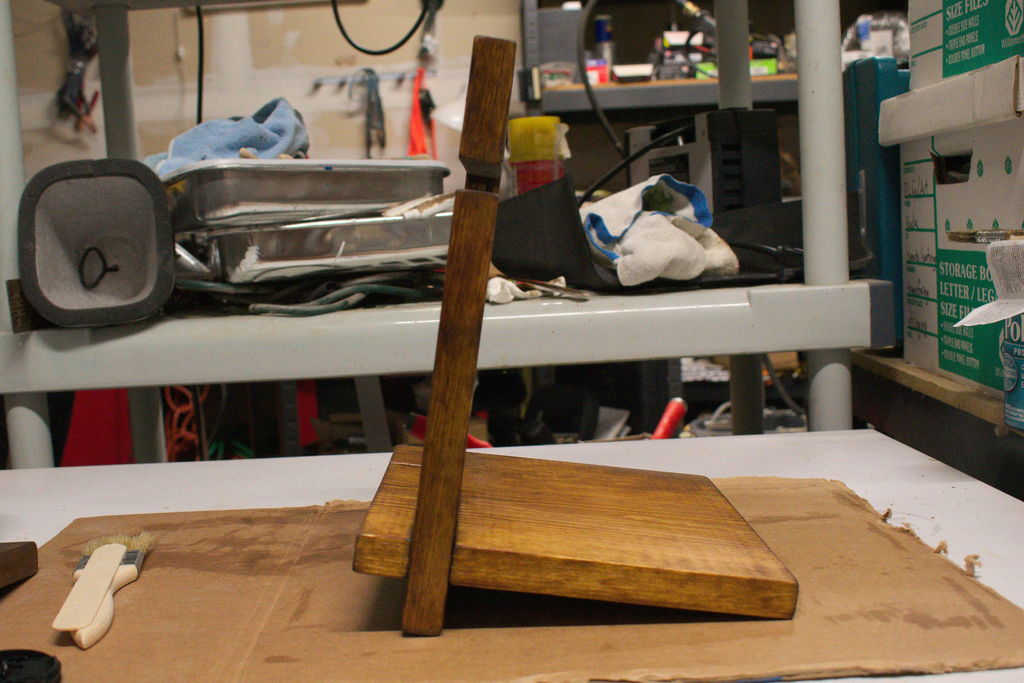
Step 5 - Apply Wood Stain
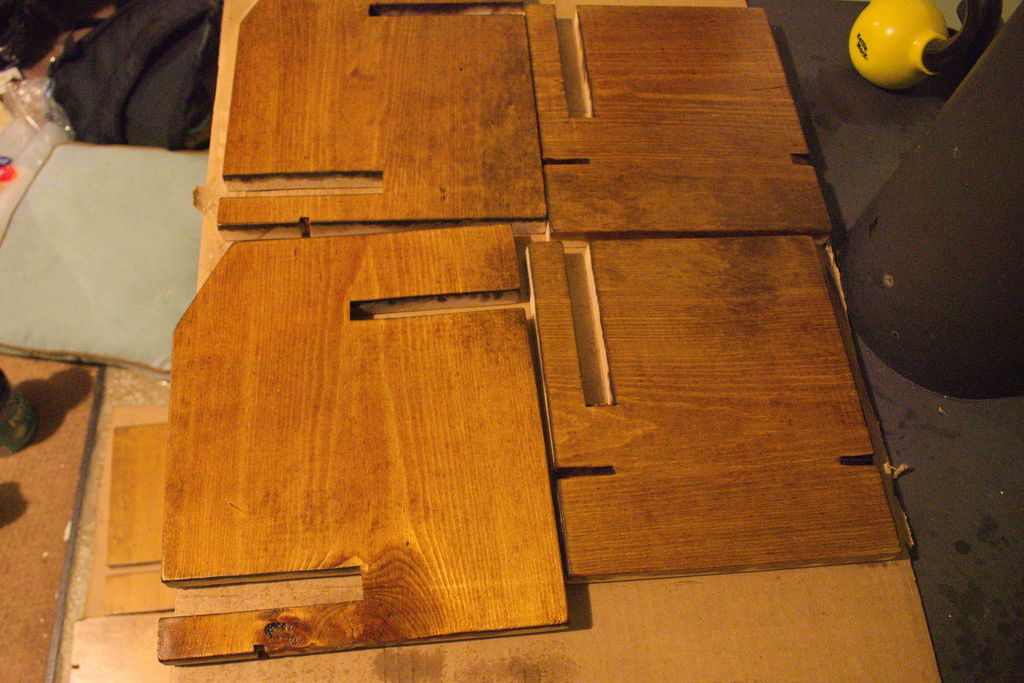
Stain the Wood. Depending on the stain you are using, I would recommend applying 3 coats of stain.
-If you are in a time crunch, you can greatly speed up this process by gluing the boards together first (next step), so that you can stain both sides at the same time. I did the staining first because the glue can prevent the stain from penetrating into the wood, but because the spots being glued are well hidden, this didn’t end up being a problem in this project.
Step 6 - Join and Glue Pieces Together
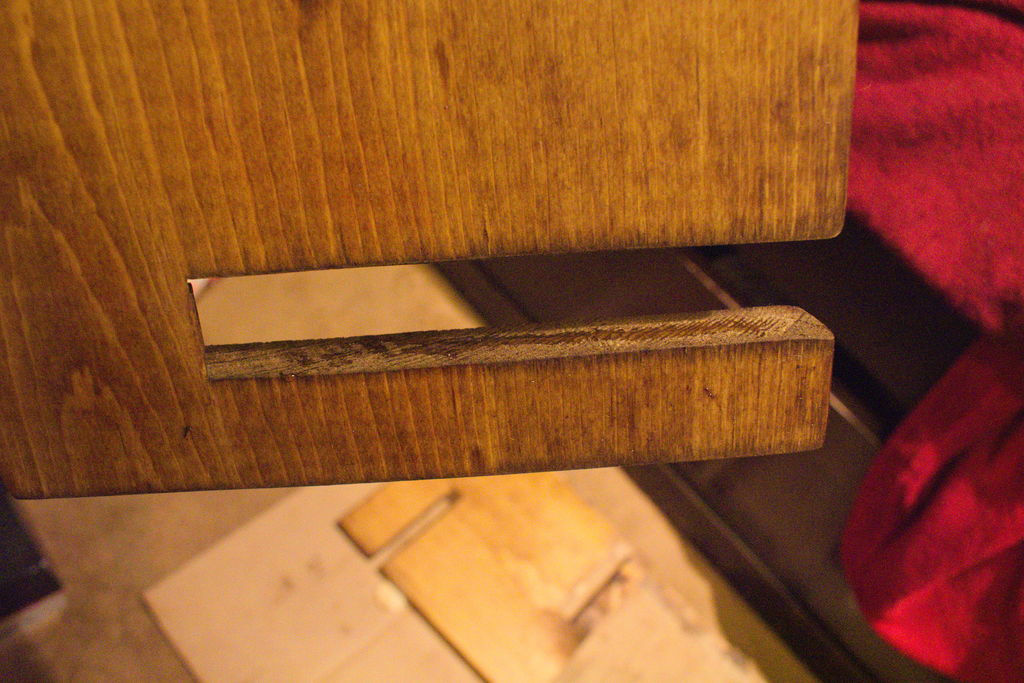
Now join two pieces with glue
-You don’t have to glue the two pieces together, but I recommend it because it will help reinforce the thin cuts on the bottom of the docking station, and make them much less susceptible to breaking.
-If you are using the expanding glue (like me), only a small amount is necessary as long as you have a reasonably tight fit.
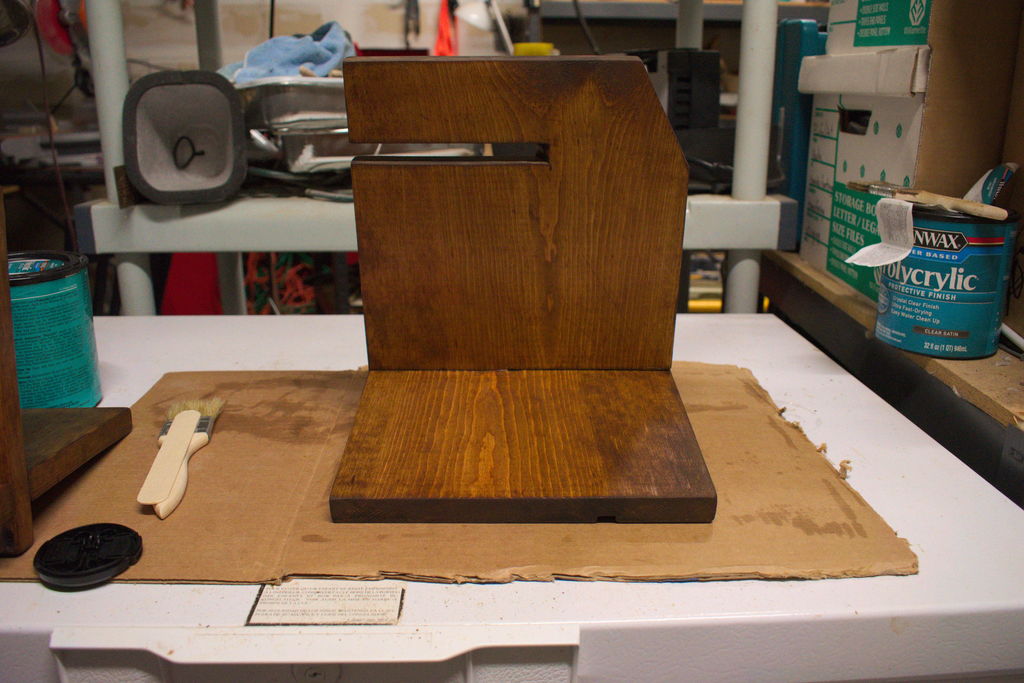
Step 7 - Apply Wood Finish
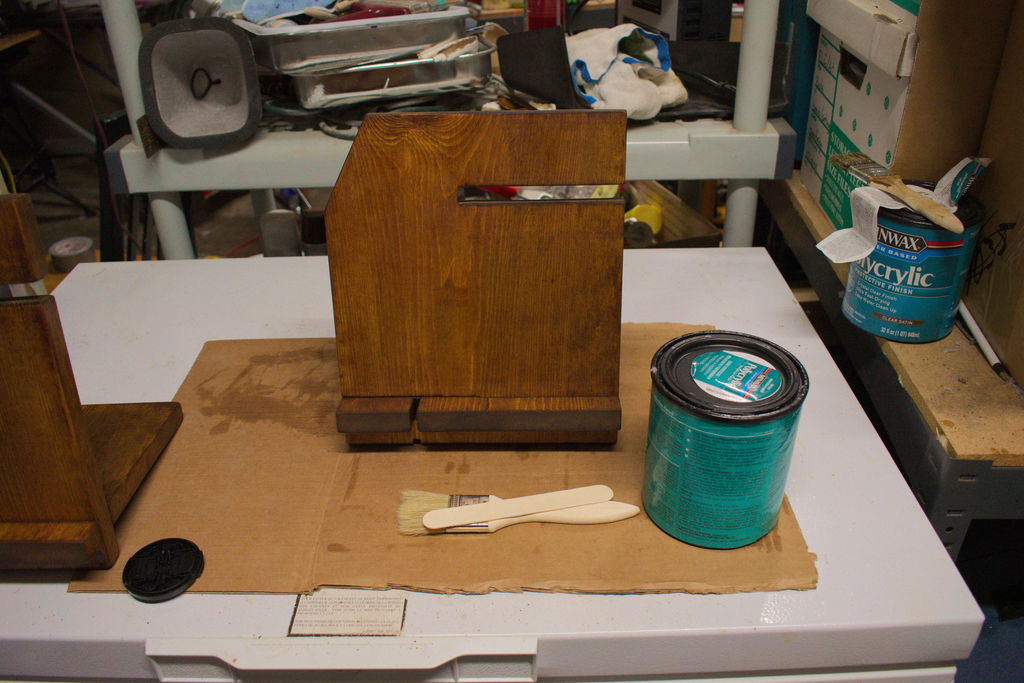
Apply the wood finish. I applied 3 coats to the top sides, and 2 coats to the portion that are on the bottom (not visible).
-Be careful with drippage here, as the stain might want to congeal on certain spots.
Step 8 - Add Hooks
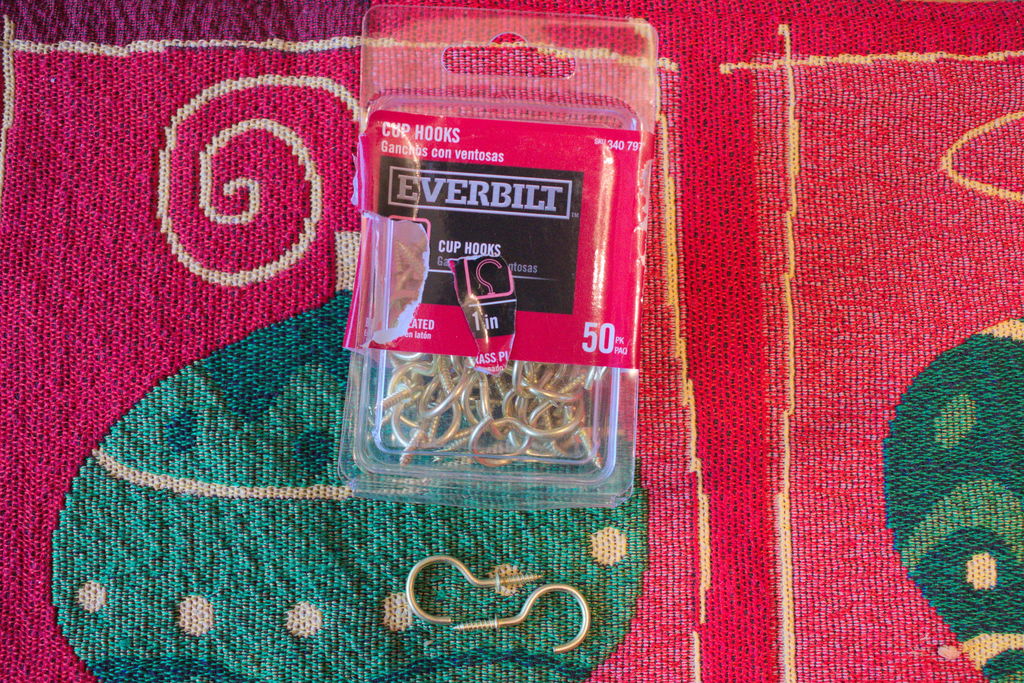
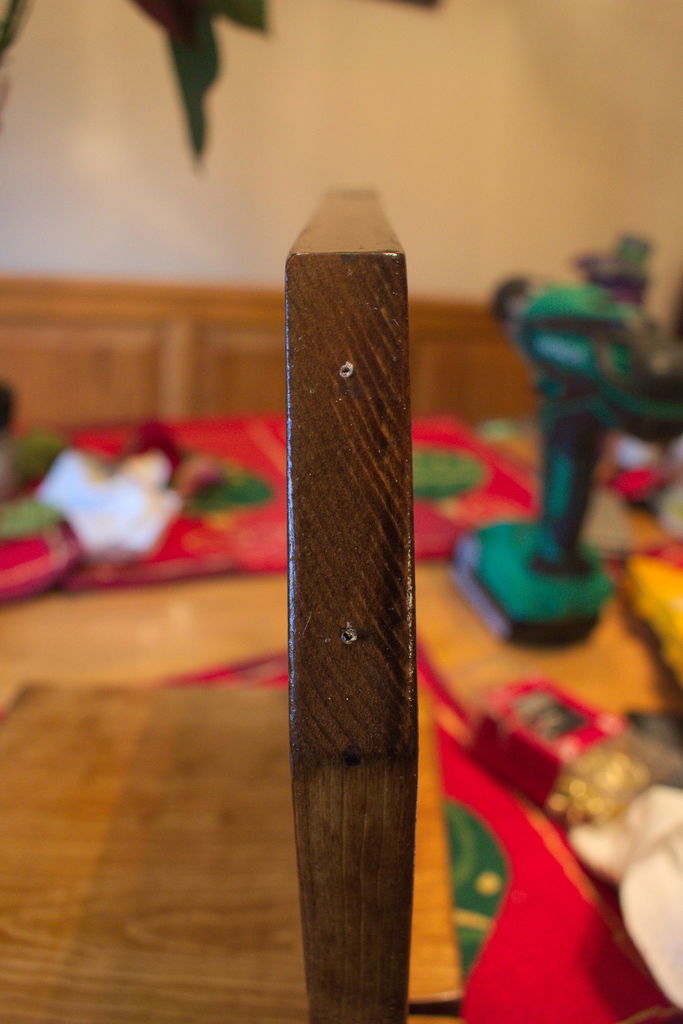

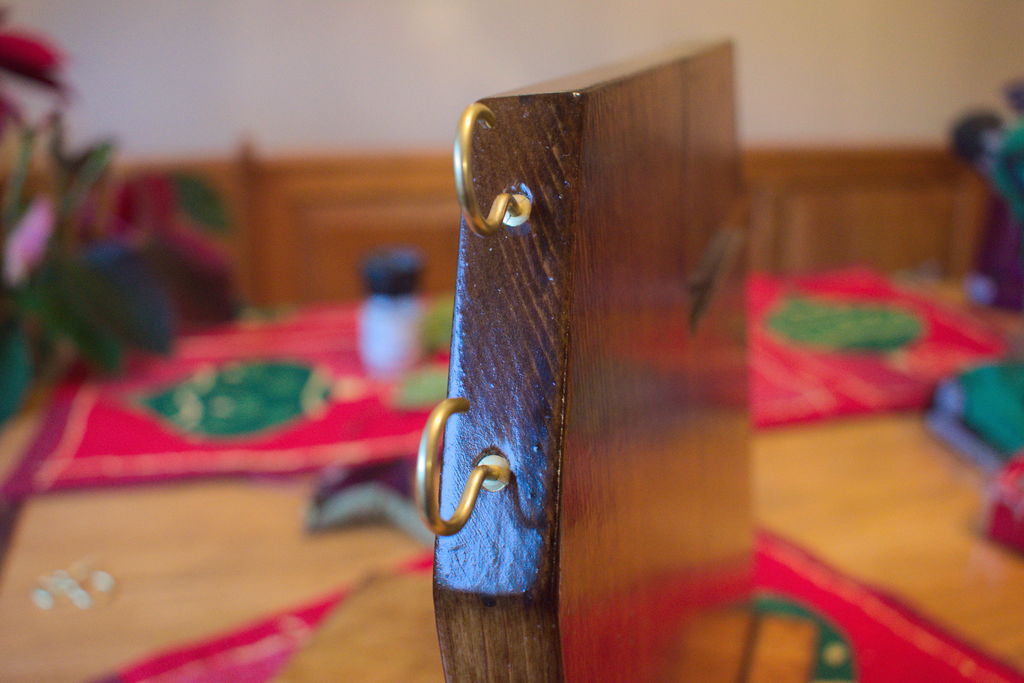
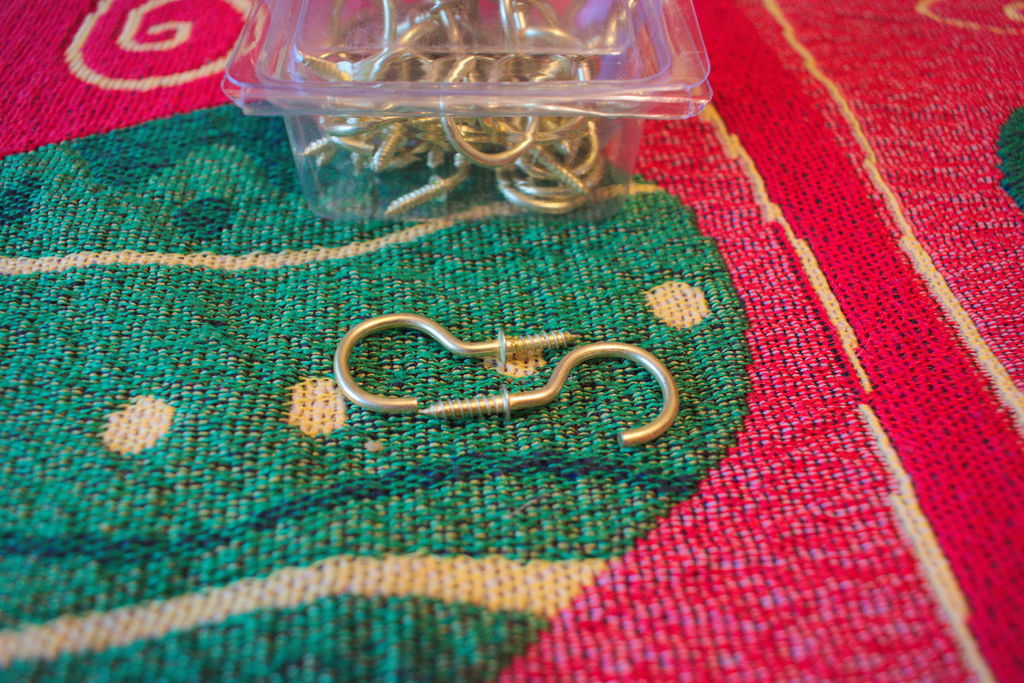
Insert the hooks by measuring and marking where you want to drill (I put my two hooks about 2 cm away from the top and bottom edges), drill a pilot hole (I used 1/16” drill bit), and then hand screwing the hooks in.
-Make sure to drill in perpendicular to the surface, so that the hooks will go in that way
-The hooks seemed plenty secure by themselves, but if you wanted to make extra sure they will stay, you can apply a touch of glue when screwing them in.
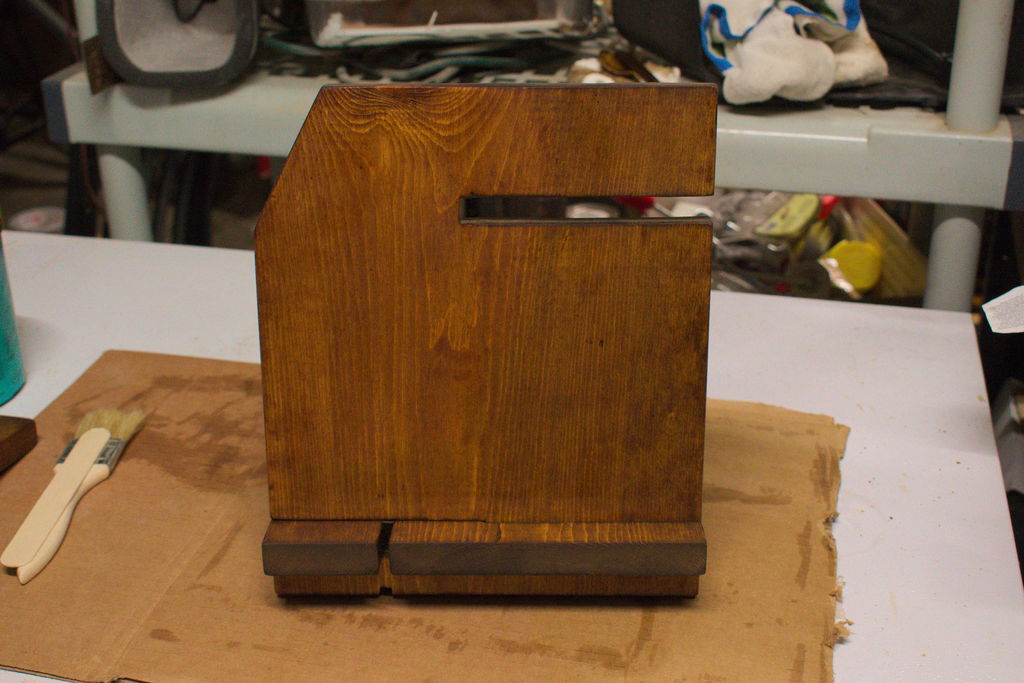
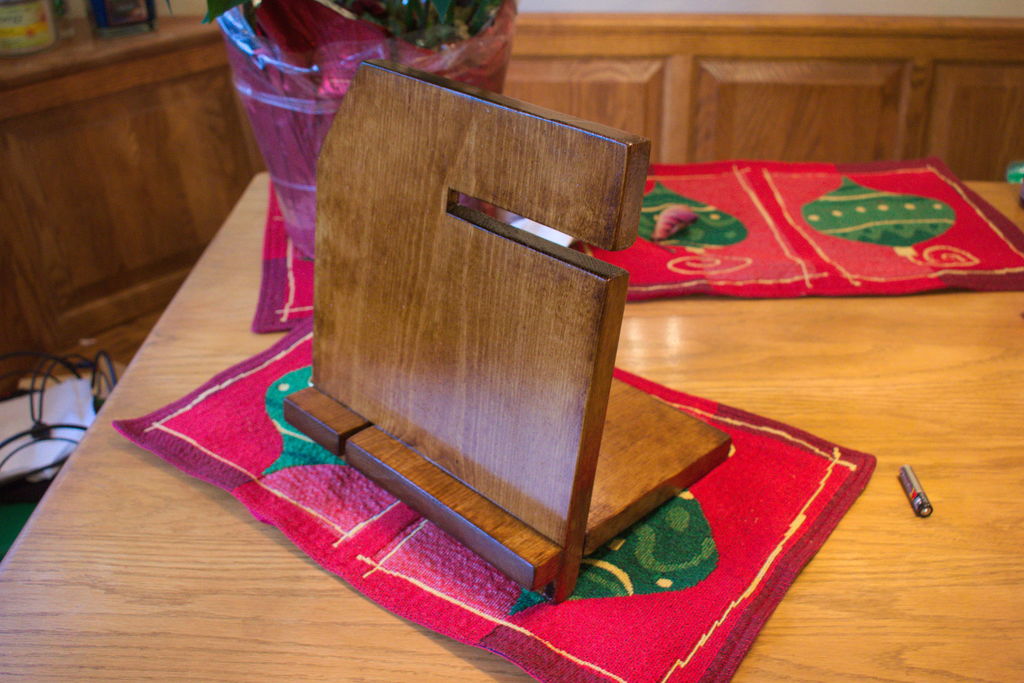
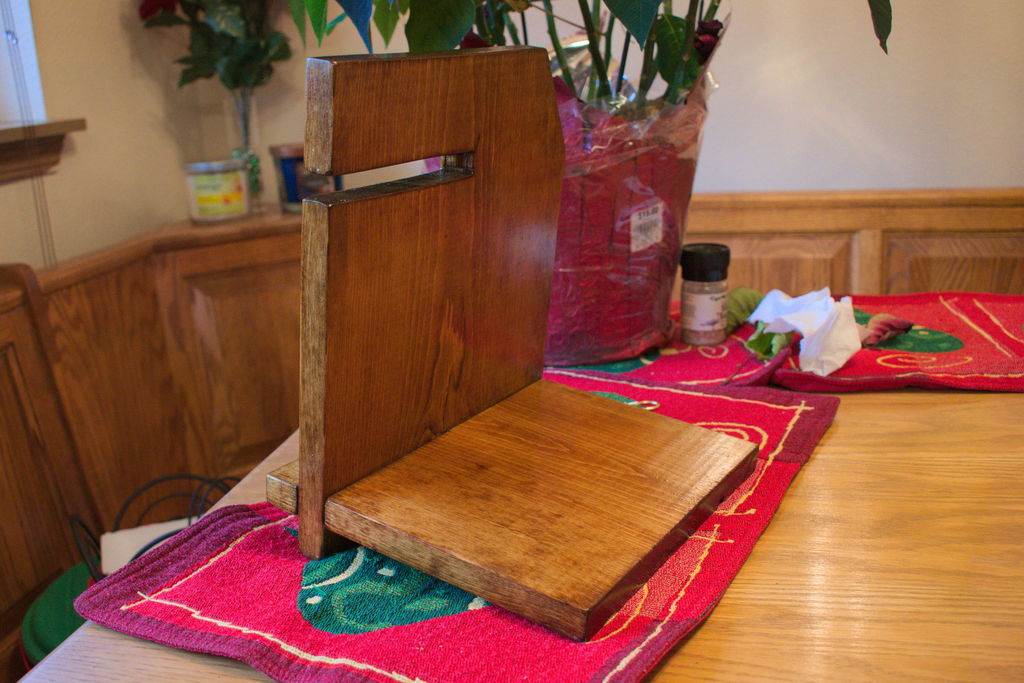
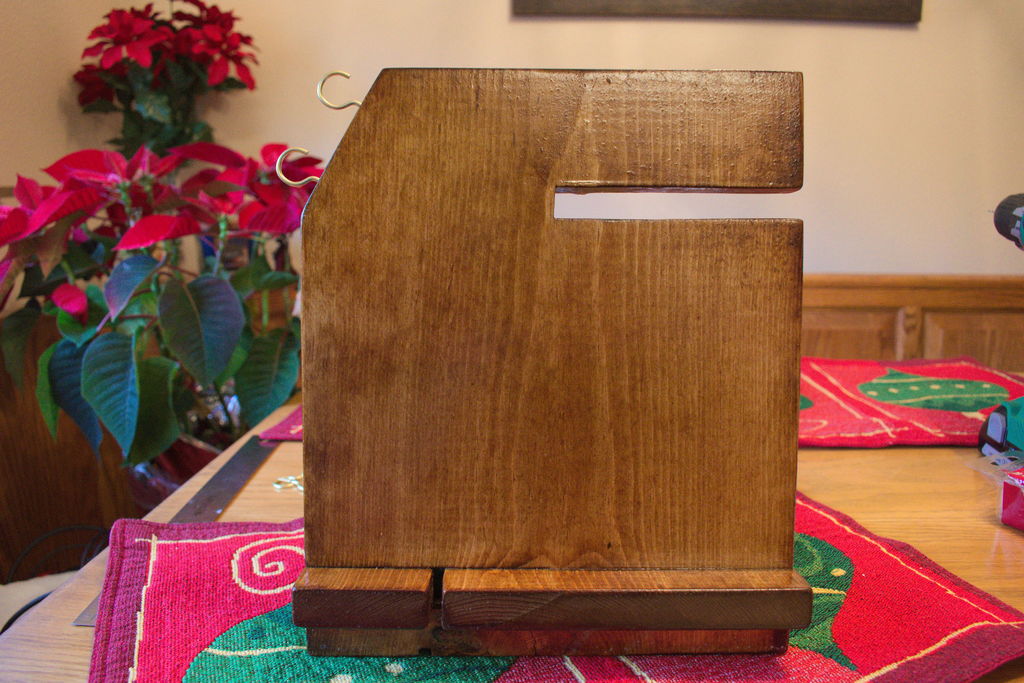
And You're Done!
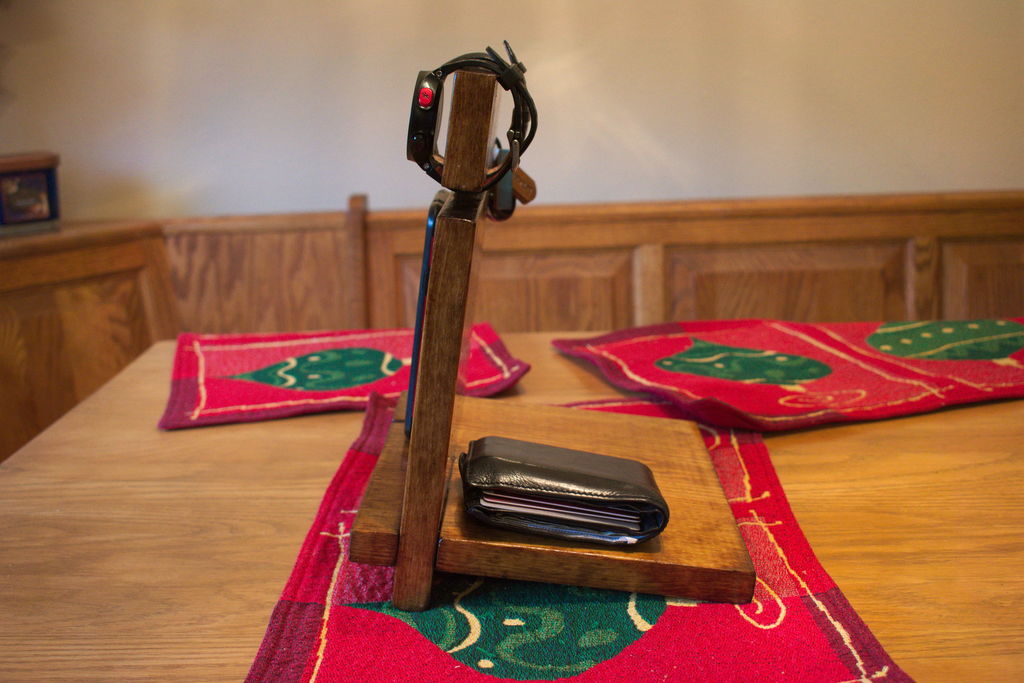
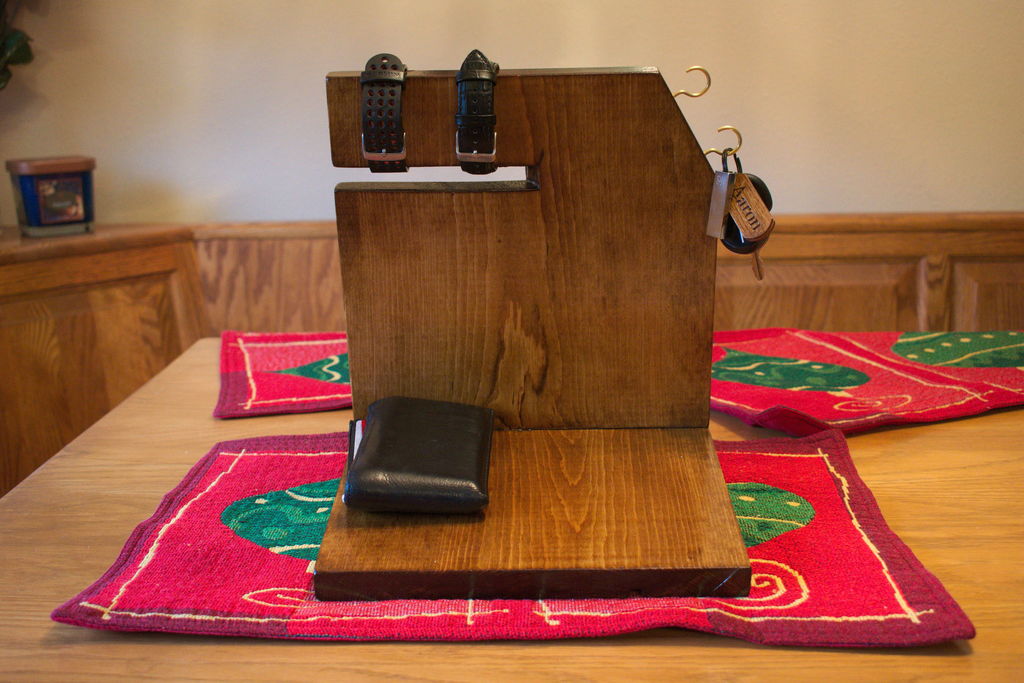
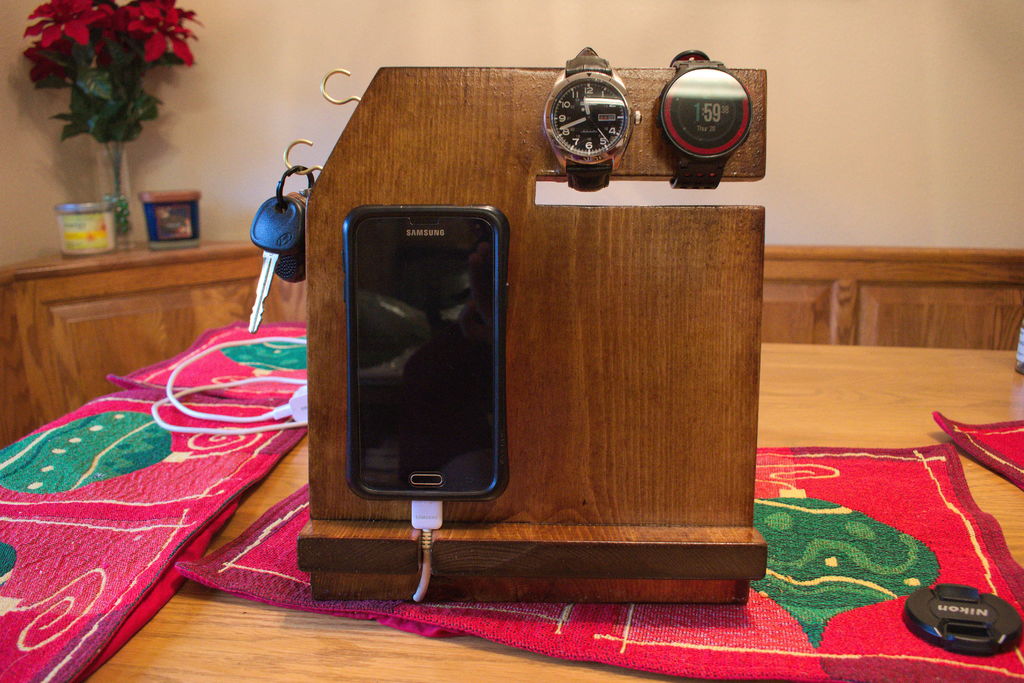
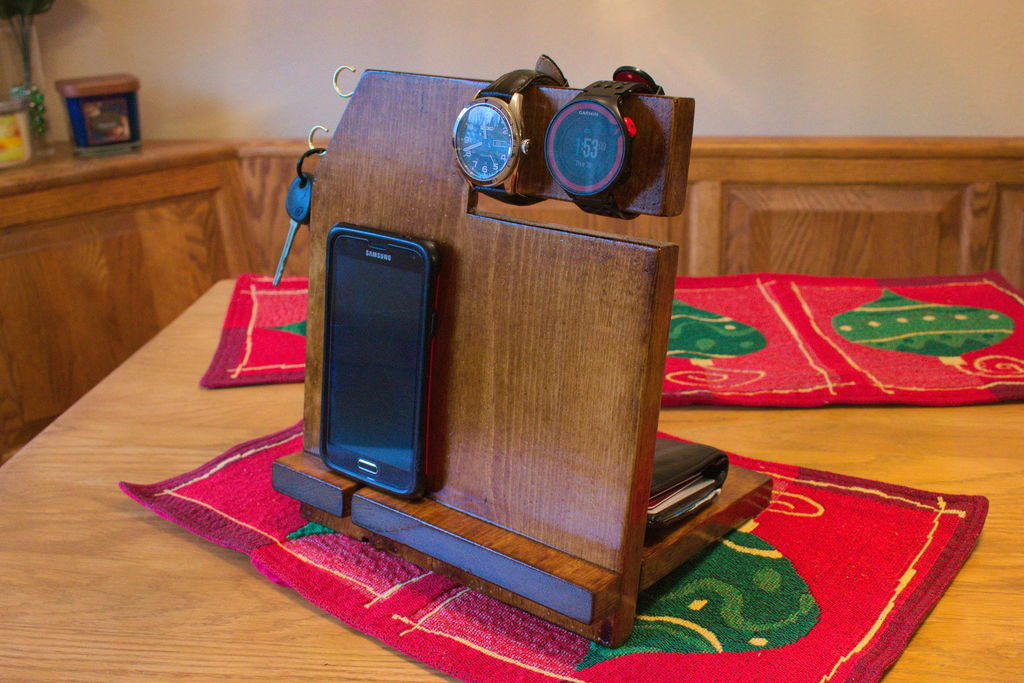
Here are some pictures of the final product.