
Customized Tea Holders
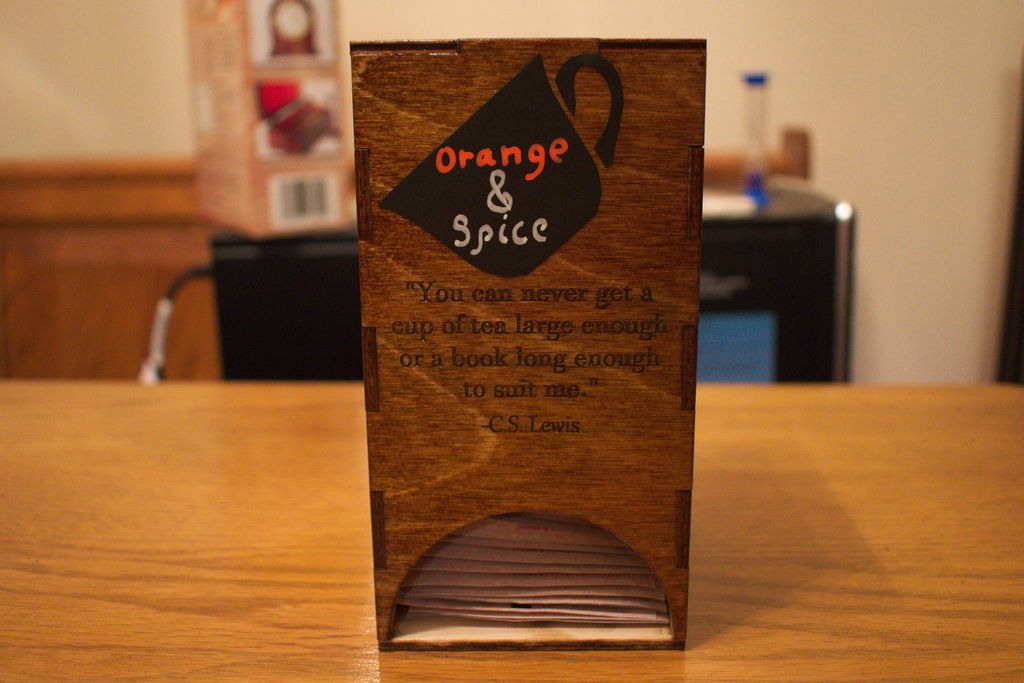
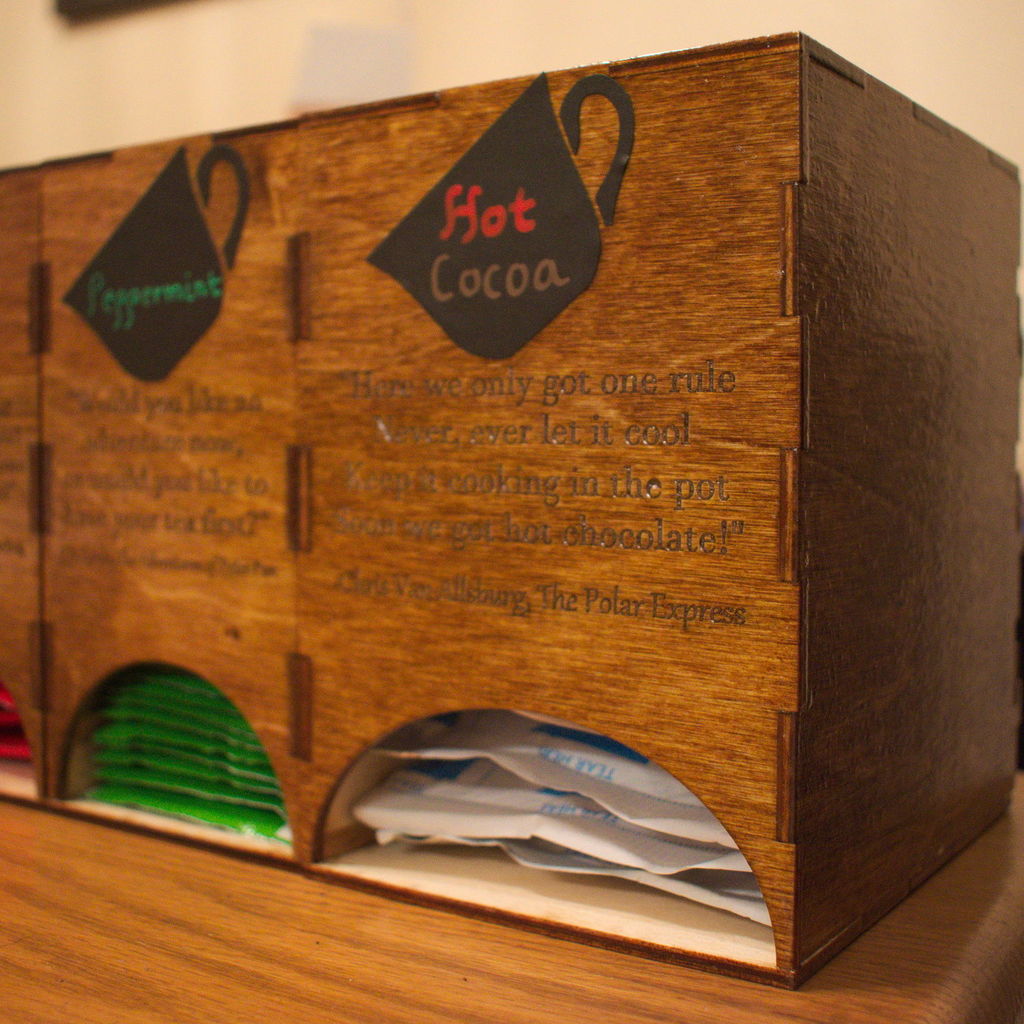
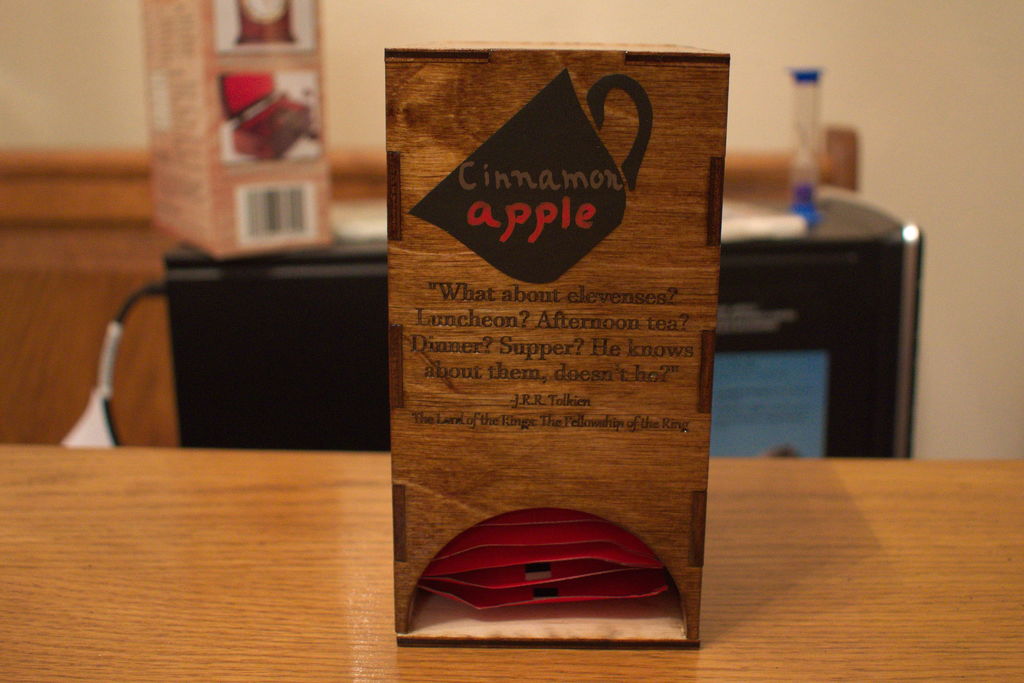
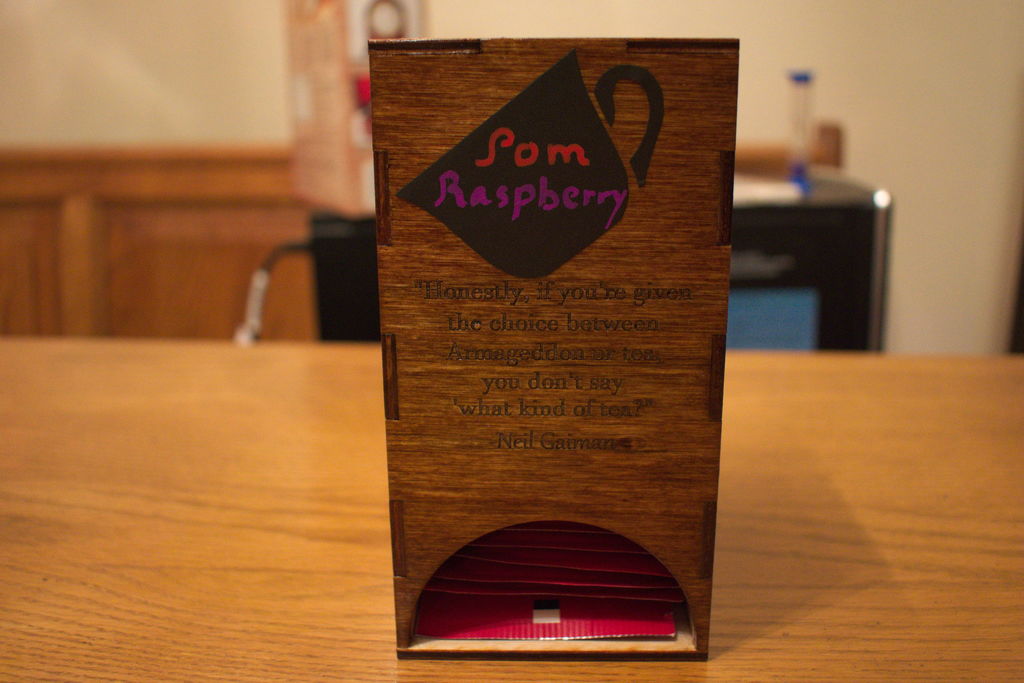
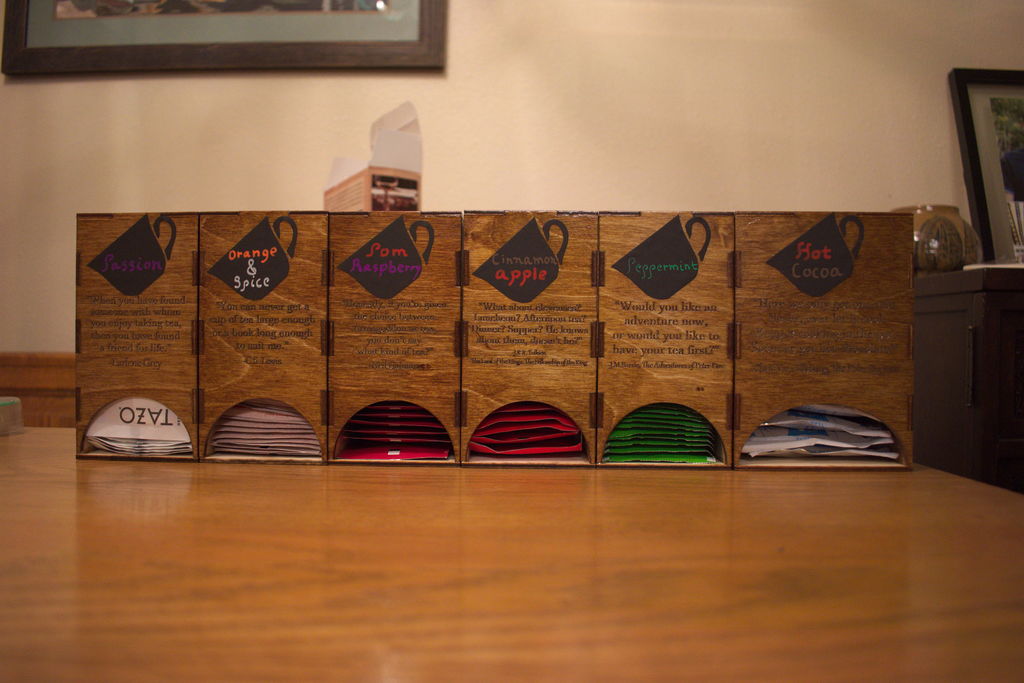
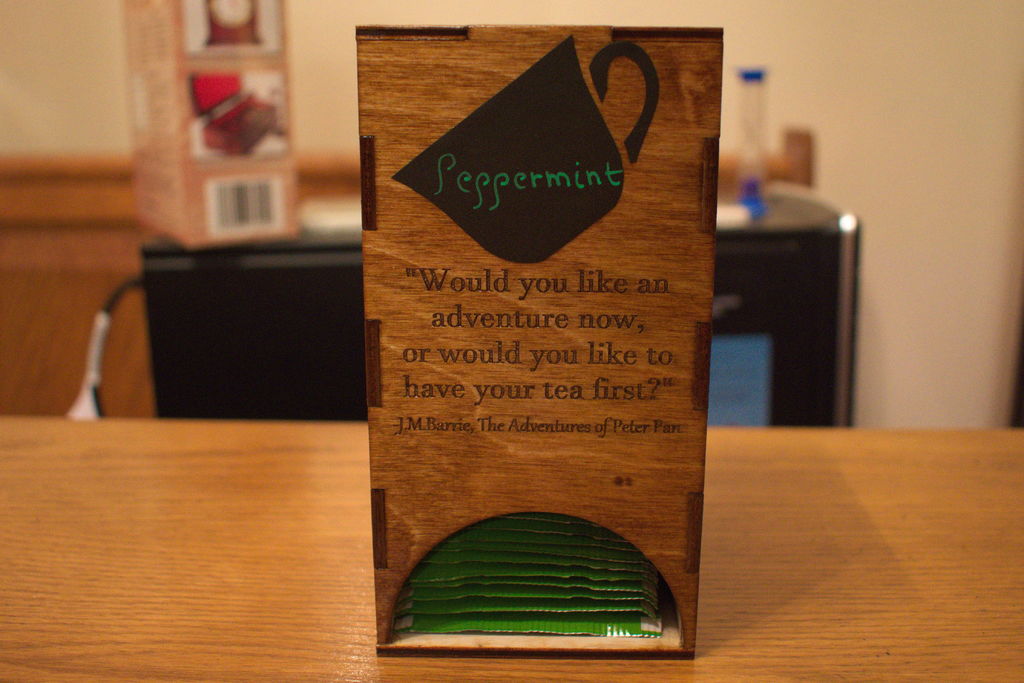
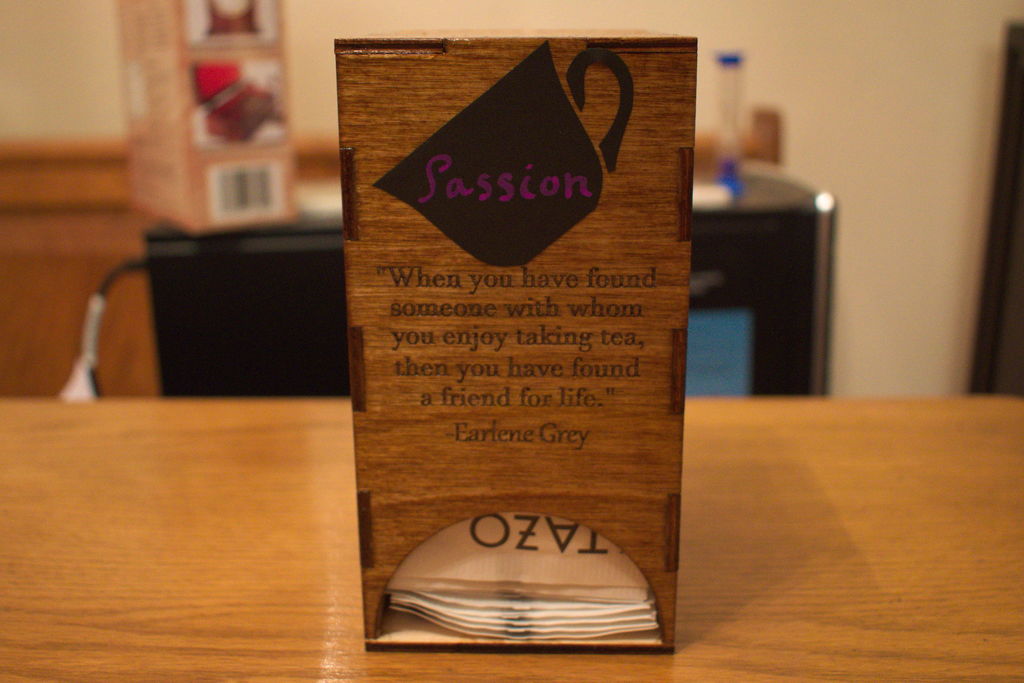
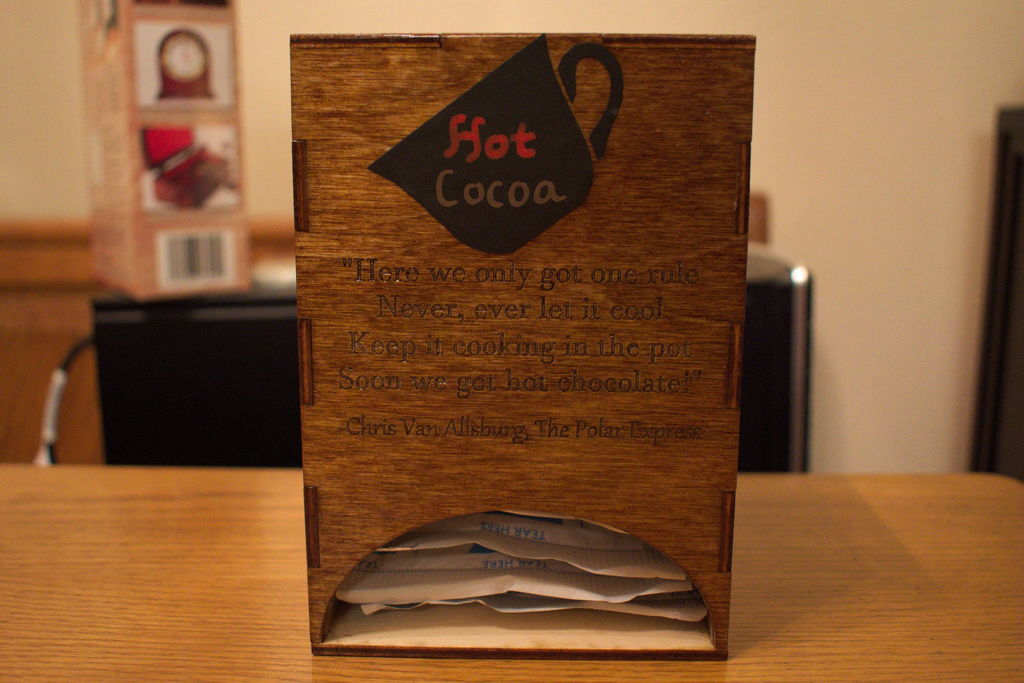
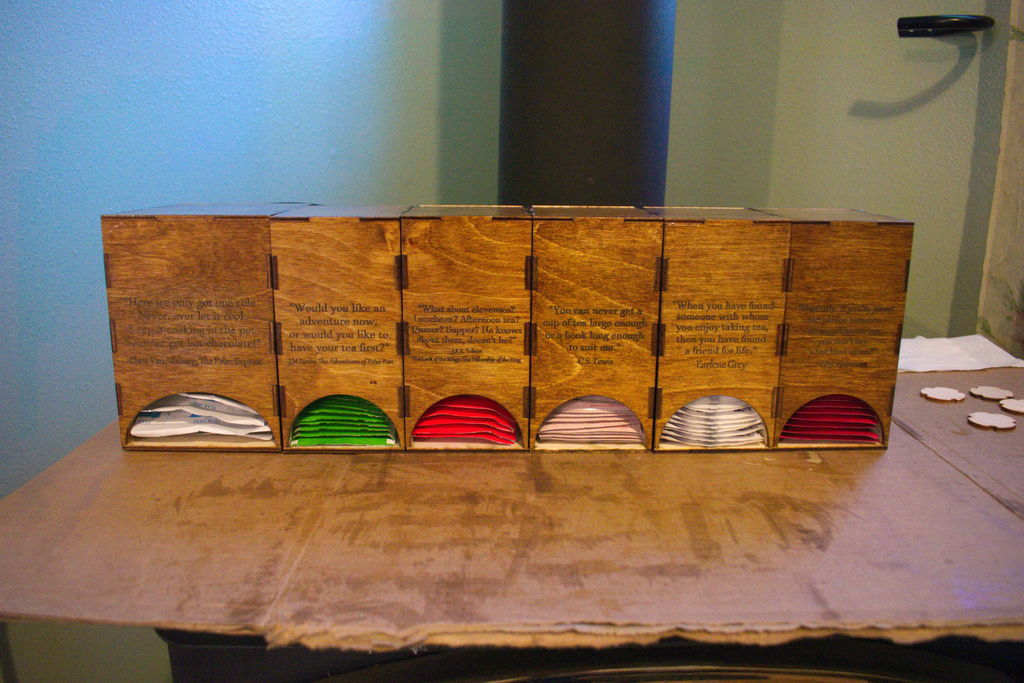
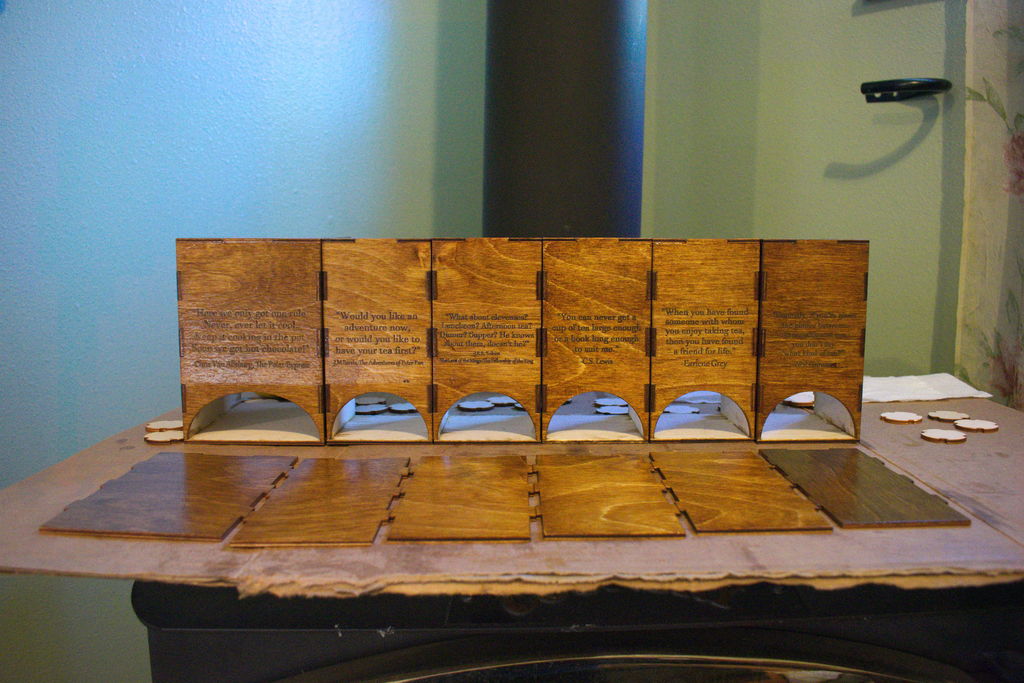
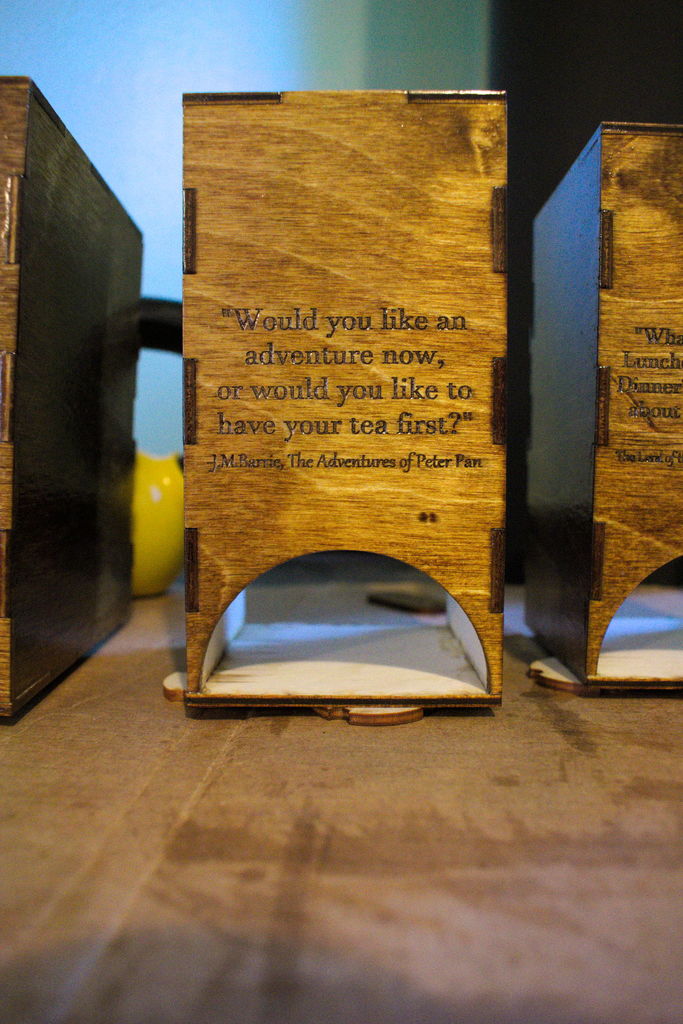
These tea holders were an idea that I had over the summer, and saved to use as a Christmas present. I designed 5 different tea holders + 1 hot cocoa holder so that they can fit most standard tea bag/hot cocoa sizes. It's not shown in the pictures, but the back piece is designed to lift off so that you can replace the tea from the back when you run out. I scoured the internet for my favorite tea related quotes and picked my favorites. I also decided to add labels to each one using adhesive chalkboard material, so that you can write what tea each tea holder contains. In this tutorial, I detail the process for laser cutting and constructing these. Hope you enjoy!
Supplies
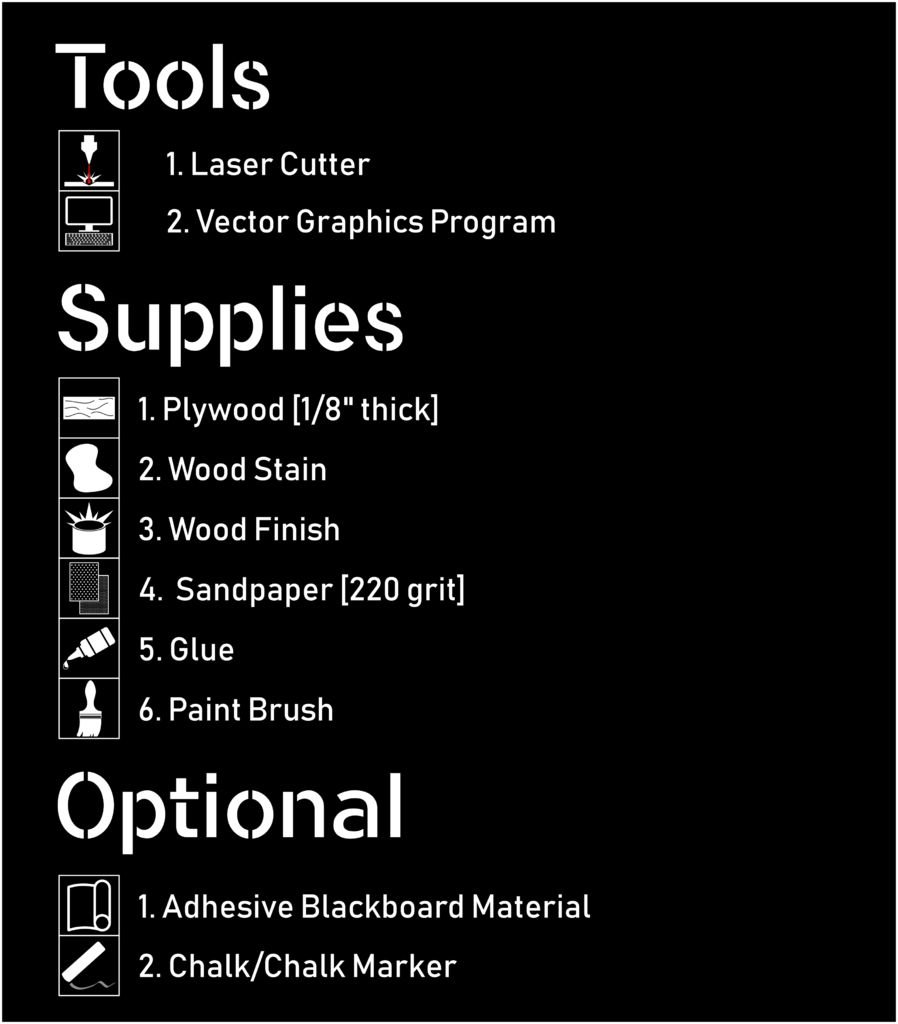
Tools:
Laser Cutter
Vector Graphics Program
Supplies:
Birch Plywood [1/8"] thick
Sandpaper [220 Grit]
Optional (To make labels):
-The only major tool you need to complete this project is a laser cutter
-I've included links to of example adhesive blackboard material and chalk markers to show you what they are
-You will want to use quick drying glue for this (<30s), as you will have to hold the pieces in place
Step 1: Laser Cut
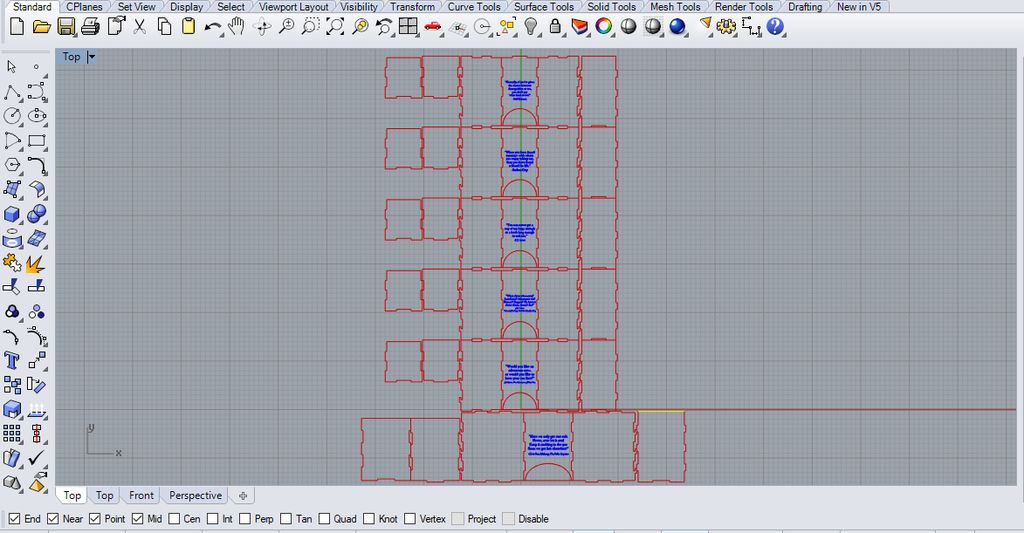
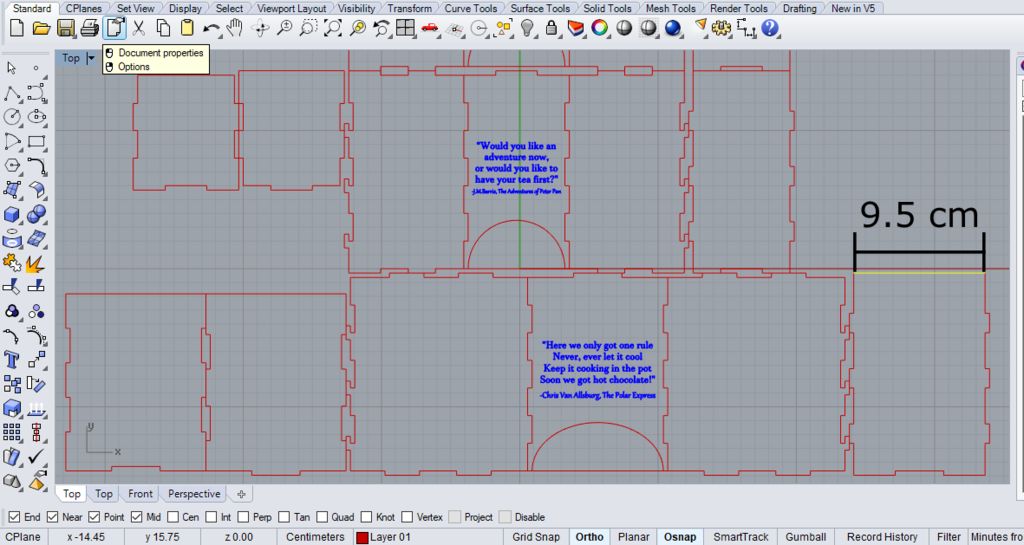
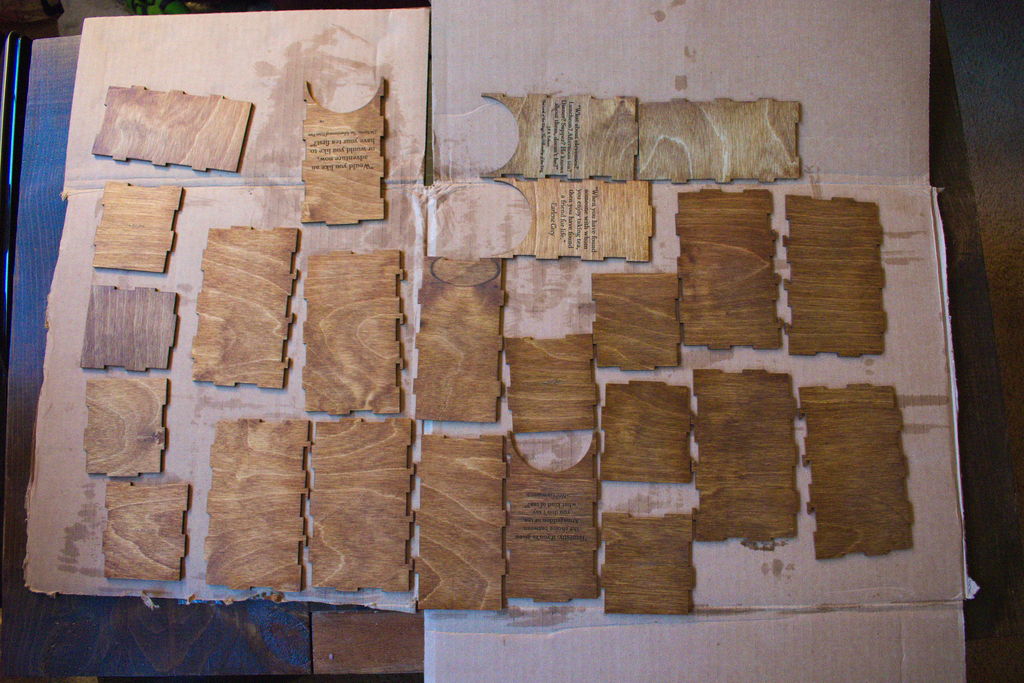
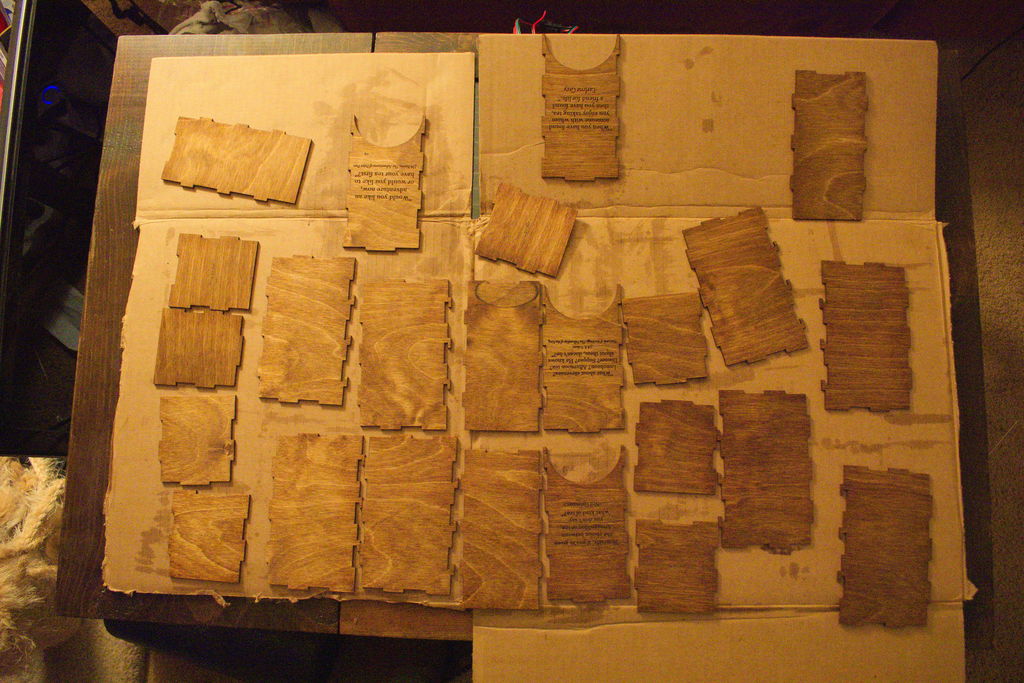
Download the included laser cutter templates below, and laser cut the designs.
-I designed these in Rhino, so their native file type is 3dm. I exported other file types as well for your convenience, but some of them may have difficulty importing the text, so you may have to fix that on your end. But the tea holder structures themselves should be fine
-The file units were in centimeters (for if you need it when importing), and my 2nd picture in this step has a reference piece to make sure that your file imported at the correct scale; the length of the top rightmost piece of the hot cocoa holder should measure 9.5 cm.
-If you don't want to use the labels, I would recommend shifting the text up on the templates so that there won't be such a large gap on the top of the front of the tea holders
-I should note here that if you are using a plywood that is not 1/8" thick, you will need to modify the design, because changing the thickness will change how the pieces connect
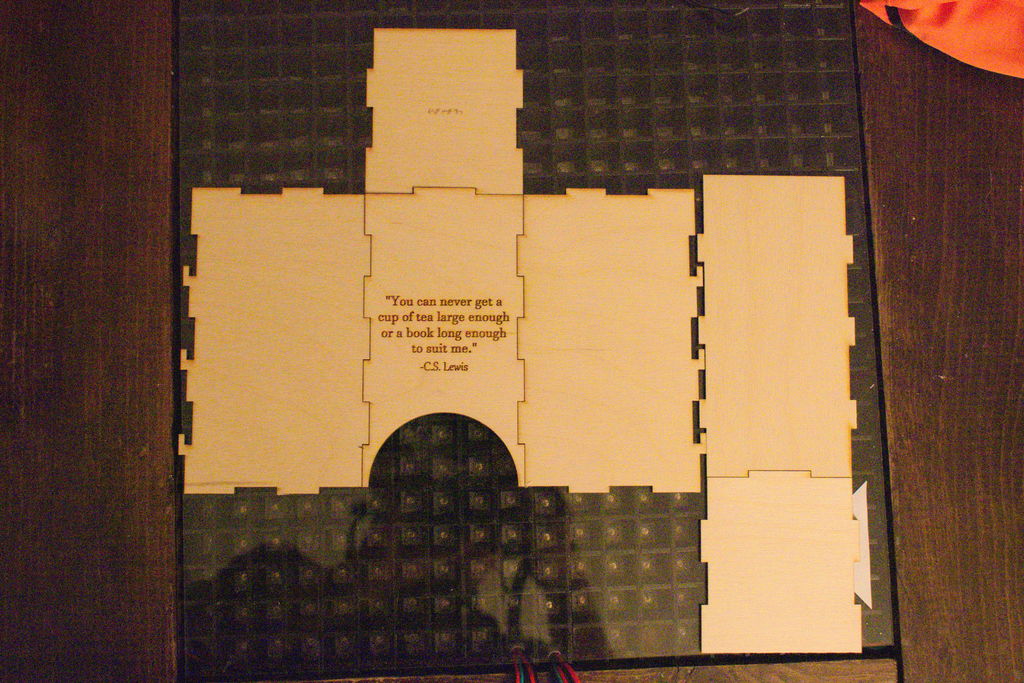
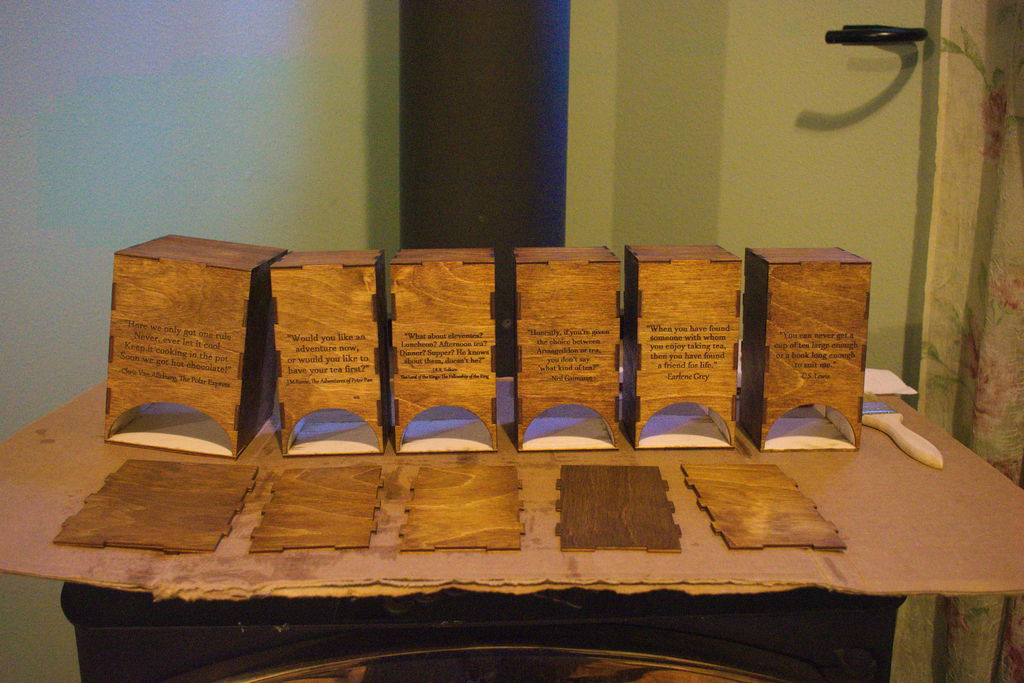
Step 2 - Sand and Stain
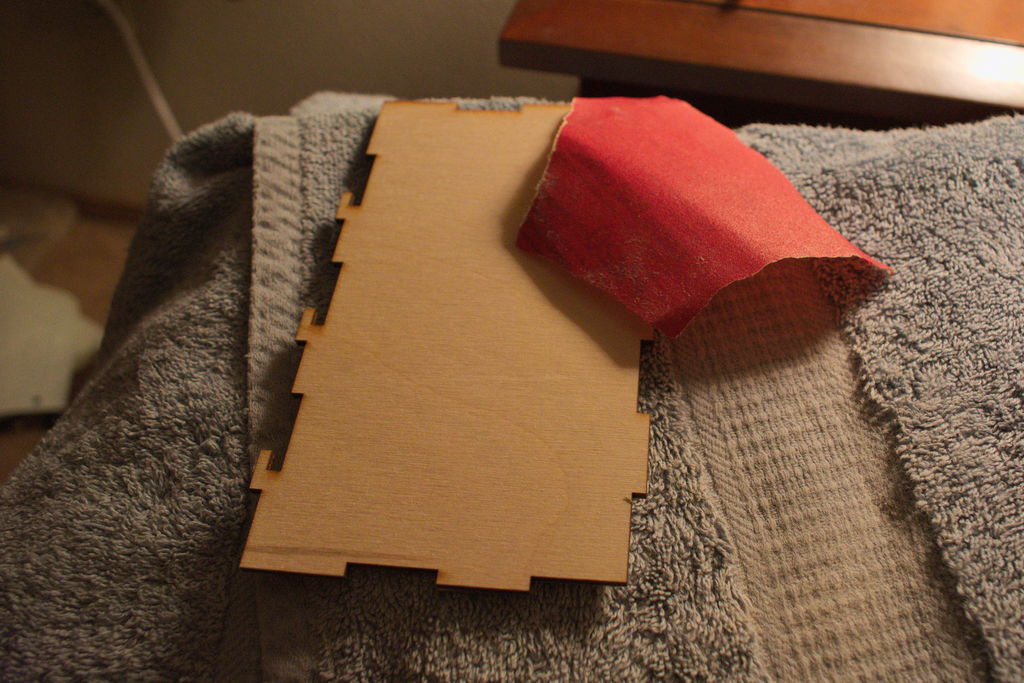
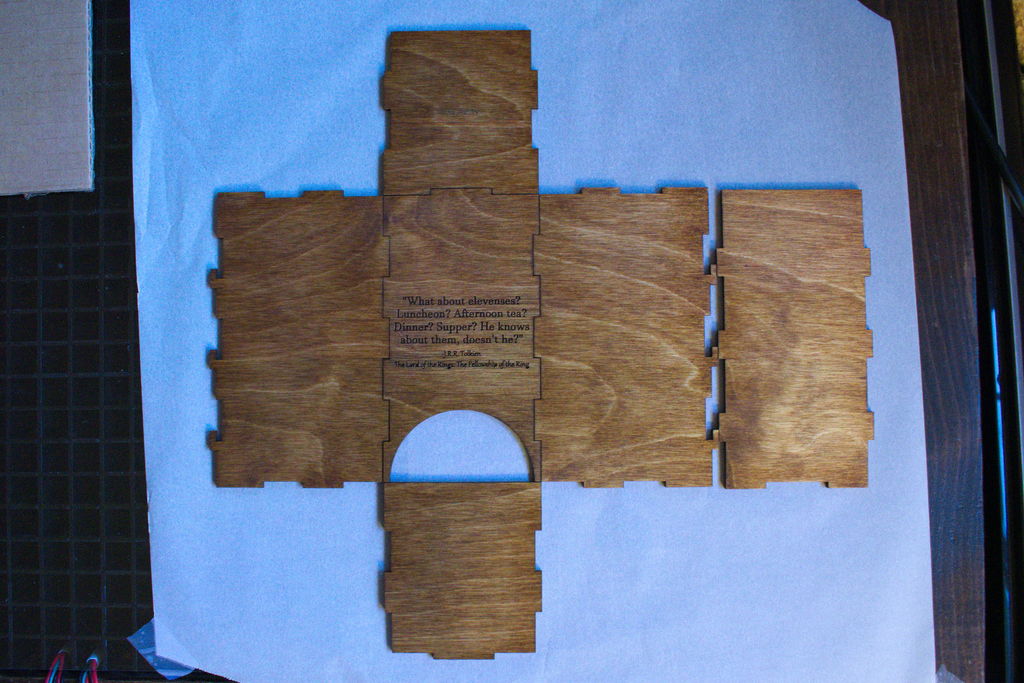
Sand the plywood with a fine sandpaper (I used 220 grit), then stain the wood with 2-3 coats of wood stain.
-Try to avoid rounding off corners with the sandpaper
-Make sure that you are sanding the correct side (which is why I lined up the pieces like so in the previous step)
-You don’t want the stain too dark, or the letters will become somewhat difficult to read (if the stain gets as dark as the letters)
Step 3 - Glue Together
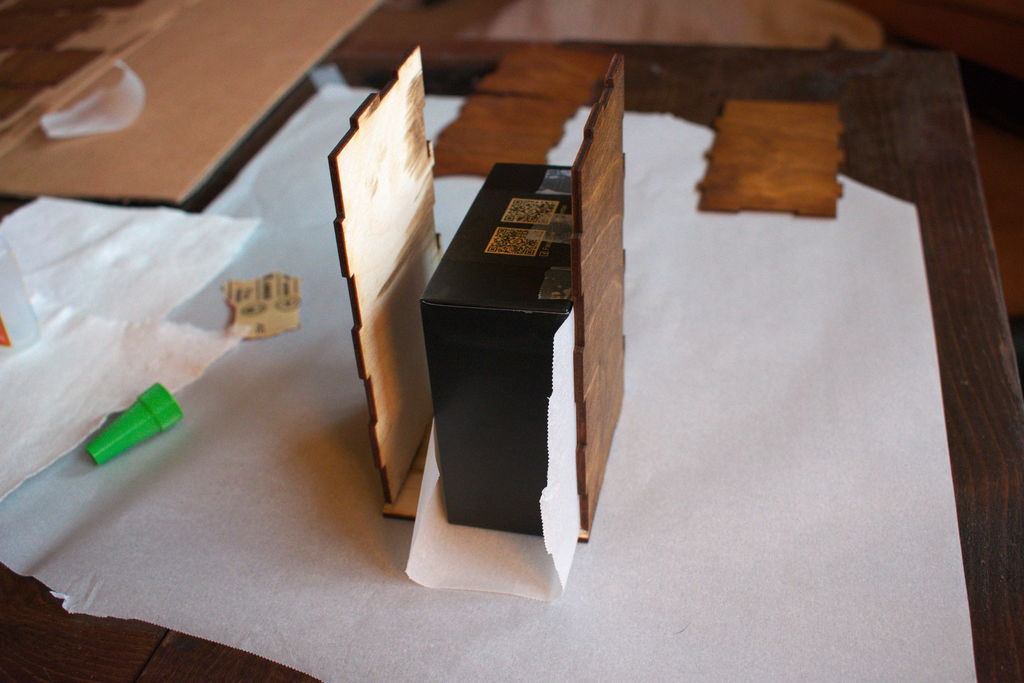
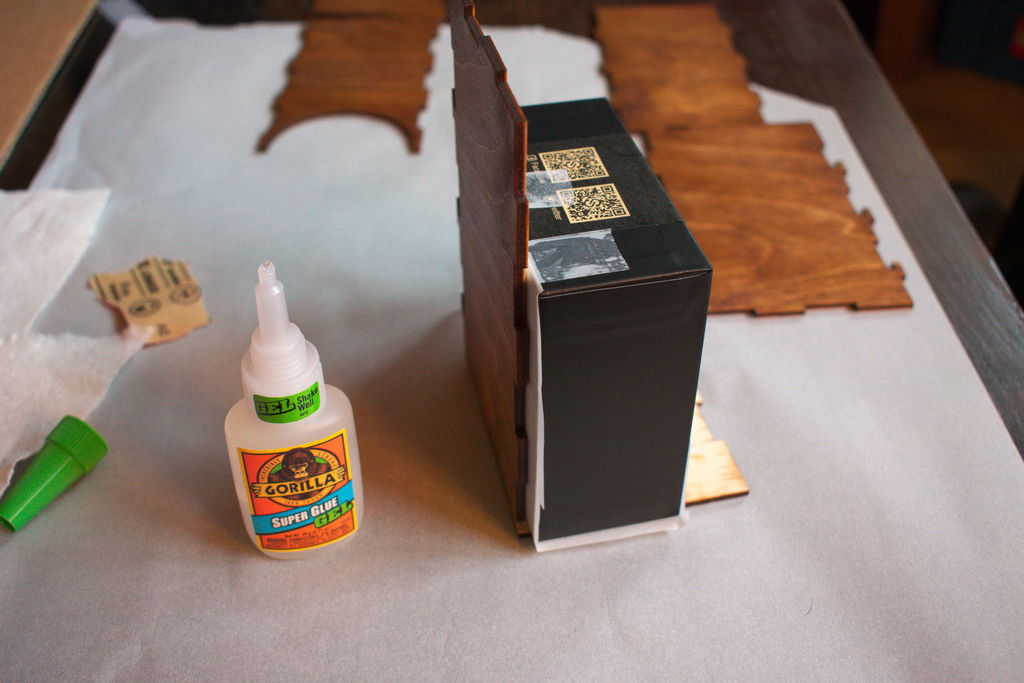
Glue each piece together. I recommend a quick drying glue (<30 seconds) because you have to hold them in place.
-Having a right angle piece flat against the joint you are gluing at the start helps make sure that the pieces glue straight. I taped wax paper around the edges to make sure that my right angle piece did’t get stuck to the pieces that I was gluing together (I learned from trial and error that wax paper doesn’t stick well with this super glue)
-Make sure to not glue the back piece on, as this piece is meant to be able to pop on and off to replace the tea bags.
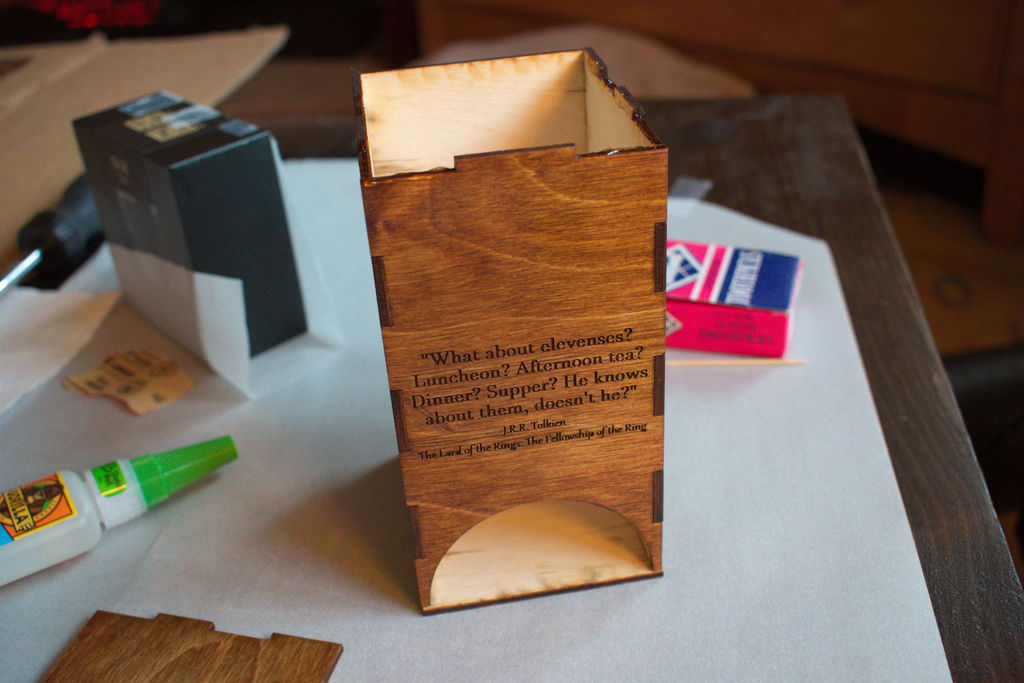
Step 4 - Apply Finish
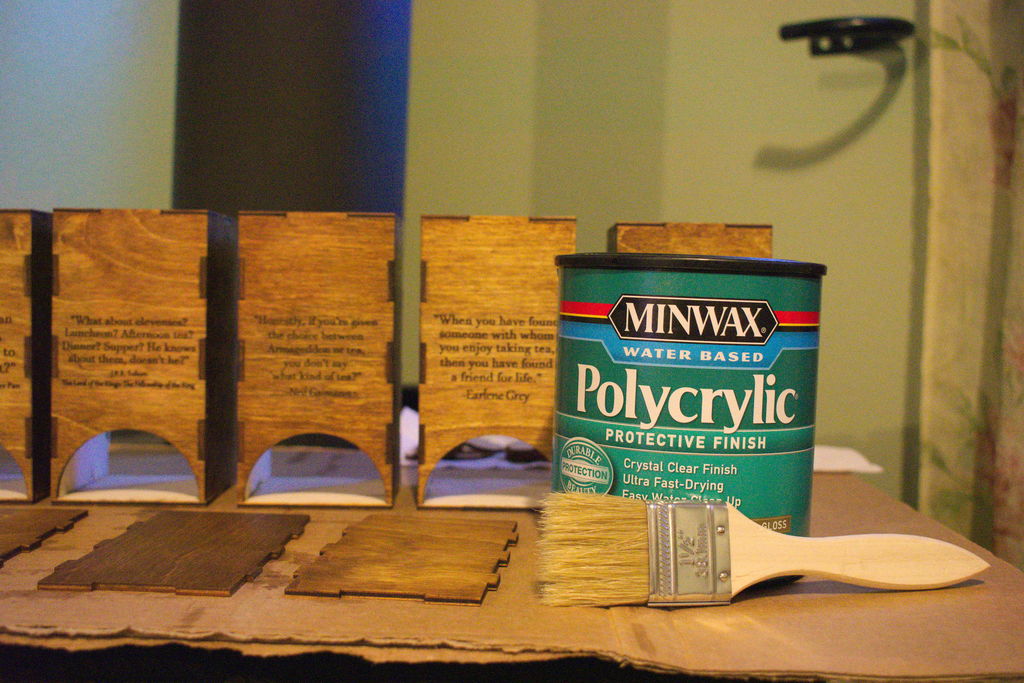
I would recommend 3 coats of the finish
-Apply the coats thinly to make sure that it doesn’t drip/dry uneven
-Prop them up so that the finish doesn’t dry/stick to whatever is under the tea holders.
Step 5 - [Optional] Add Labels
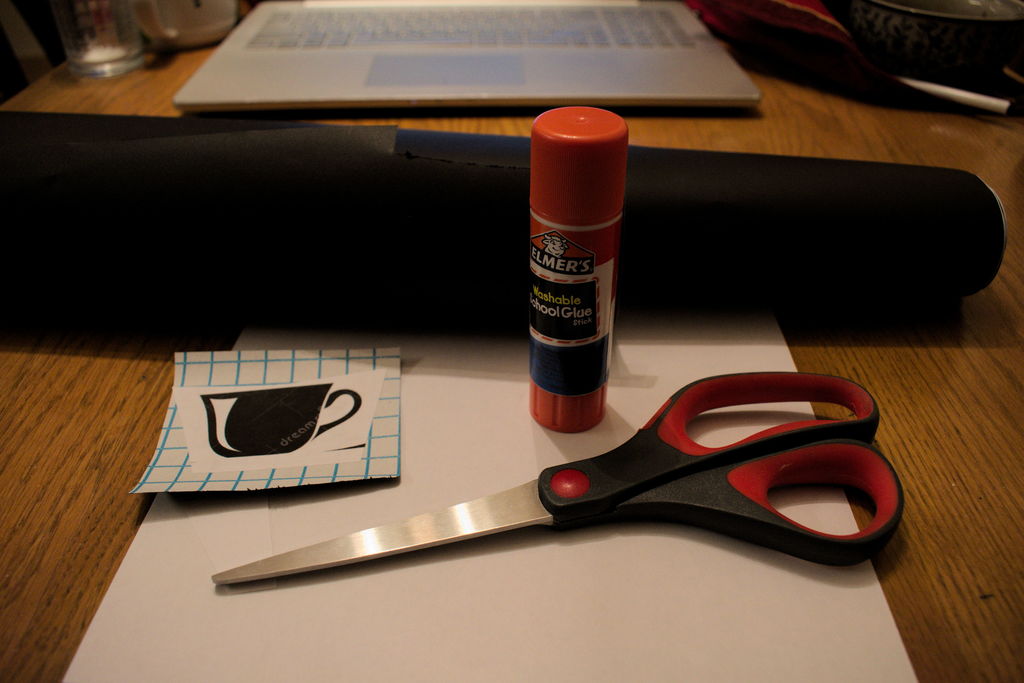

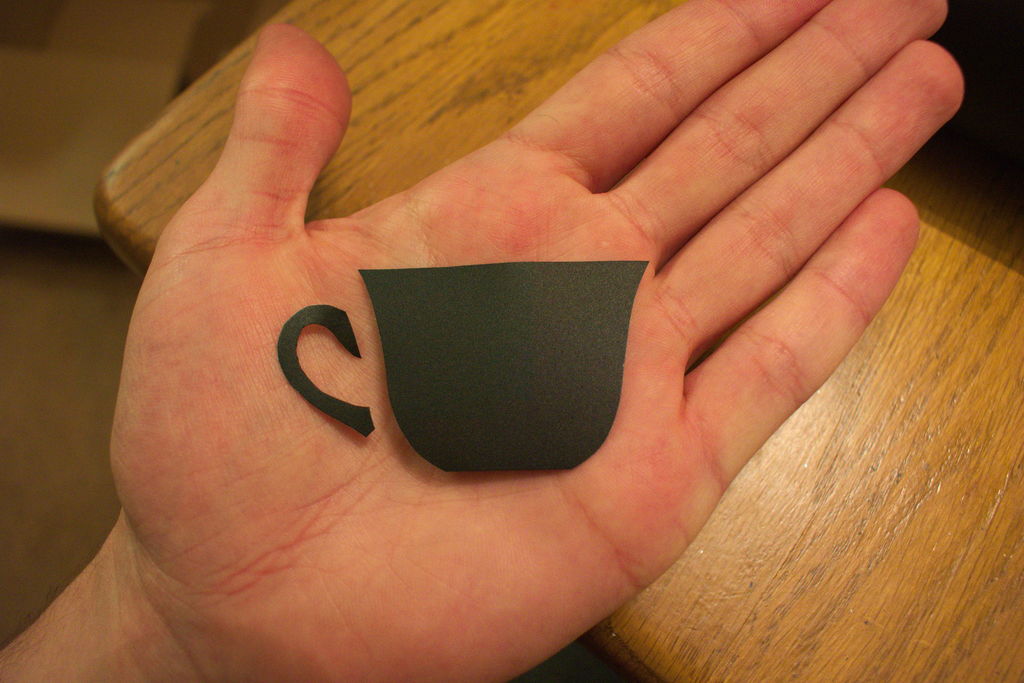
Cut out the design you want for the labels (I found that a tea cup looks perfect), and remove the adhesive backing from the adhesive chalkboard and stick them on the tea holders. Then you can write on the labels using chalk or a chalk marker.
-If you're artistic, you can can probably create your own nice design, but if not, you can find a template online by searching for "vector teacup" (or similar for the design you want), printing that out, and using that as a template for cutting the adhesive chalkboard.
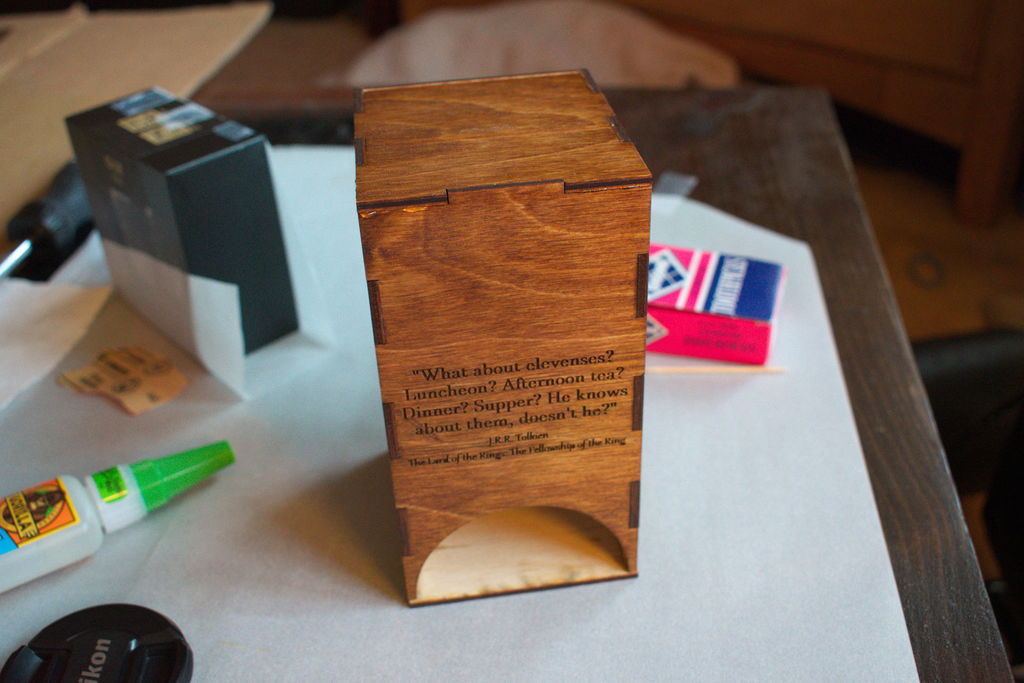
Done!

And you're done! Hope you enjoy your new tea holder set.